
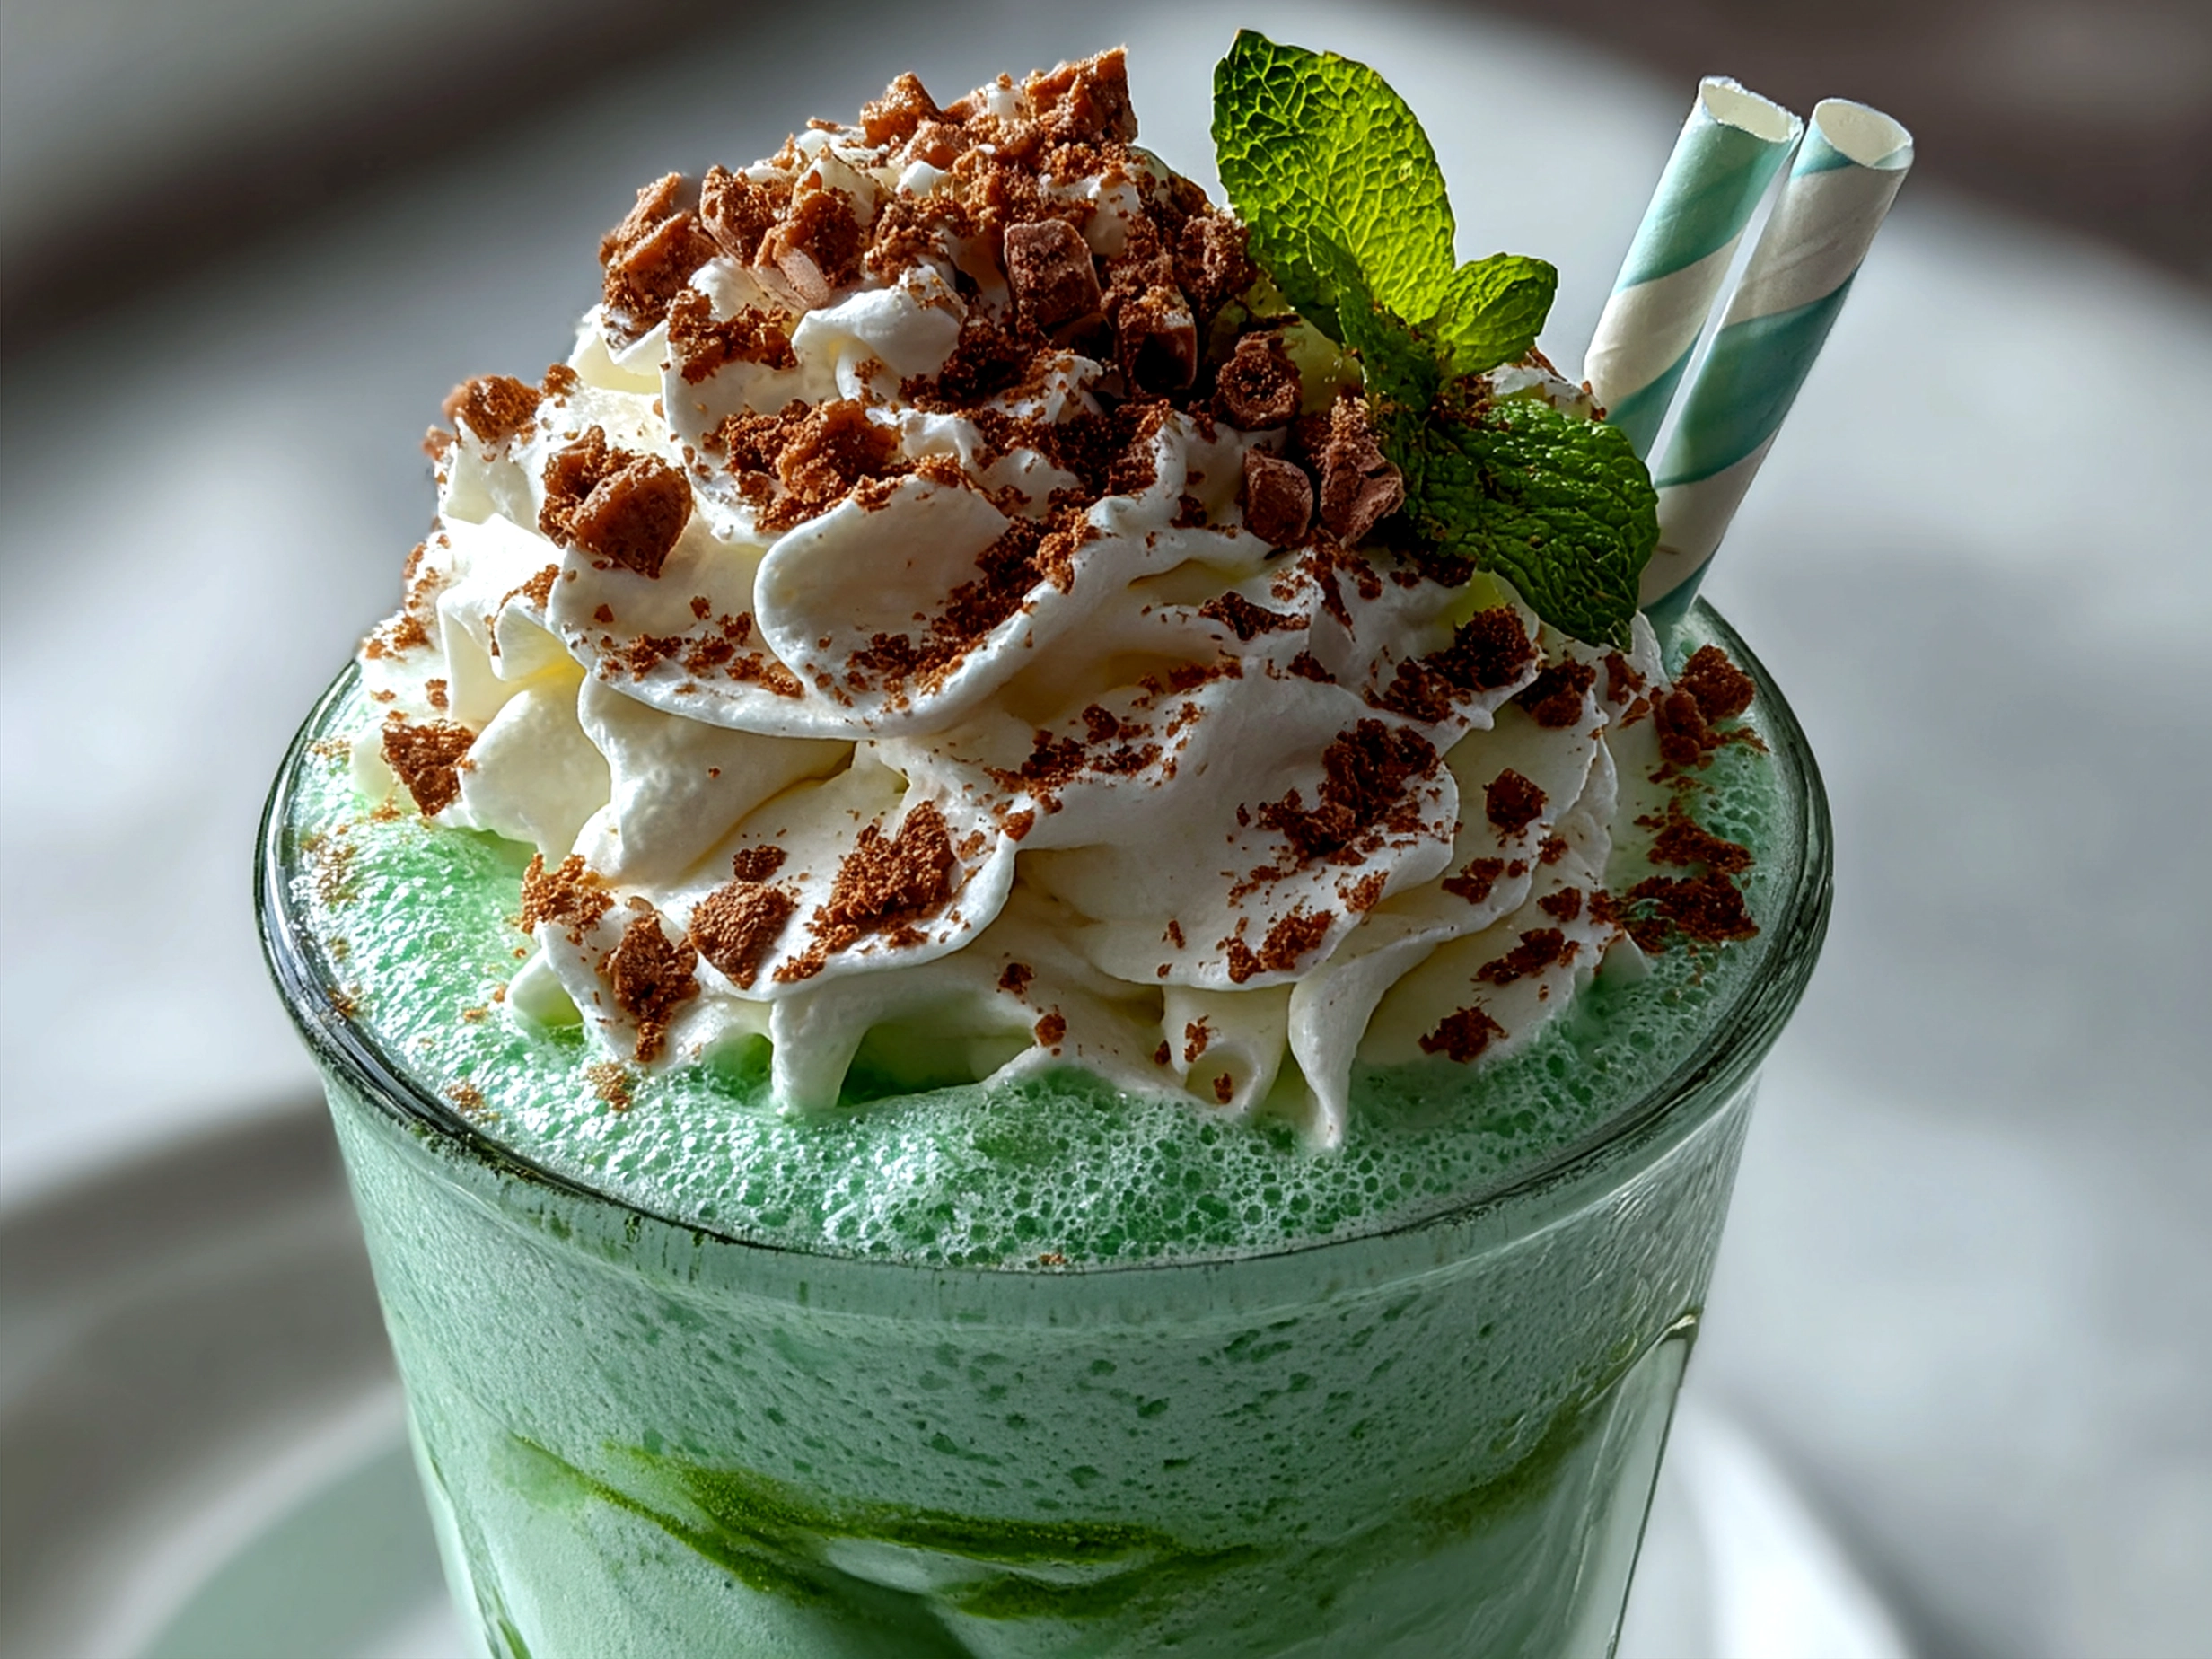
I still remember the first time I whipped up this Lucky Green Shamrock Shake—it was a chilly March afternoon, and I was craving something festive yet simple to enjoy with the kids before our St. Patrick’s Day dinner. The creamy mint milkshake swirled with that perfect shade of green instantly brightened the whole day. There’s just something magical about making this homemade shamrock shake that brings all of us to the kitchen counter, eager for that first sip. The lucky green color makes it feel like a St. Patrick’s Day dessert treat, but with a warm, homemade touch rather than a store-bought green shake from the chain.
I’ll admit, my initial attempts at the Lucky Green Shamrock Shake didn’t go perfectly. I once added too much food coloring and ended up with a neon green that looked straight out of a cartoon! But after a few tries, I learned the right balance of mint extract and just enough natural coloring to make it pop without seeming artificial. This creamy mint milkshake quickly became a family favorite, especially because it’s so easy to make and uses simple ingredients I usually have on hand.
With busy family life, it’s refreshing to have a quick St. Patrick’s Day dessert option like the Lucky Green Shamrock Shake. I often make it right before dinner when the kids start asking for something sweet. Plus, it’s versatile enough to tweak with add-ins or toppings depending on what’s in the pantry. I first perfected this treat after hunting for a homemade shamrock shake recipe that wasn’t loaded with weird artificial stuff—now it’s a go-to for our green celebrations and beyond. If you’ve been searching for that perfect mint milkshake recipe that feels festive yet homemade, you’re in the right place. I can’t wait to share all my tricks and tips to help you make your own Lucky Green Shamrock Shake that will wow your friends and family as much as mine.
If you’ve loved classic recipes like Oreo Shamrock Shake Cookies from Seasoned Recipe, this creamy mint milkshake will definitely become a new household staple. So grab your blender and let me walk you through exactly how to make the Lucky Green Shamrock Shake that will have everyone reaching for seconds.
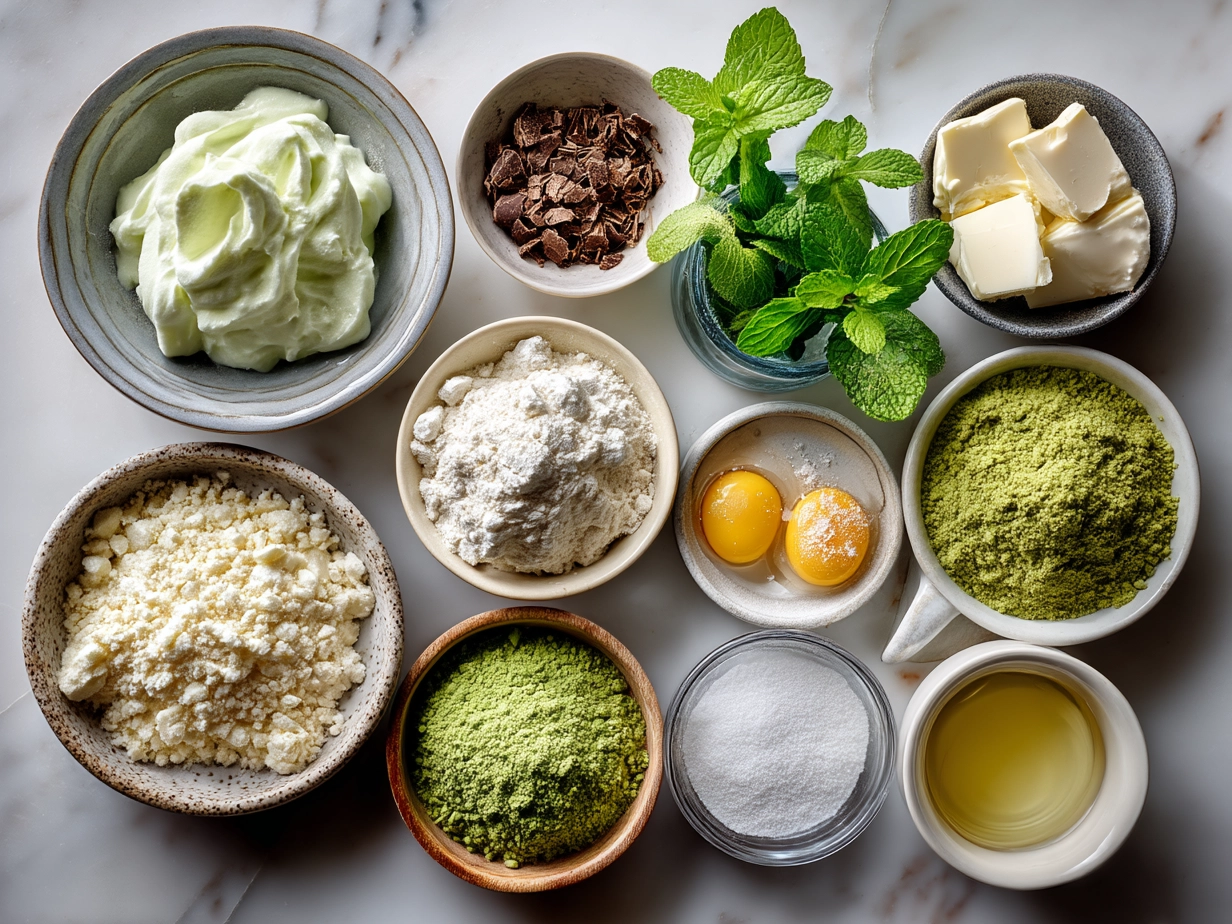
Ingredients
2 cups vanilla ice cream – I always use a creamy, higher-quality brand for my Lucky Green Shamrock Shake because it makes all the difference in richness.
1 ½ cups whole milk – For the creamiest mint milkshake, whole milk gives you that perfect balance between thick and smooth.
1 teaspoon pure mint extract – Most stores carry this near vanilla or other extracts; I prefer pure mint for that fresh flavor without any artificial aftertaste.
3-4 drops green food coloring – I stick with natural food coloring when I can, like the ones from beets and spinach, but a little bit of traditional green coloring works fine too.
Whipped cream (optional) – For topping, because this Lucky Green Shamrock Shake just feels like it needs that fluffy crown.
Maraschino cherries (optional) – Adds a pretty pop of red, perfect for photo-worthy presentations.
Sugar (optional, to taste) – Sometimes I add a teaspoon if the shakes need a little extra sweetness depending on the ice cream brand.
Here’s a little kitchen wisdom I picked up from my mom while making Lucky Green Shamrock Shake: chill your glassware in the freezer first. This keeps the creamy mint milkshake perfectly cold while you sip leisurely.
A quick prep shortcut that works wonders for busy families—scoop your ice cream the night before and leave it in the fridge for just 15 minutes before blending. It softens just enough, making the blending easier and less noisy, which is a godsend when you’ve got little ones napping nearby.
If you want to save a few bucks, buy your ingredients in bulk—those larger ice cream tubs and bottles of mint extract last for multiple shamrock shake batches. You can also freeze leftover whole milk in ice cube trays to blend into your milkshake gradually, extending its shelf life without waste.
And if you want to get creative, swap normal vanilla ice cream for a green-tinted matcha or pistachio ice cream to deepen your green shamrock shake color naturally. Just be mindful—it’ll shift the flavor slightly from the classic mint goodness.
One last tip: if you want to try a lucky green shamrock shake twist, pair it with something special like a crispy side from a potato and green bean salad or easy fried green tomatoes to complete your St. Patrick’s Day dessert and meal spread. Check Seasoned Recipe for those delightful ideas!
How to Make – Step-by-Step
1. Gather your ingredients: I always line them up on the counter before starting my Lucky Green Shamrock Shake. Having everything ready helps me avoid last-minute scrambles, especially when the kids are buzzing with excitement.
2. Soften the ice cream: Don’t rush this part! Leave the ice cream out for about 10-15 minutes to soften. Trust me, I learned the hard way with a frozen block of ice cream that made blending a total workout. Softer ice cream means a smoother creamy mint milkshake.
3. Add ice cream and milk to blender: I pour 2 cups of vanilla ice cream first, then 1 ½ cups of whole milk for a perfect creamy texture. You want the shake thick but still easy to sip.
4. Add mint extract and food coloring: Start with 1 teaspoon pure mint extract—this gives you that cool, fresh flavor that is the heart of your Lucky Green Shamrock Shake. Next, add 3-4 drops of green food coloring. Don’t overdo it! You want that pretty green shamrock shake hue, not something glaring and artificial.
5. Blend it up! Pulse on medium speed for about 30 seconds or until smooth. The smell is one of the best parts—your kitchen will smell like mint chocolate chip ice cream heaven.
6. Taste and adjust: Sometimes the mint can be subtle, so I add a little more extract or a tiny splash of milk if the shake feels too thick. If it needs a sweeter touch, a teaspoon of sugar blends right in.
7. Pour and top: Pour your Lucky Green Shamrock Shake into chilled glasses and finish with a generous swirl of whipped cream. I love tossing a cherry on top or even sprinkling a little crushed Oreo shamrock cookie crumble for a fun twist. (If you love that combo, be sure to check out this Oreo Shamrock Shake Cookies recipe from Seasoned Recipe for an indulgent treat.)
8. Enjoy right away: Lucky Green Shamrock Shake is best served immediately for that creamy, dreamy texture. But if you need to make ahead, store it in the fridge and give it a quick stir or re-blend briefly before serving.
A little secret from my kitchen: while blending the Lucky Green Shamrock Shake, I prep the rest of the meal or clean up to save time. Multitasking really helps when you’re juggling family chaos!
If you want extra tips on blending techniques or ingredient substitutions that can happen when you’re low on a particular component, this external guide on milkshake making has some great advice.
Serving
The kids absolutely adore our Lucky Green Shamrock Shake, especially when I serve it with a side of homemade potato and green bean salad, which balances the creamy shake with fresh greens and a bit of savory crunch. I’ve found this pairing to be a perfect way to celebrate St. Patrick’s Day without going overboard on sugary treats.
This Lucky Green Shamrock Shake is also a fantastic St. Patrick’s Day dessert for casual brunches and family gatherings. Its festive color alone brightens the table and brings smiles all around. For presentation, I like to serve the shake in tall clear glasses so everyone can admire that vibrant green, then add a whimsical touch with whipped cream and a cherry or sprinkle some crushed cookies on top. Sometimes, I even experiment with small shamrock-shaped ice cubes for extra fun.
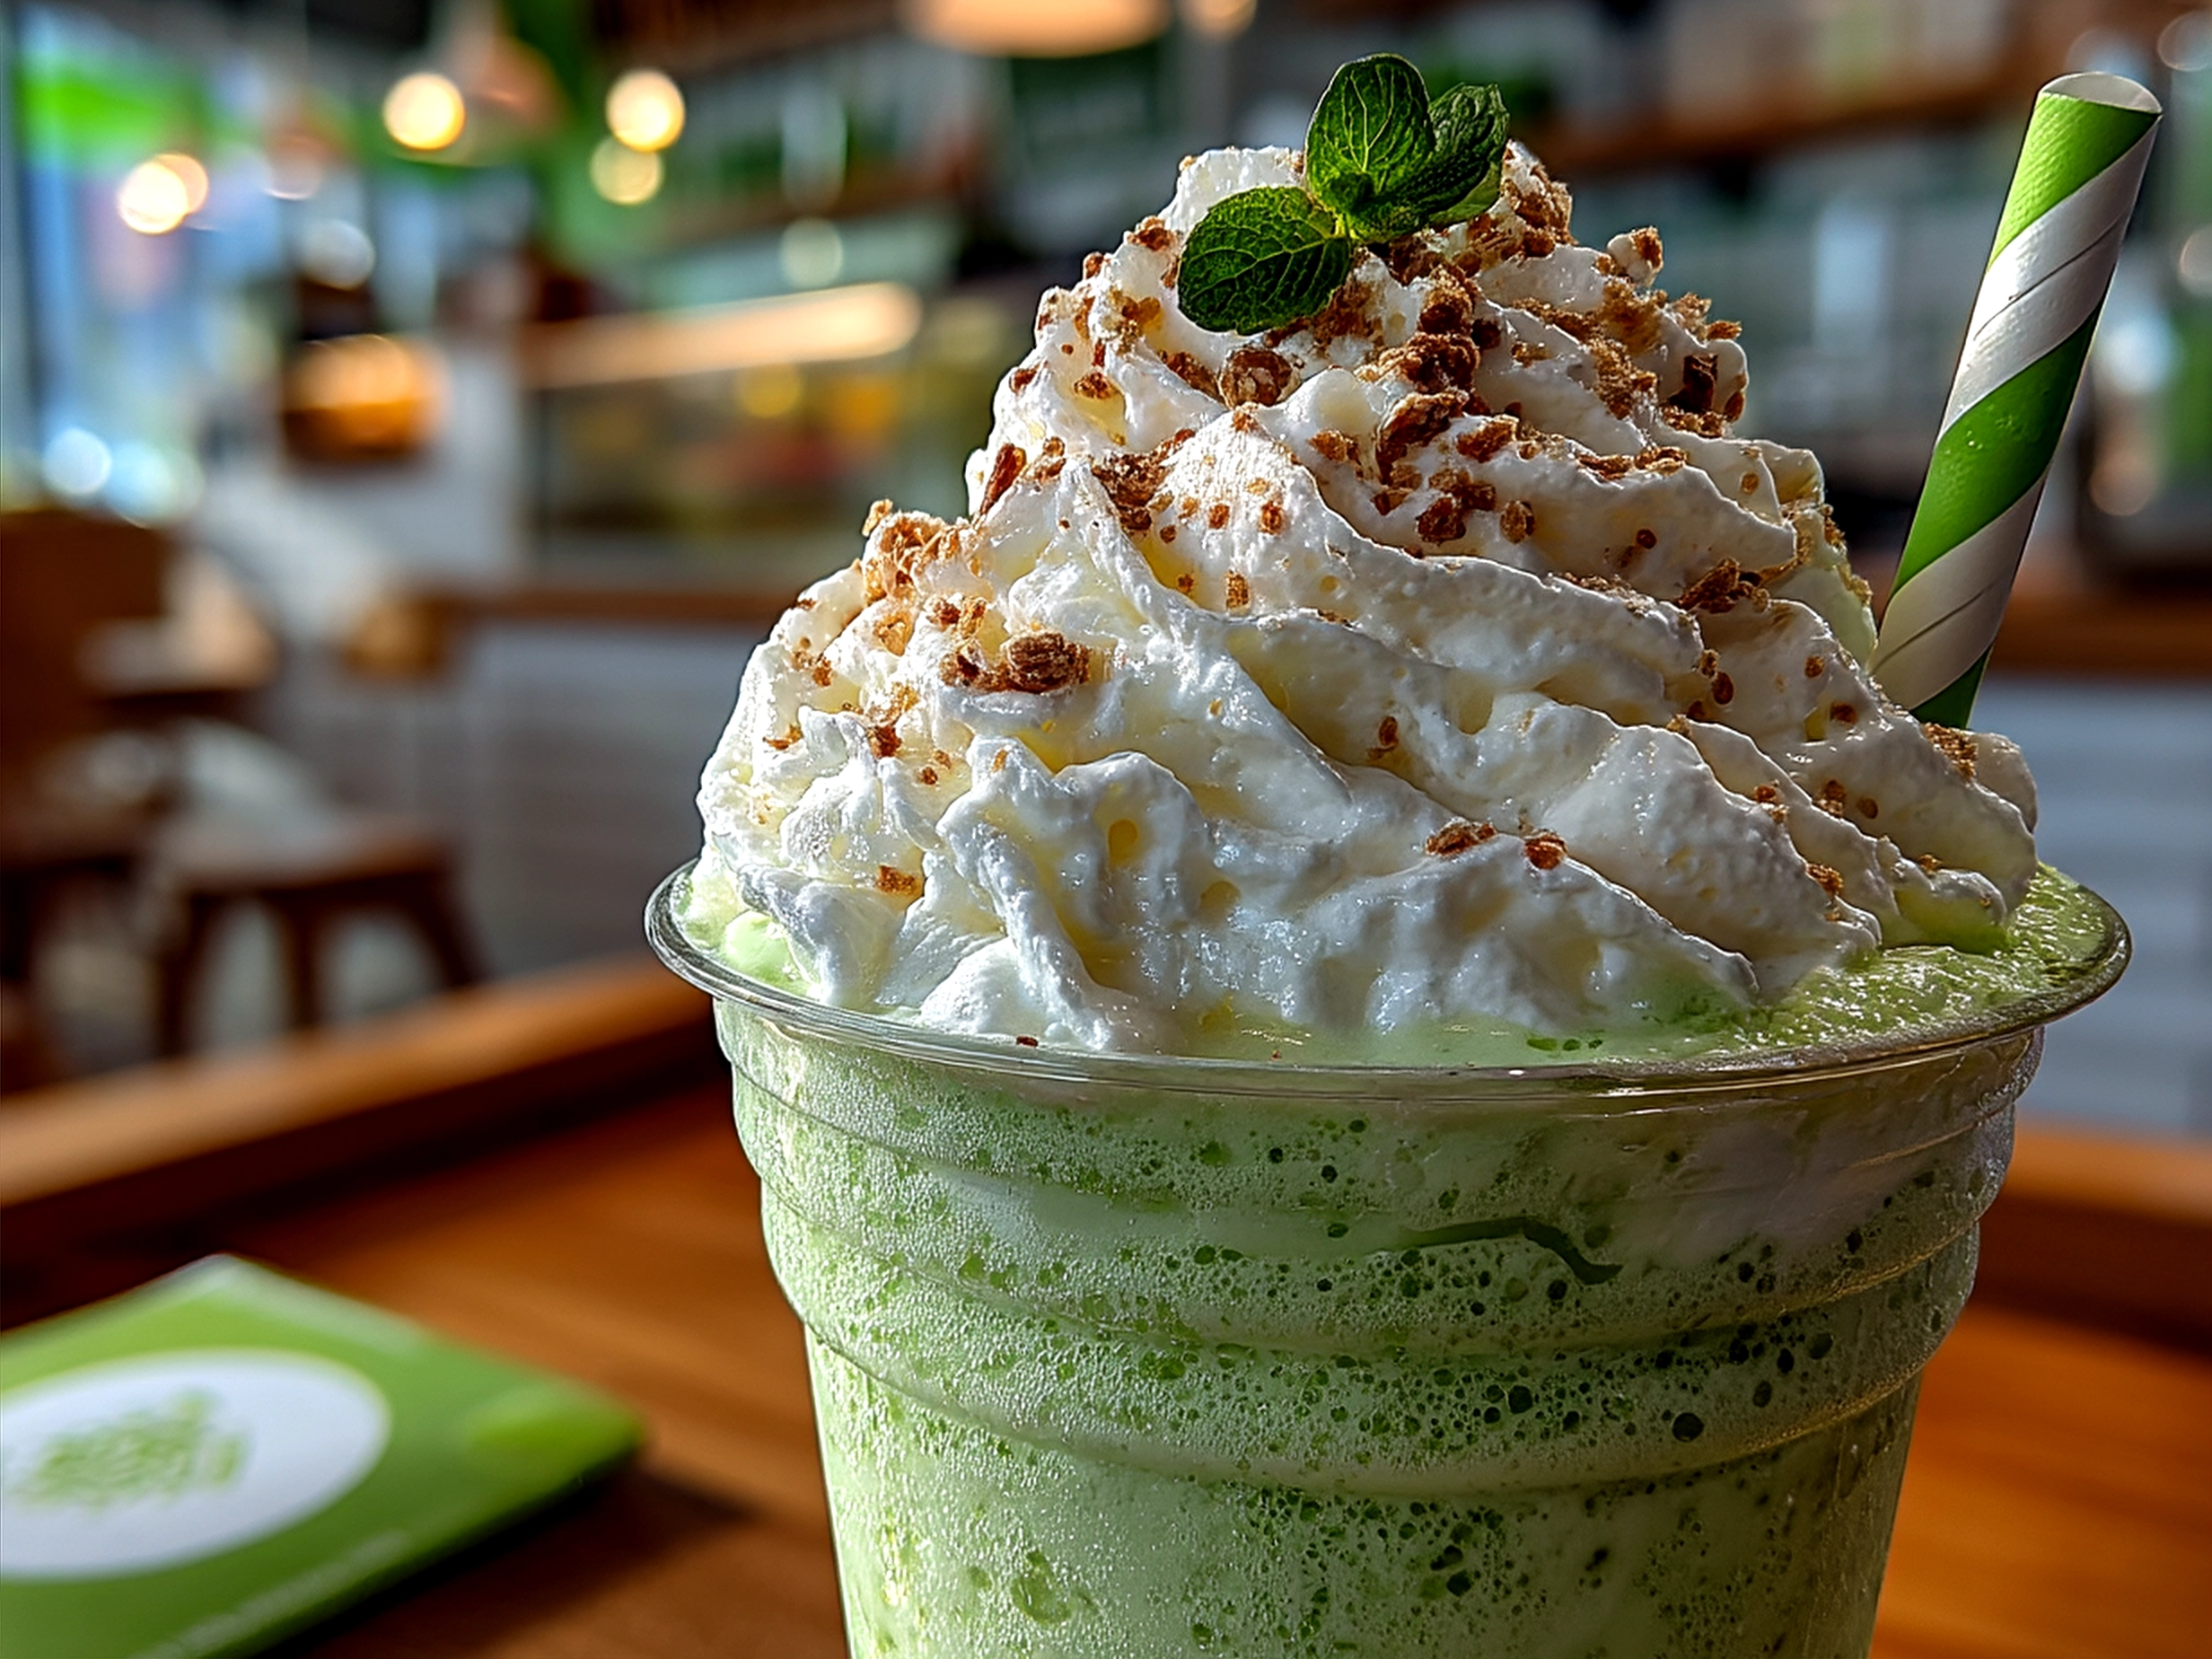
If you have extra Lucky Green Shamrock Shake leftover (because who doesn’t make a little too much?), don’t let it go to waste! You can freeze it in popsicle molds for a delicious, minty frozen treat later, or blend it up the next day with a scoop of softened ice cream for an even thicker, dessert-style shake.
Seasonally, I’ve also tried swapping regular mint extract for peppermint during the holidays, which turns it into a creamy mint milkshake perfect for winter celebrations. Guests love that twist, and I often pair it with our easy fried green tomatoes for a southern-inspired festive meal.
When friends come over, they always ask for the Lucky Green Shamrock Shake recipe after tasting how fresh and homemade it is—it’s become a go-to in my circle alongside other seasonal favorites like the Oreo Shamrock Shake Cookies from Seasoned Recipe.
FAQs
Q: Can I make a Lucky Green Shamrock Shake without food coloring?
Absolutely! I’ve done this many times. Using natural ingredients like matcha powder or even spinach puree can add a green tint without artificial dyes, but the flavor of your creamy mint milkshake will stay just as delicious. Just be mindful that spinach might add a slight vegetative flavor.
Q: How can I make my Lucky Green Shamrock Shake thicker?
When I want a thicker homemade shamrock shake, I add a little more ice cream or reduce the milk slightly. Another trick I learned is to blend in a few ice cubes for extra thickness without watering it down. Balance is key!
Q: Is mint extract okay for kids?
Mint extract is generally safe for kids in small amounts, and it really powers the minty flavor of the Lucky Green Shamrock Shake. Just make sure you use pure mint extract rather than artificial mint flavoring. My kids love it!
Q: Can I use non-dairy milk to make this a vegan Lucky Green Shamrock Shake?
Yes, you can! I’ve tried almond and oat milks with vegan vanilla ice cream before. The texture adjusts a bit, but it still tastes creamy and fresh. You might want to add a touch more sweetener since some non-dairy milks aren’t as sweet.
Q: What’s the best way to store leftovers?
I recommend storing leftover Lucky Green Shamrock Shake in an airtight container in the fridge for up to 24 hours. It’s best to re-blend quickly before serving again. If frozen, thaw slightly and blend again to refresh that creamy mint milkshake texture. Always avoid leaving it out too long.
Q: Can I add other flavors to my Lucky Green Shamrock Shake?
For sure! Sometimes I add crushed Oreos (similar to the Oreo Shamrock Shake Cookies from Seasoned Recipe) or a drizzle of chocolate syrup to mix things up. A little espresso stirred in creates an adult-friendly mocha mint shake that my spouse loves.
Q: How much green food coloring is enough?
I start with 3 drops in my Lucky Green Shamrock Shake—sometimes 4 if the color feels too light. It’s easy to add more slowly but hard to fix if you add too much! Find a natural food coloring brand or even try beet juice for a natural alternative. Seasonal recipes like these always brighten celebrations.
If you want more answers and ideas for making your Lucky Green Shamrock Shake special, this helpful food blogger’s page offers great natural alternatives and tips at Amanda’s Cookin’.
My Final Thoughts
This Lucky Green Shamrock Shake recipe has really found a special corner in my heart and kitchen. It’s more than just a creamy mint milkshake; it’s a little celebration of family, tradition, and the simple joys of sharing a homemade shamrock shake that feels authentically festive.
Lucky Green Shamrock Shake Pro Tips:
- Always use high-quality vanilla ice cream and whole milk for the creamiest texture.
- Start slow with food coloring for that perfect green without going overboard.
- Chill your glasses before serving to keep your shake perfectly cool.
Over the years, we’ve tried fun variations like peppermint extract for a winter twist, adding matcha powder for a natural green color, and mixing crushed cookies right in for a dessert-style green shamrock shake. My youngest prefers it classic, while the older kids love the Oreo cookie crumble version. It’s such a treat watching the families’ tastes evolve with this versatile recipe.
I hope you find as much joy in making your Lucky Green Shamrock Shake as I do. Don’t hesitate to make it your own with flavors and mix-ins your family loves. Remember, a homemade shamrock shake can really become a sweet tradition filled with fun memories and smiles.
And hey, if you love this Lucky Green Shamrock Shake, be sure to check out other fun festive recipes like this easy fried green tomatoes or a potato and green bean salad for a savory sidekick to your holiday dessert. They pair beautifully!
Here’s to hoping your kitchen will smell like fresh mint and happiness as you blend and share your own Lucky Green Shamrock Shake. Cheers to time spent around the blender making memories!
Lucky Green Shamrock Shake

Celebrate St. Patrick’s Day with this vibrant and creamy Lucky Green Shamrock Shake, made with natural ingredients for a refreshing treat.
- Prep Time: 5 minutes
- Cook Time: 0 minutes
- Total Time: 5 minutes
- Yield: 2 servings
- Category: Dessert
- Method: No-Cook
- Cuisine: American
Ingredients
- 2 cups vanilla ice cream
- 1 cup whole milk
- 1/2 teaspoon peppermint extract
- 1/4 cup fresh spinach leaves (for natural green color)
- 2 teaspoons honey or agave syrup
- Green food coloring (optional, for a more vivid color)
- Whipped cream, for topping
- Mini chocolate chips or green sprinkles, for garnish
Instructions
- In a blender, combine the vanilla ice cream, whole milk, peppermint extract, fresh spinach leaves, and honey.
- Blend on high speed until smooth and vibrant green. If desired, add a drop or two of green food coloring and blend again to intensify color.
- Pour the shake into chilled glasses.
- Top each shake with a generous swirl of whipped cream.
- Garnish with mini chocolate chips or green sprinkles for a festive touch.
- Serve immediately and enjoy your Lucky Green Shamrock Shake!
Notes
For a dairy-free version, substitute the ice cream and milk with coconut milk-based alternatives and use maple syrup instead of honey.