

The humble waffle, with its characteristic grid pattern and golden crust, has been a cherished breakfast staple for generations. This classic waffle recipe strikes a balance between a fluffy interior and crisp exterior, achieved by the right combination of ingredients and proper technique. Whether this is your first time using a waffle iron or you’re refining your process, understanding the role of each ingredient and following straightforward preparation steps will help you make waffles that please your family every time. From the batter’s texture to cooking temperatures, small details matter in creating waffles that are consistently satisfying.
Your Ingredient List
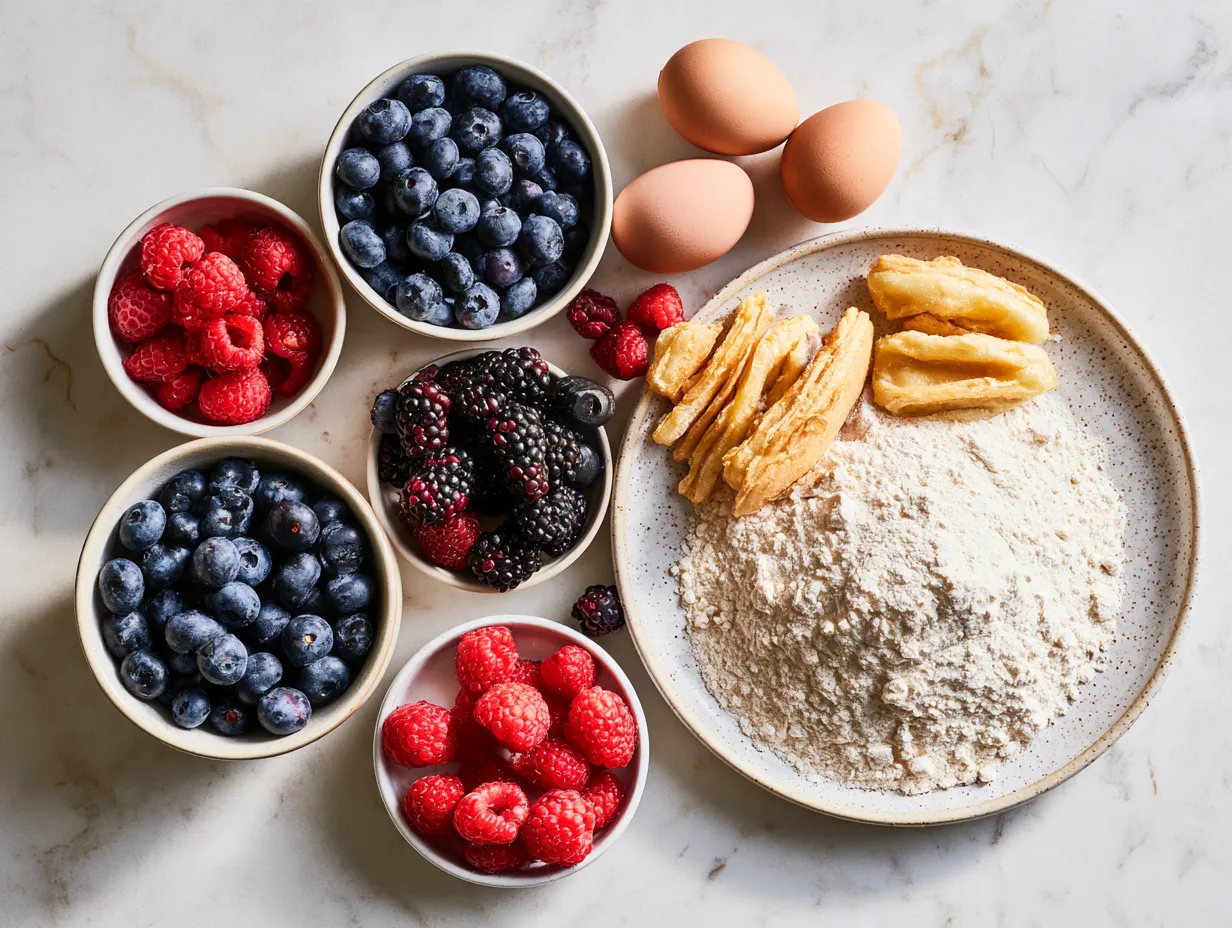
2 cups all-purpose flour: Provides structure to the waffles; sifted for lightness
2 tablespoons sugar: Adds subtle sweetness and aids browning
1 tablespoon baking powder: Leavens the batter for fluffiness
½ teaspoon salt: Balances flavor and enhances other tastes
2 large eggs: Bind ingredients and contribute to a tender crumb
1¾ cups milk: Hydrates the batter; whole milk preferred for richness
½ cup vegetable oil or melted butter: Adds moisture and helps crispness
1 teaspoon vanilla extract (optional): Enhances overall flavor profile
Bringing It Together
1. Preheat your waffle iron according to manufacturer instructions to ensure even cooking and a crisp crust.
2. In a large mixing bowl, whisk together the dry ingredients: flour, sugar, baking powder, and salt.
3. In a separate bowl, beat the eggs. Then add the milk, oil (or melted butter), and vanilla extract if using, mixing until combined.
4. Pour the wet ingredients into the dry mixture. Stir gently with a spatula just until combined — the batter will be slightly lumpy, which helps keep the waffles tender.
5. Lightly grease the waffle iron if needed to prevent sticking.
6. Pour an appropriate amount of batter onto the center of the waffle iron; avoid overfilling as the batter will spread during cooking.
7. Close the lid and cook until the waffle is golden brown and crisp, usually about 4 to 6 minutes, depending on your waffle iron. Avoid opening the lid too early to prevent tearing.
8. Carefully remove the waffle and place it on a wire rack to keep it crisp while you cook remaining waffles.
Serving It Up
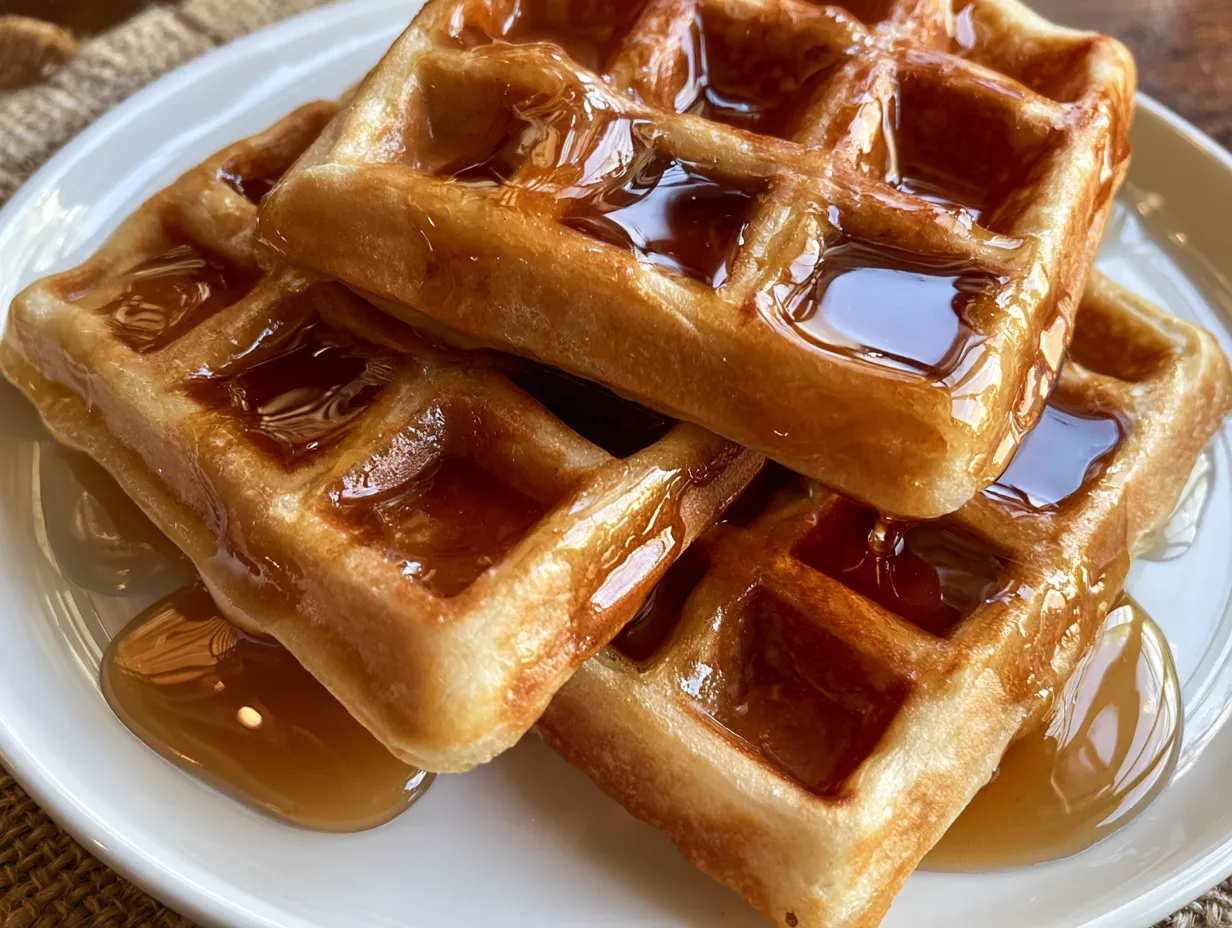
Serve these waffles warm with a variety of toppings to suit the entire family. Classic accompaniments include maple syrup and butter, fresh berries, or sliced bananas. For a special treat, add a dollop of whipped cream or a sprinkle of powdered sugar. For a savory twist, try crispy bacon or melted cheese alongside. Waffles also pair beautifully with yogurt and honey for a lighter, wholesome option. Leftover waffles can be reheated in a toaster or oven to regain crispness.
Good to Know
Q: Can I prepare waffle batter ahead of time?
A: Yes, you can prepare the batter up to 12 hours in advance. Store it covered in the refrigerator and give it a gentle stir before cooking. Note that baking powder’s leavening power begins as soon as it’s wet, so batter may lose some lift if stored too long.
Q: What if I don’t have a waffle iron?
A: This batter is specifically designed for waffles and relies on the iron’s heat circulation. For alternatives, make pancakes by cooking batter on a griddle or pan, adjusting cooking times as pancakes cook faster. You can explore other waffle variations like cinnamon roll waffles with cream cheese glaze or cottage cheese protein waffles for something a bit different.
Q: Can I substitute ingredients?
A: You can substitute milk with almond, soy, or oat milk for dairy-free options. Butter can replace vegetable oil for a richer flavor. Using self-rising flour instead of all-purpose flour and baking powder can work, but omit extra salt and baking powder from the recipe.
Q: How do I store leftover waffles?
A: Cool waffles completely and store in an airtight container or zip-top bag in the refrigerator for up to 3 days. For longer storage, freeze on a baking sheet, then transfer to a freezer bag for up to 2 months.
Mastering this straightforward waffle recipe offers a reliable foundation for delicious homemade waffles any day of the week. Pay attention to mixing technique and cooking times to achieve the ideal texture. Experimenting with toppings and mix-ins can personalize your waffles, making breakfast both comforting and exciting for your family. Enjoy crafting crispy, golden waffles that bring warmth and flavor to your table. For further inspiration on creating delightful waffle dishes, you might like these crispy chicken waffles, or check out detailed guides on making perfect waffles at home and trusted classics such as the classic waffle recipe or Basic Waffle by Alton Brown.
Waffles

Classic waffles are crisp on the outside and fluffy inside, perfect for a delicious breakfast or brunch treat.
- Prep Time: 10 minutes
- Cook Time: 15 minutes
- Total Time: 25 minutes
- Yield: 4 servings
- Category: Breakfast
- Method: Baked
- Cuisine: American
Ingredients
- 2 cups all-purpose flour
- 2 tablespoons sugar
- 1 tablespoon baking powder
- 1/2 teaspoon salt
- 2 large eggs
- 1 3/4 cups milk
- 1/2 cup vegetable oil
- 1 teaspoon vanilla extract
Instructions
- Preheat your waffle iron according to the manufacturer’s instructions.
- In a large bowl, whisk together flour, sugar, baking powder, and salt.
- In another bowl, beat the eggs and then add milk, vegetable oil, and vanilla extract; mix well.
- Pour the wet ingredients into the dry ingredients and stir until just combined; do not overmix.
- Lightly grease the waffle iron and pour batter onto it, spreading evenly.
- Cook the waffles until golden brown and crisp, about 4-5 minutes depending on your waffle iron.
- Remove waffles carefully and serve warm with your favorite toppings.
Notes
For extra fluffy waffles, separate the eggs and beat the egg whites until stiff peaks form, then fold gently into the batter.