

Creating Halloween Dirt Cups starts with a simple set of ingredients that combine to deliver the perfect spooky treat. The base of this dessert is creamy chocolate pudding, which provides a smooth, rich texture. To mimic “dirt,” crushed chocolate sandwich cookies are added for that crumbly, slightly crunchy contrast. Gummy worms are the fun, creepy-crawly topping, adding both color and chewiness that kids and adults enjoy. If you prefer a homemade touch, you can prepare pudding from scratch, but instant pudding mixes work well for ease and consistency. When selecting sandwich cookies, the classic chocolate and cream filling varieties work best to achieve the dark “dirt” appearance.
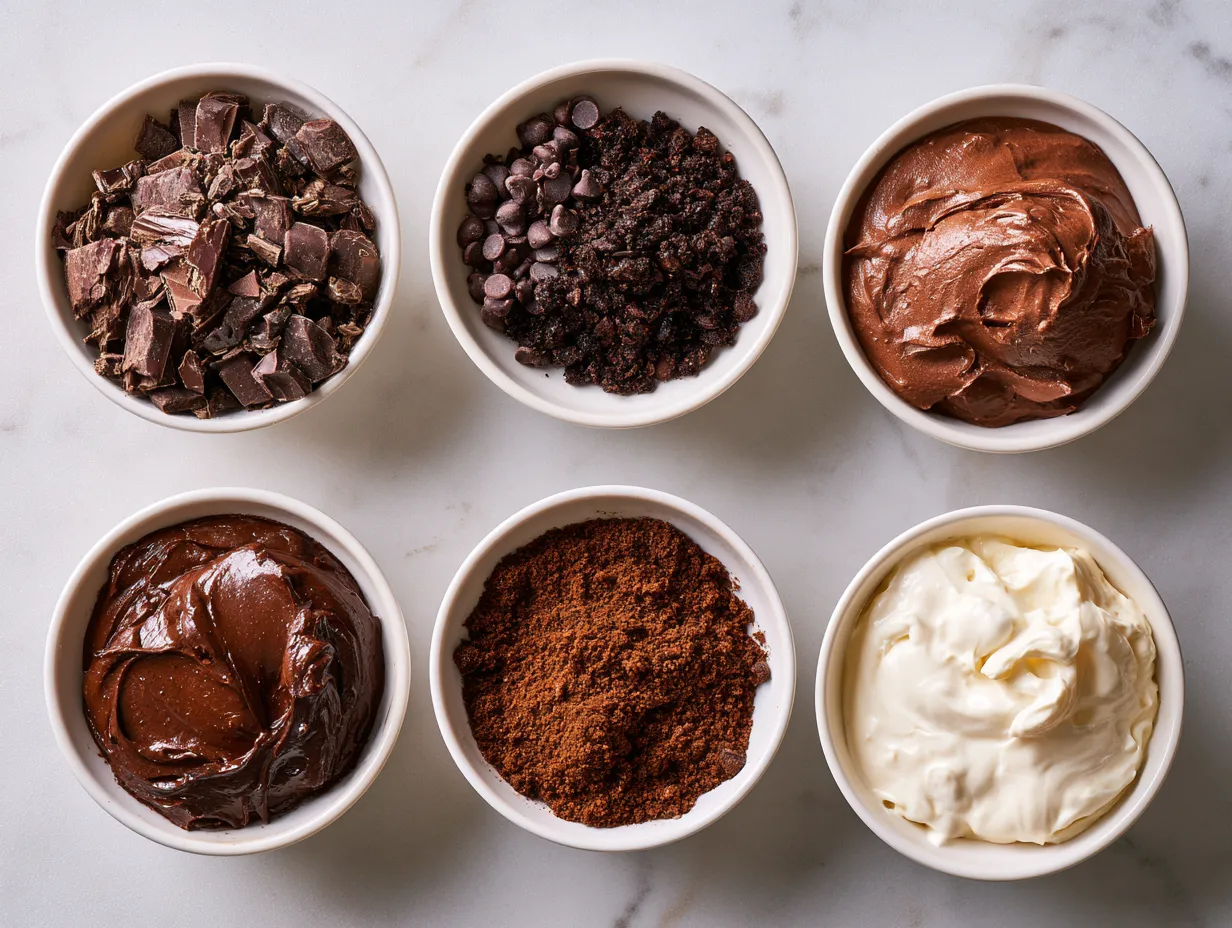
Ingredients:
- 2 cups chocolate pudding (instant or homemade)
- 1 ½ cups chocolate sandwich cookies, crushed finely
- Gummy worms, for garnish
Letting each ingredient play its specific role ensures you get the right balance of texture and flavor.
Bringing It Together
1. Prepare the chocolate pudding according to the package instructions or your preferred homemade recipe. Once made, chill it in the refrigerator for at least 30 minutes to help it set and thicken.
2. While the pudding chills, place the chocolate sandwich cookies into a sealed plastic bag and crush them into fine crumbs using a rolling pin or a food processor. Aim for a texture similar to soil but with some small chunks for interest.
3. Once the pudding is adequately chilled and firm, spoon it into clear cups or small dessert containers. Fill each cup about two-thirds full.
4. Generously sprinkle the crushed cookies over the pudding layer, covering the surface completely to create the look of dirt.
5. Finally, add gummy worms on top of the crumb layer, arranging them so they appear to be crawling out of the “dirt.” You can even partially press a few into the crumbs for added effect.
6. Refrigerate the assembled cups until ready to serve, ideally keeping them covered with plastic wrap to maintain freshness.
Serving It Up
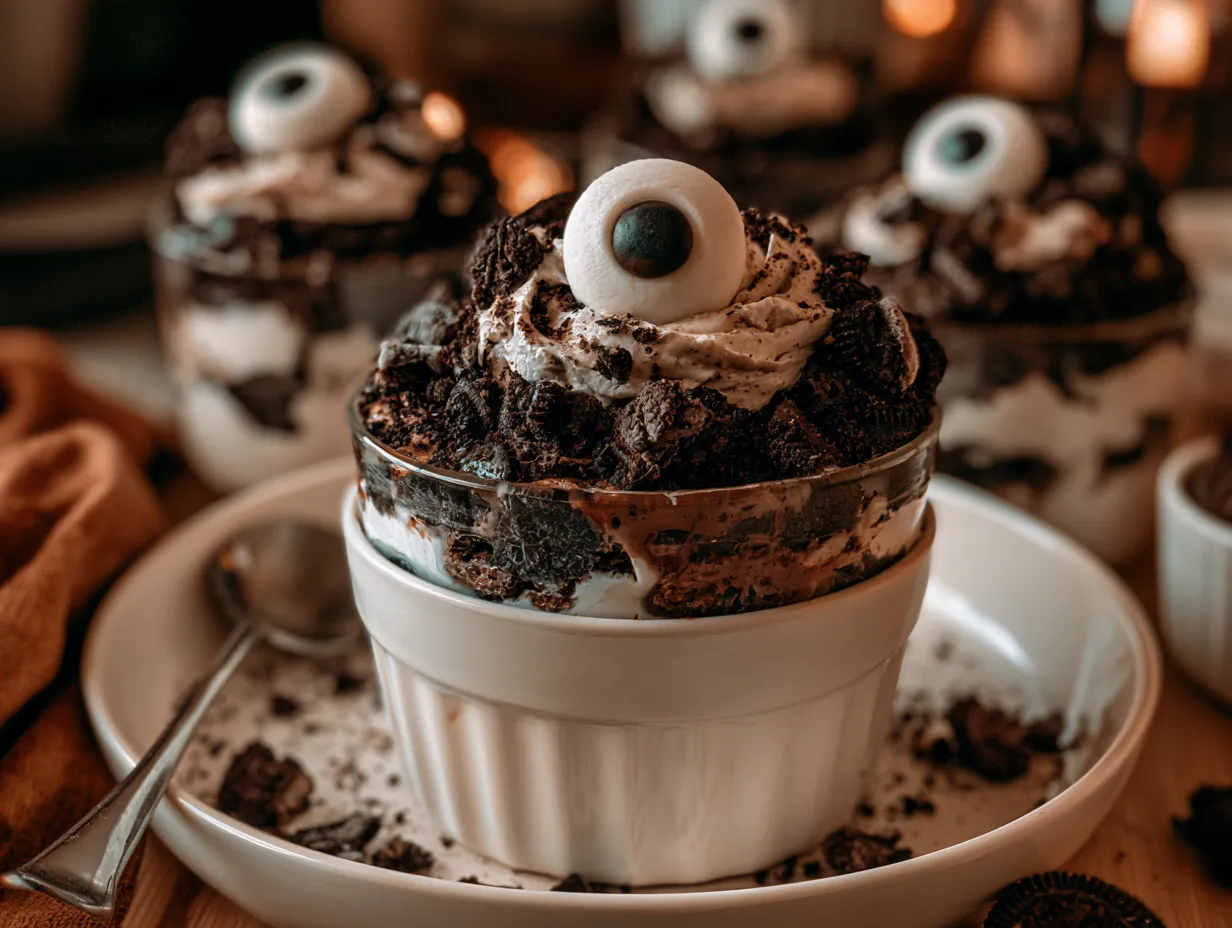
Present Halloween Dirt Cups in clear cups to showcase the layered look of creamy pudding and crumbly cookie “dirt.” To enhance the spooky vibe, consider using themed cups or placing them on a tray decorated with Halloween motifs such as mini pumpkins or faux cobwebs. These dirt cups pair well with other creepy Halloween snacks like caramel apples or pumpkin muffins for a festive dessert spread. For an extra touch, dust a little cocoa powder over the cookie crumbs or add small edible candy eyes to create “bug” effects.
Check out this Halloween chocolate chip cookies recipe for more festive treats to accompany your dirt cups. You might also enjoy the savory flavors in shrimp dirty rice or indulge in finger-friendly cranberry brie puff pastry cups for a balanced spread.
Good to Know
Q: Can I make Halloween Dirt Cups ahead of time?
A: Yes, you can prepare them a few hours or even a day ahead. Keep them covered in the refrigerator to prevent the cookie crumbs from becoming soggy.
Q: What if I don’t have gummy worms?
A: Substitute with other Halloween-themed candies like candy spiders, colored sprinkles, or chopped chocolate pieces.
Q: How do I store leftovers?
A: Store any leftovers in airtight containers in the refrigerator for up to 2 days. The cookie crumbs may soften over time but will still taste delicious.
Q: Can I use a different pudding flavor?
A: Chocolate pudding works best for the dirt appearance, but for a twist, try adding a thin layer of vanilla pudding beneath the chocolate and top with the cookie crumbs.
One Last Thought
Halloween Dirt Cups offer a straightforward yet fun way to create a festive dessert that appeals to both kids and adults. Their layered textures and playful gummy worm toppings make them a standout at any Halloween party. Keep portions moderate and prepare them just before serving for the best texture contrast. With just a few classic ingredients and simple assembly, you’ll have a charming treat that brings a touch of spooky delight to your family gatherings. For other themed dessert ideas, exploring recipes like Halloween Dirt Cups, Easy Halloween Dirt Cups Recipe, or Easy Halloween Dirt Cups with Homemade Chocolate will keep celebrations sweetly spooktacular.
Halloween Dirt Cups

Delicious Halloween Dirt Cups featuring creamy chocolate pudding layered with crushed Oreo cookies and festive gummy worms, perfect for a spooky dessert treat.
- Prep Time: 15 minutes
- Cook Time: 0 minutes
- Total Time: 75 minutes
- Yield: 6 servings
- Category: Dessert
- Method: No-Cook
- Cuisine: American
Ingredients
- 2 cups cold whole milk
- 1 package (3.9 oz) instant chocolate pudding mix
- 1 cup heavy cream
- 2 tablespoons powdered sugar
- 15 Oreo cookies, finely crushed
- 12 gummy worms (for decoration)
- Plastic cups or small dessert glasses (6 servings)
Instructions
- In a medium bowl, whisk the instant chocolate pudding mix with cold milk until thickened, about 2 minutes.
- In a separate bowl, whip the heavy cream with powdered sugar until soft peaks form to create whipped topping.
- Gently fold half of the whipped cream into the chocolate pudding until smooth and creamy.
- Layer two tablespoons of crushed Oreos evenly into the bottom of each plastic cup.
- Add a layer of the chocolate pudding mixture over the Oreos in each cup.
- Sprinkle another two tablespoons of crushed Oreos over the pudding layer.
- Top each cup with a dollop of whipped cream and garnish with two gummy worms to resemble creepy crawlies.
- Chill the cups in the refrigerator for at least 1 hour before serving to let the flavors meld.
Notes
For extra spooky fun, try adding small candy eyeballs or candy spiders on top instead of gummy worms.