

If you ask me, nothing says springtime like a batch of Easter Dirt Cake Cups. I still remember the first time I made these charming little treats—they’re a feast for the eyes and a nostalgic playground for kids’ taste buds all wrapped in one. There’s something so delightfully messy yet fun about those layers of chocolate pudding dirt cups topped with gummy worms and pastel sprinkles that just scream Easter. It wasn’t long before these Easter Dirt Cake Cups became the star of every holiday gathering at our house, especially since they’re a simple no-bake dessert that saves me from the usual kitchen chaos during springtime celebrations.
The smell of the chocolate pudding as it thickens, mixed with the sweet scent of whipped cream, brings me right back to those moments when the kids’ eager hands would scramble for a cup, their faces lighting up with each spoonful. Making Easter Dirt Cake Cups is almost like a little ritual, a comforting excuse to slow down and share a laugh or two while layering pudding, crushed cookies, and toppings in clear cups—so satisfying to watch those colors and textures build up.
I’ll be honest, though—there was a time I struggled with getting the pudding just right for these Easter dessert cups. My first attempt was a bit too runny, making the “dirt” less convincing. But after a few tries and picking tips from seasoned home cooks online, I got the texture down perfectly, which made all the difference. These days, making Easter Dirt Cake Cups fits effortlessly into our busy family life. It’s one of those recipes I keep coming back to because it’s both foolproof and endlessly festive.
If you’re anything like me and love easy-to-make springtime pudding cups that thrill both kids and adults alike, wait until you see how these Easter Dirt Cake Cups come together. Whether you’re prepping for a family brunch, a kids Easter treat swap, or just craving a nostalgic chocolate pudding dirt cups fix, I’m excited to share everything I know about these delightful cups that have earned a permanent place in my holiday repertoire. And hey, if you want to see a slightly different take on these, check out these Easter Dirt Cake Pots too—they’re just as fun!
Ingredients
Here’s what you’ll need to make your own crowd-pleasing Easter Dirt Cake Cups. I always make sure to have these ingredients on hand, especially during springtime when cravings for a sweet kids Easter treat spike.
- 1 (8-ounce) package cream cheese, softened – I find this adds the perfect creamy tang to balance the sweetness.
- 1/2 cup powdered sugar – For just the right touch of sweetness in the pudding layer.
- 2 cups cold milk – Full-fat milk works best for creaminess in your chocolate pudding dirt cups.
- 1 (3.9-ounce) package instant chocolate pudding mix – This is the heart of those rich chocolate pudding dirt cups.
- 2 cups heavy whipping cream – Whipped until stiff peaks form, this gives your Easter Dirt Cake Cups a fluffy, light top layer.
- 1 box of chocolate sandwich cookies (like Oreos), crushed – These add the “dirt” effect that kids just love to dig into.
- Gummy worms and Easter-themed sprinkles – For the fun, decorative finish that turns these into a festive Easter no-bake dessert.
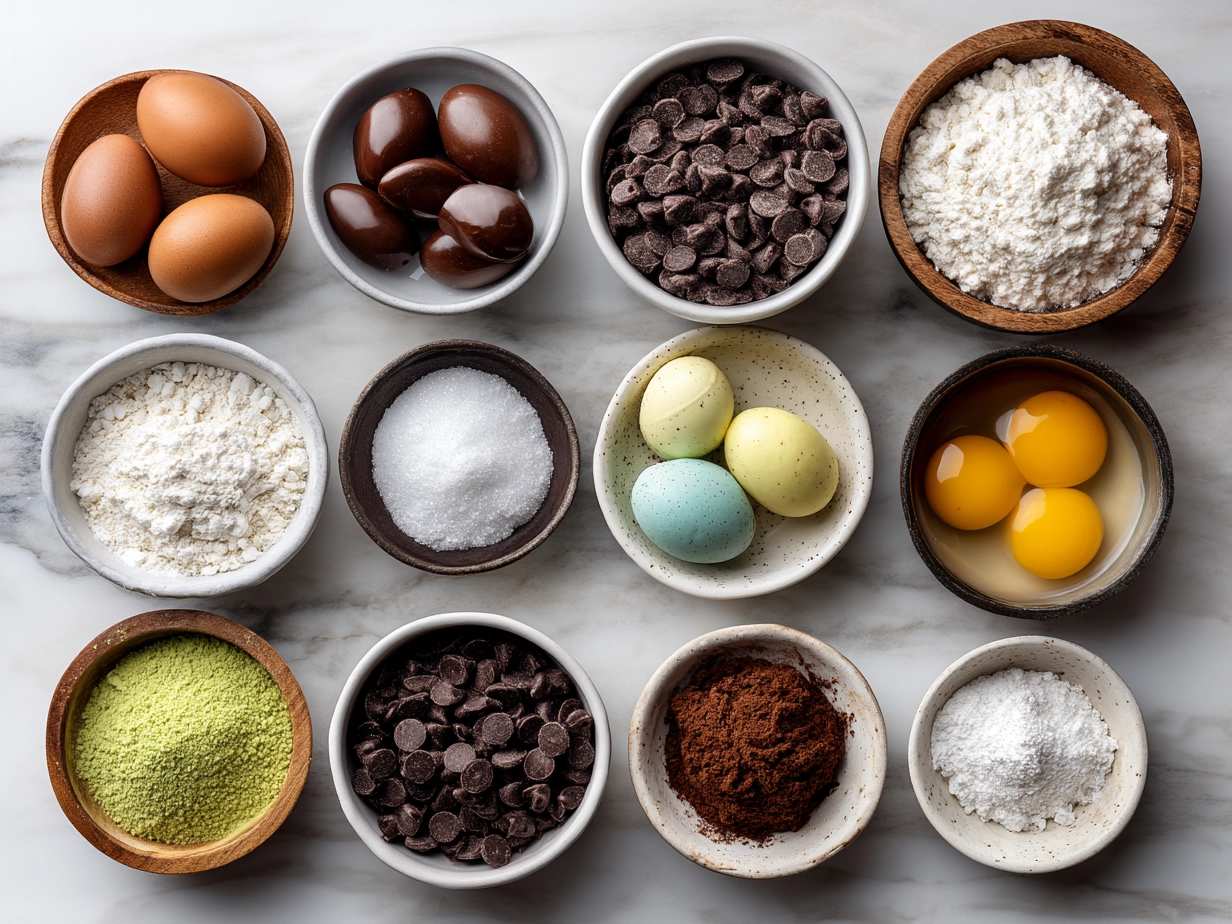
I always buy my pudding mix and cookies at the local big-box grocery store, but you can also find some excellent options online if you want to upgrade to gluten-free or organic versions. Here’s a little trick I learned while making Easter Dirt Cake Cups from my mom: crush your cookies in a ziplock bag with a rolling pin—so much easier than using a food processor and less messy! Plus, if you’re in a rush, you can prep the cream cheese mixture and pudding ahead of time to make assembly a breeze right before your Easter gathering.
Got leftover ingredients? Store your whipped cream in an airtight container in the fridge for up to two days, and the cookies stay fresh sealed at room temperature for several weeks. Not only is this recipe budget-friendly, but it’s also designed to make the most of pantry staples so you can whip up these springtime pudding cups whenever the mood strikes.
If you want even more ideas on Easter dessert cups or how to shop smartly for holiday baking essentials, these tips from Food Network helped me a lot when I was starting out.
How to Make – Step-by-Step
Now, let’s get hands-on with these super fun Easter Dirt Cake Cups! Don’t worry if this is your first time—your chocolate pudding dirt cups will come out beautiful and delicious, trust me. I’ve made this recipe dozens of times, and it usually takes me about 20 minutes from start to finish, plus a little chilling time.
- Start with your cream cheese and sugar: In a mixing bowl, beat the softened cream cheese with powdered sugar until creamy and smooth. I learned the hard way that scraping the sides of the bowl is key to avoid lumps in your Easter Dirt Cake Cups.
- Prepare the pudding: Whisk the instant chocolate pudding mix with cold milk until it thickens (about 2 minutes). Your pudding should smell rich and chocolatey, just like your favorite childhood treat.
- Whip the cream: Beat the heavy cream with a hand mixer until stiff peaks form. This is what gives your Easter Dirt Cake Cups a fluffy texture and lightness that keeps you coming back for more.
- Combine and fold: Gently fold the pudding into your cream cheese mixture, then carefully fold in the whipped cream. Don’t rush this step; you want to keep it airy but well-incorporated.
- Assemble the layers: Start with a spoonful of crushed cookies at the bottom of each cup, then alternate layers of the pudding mixture and crushed cookies until the cup is full. Top with some gummy worms and Easter-themed sprinkles for that adorable kids Easter treat look.
- Chill before serving: Pop your Easter Dirt Cake Cups into the fridge for at least an hour to let everything set. While they chill, I usually prep the dining table or clean up the kitchen—multitasking always helps on busy days!
If you’re curious about alternate ways to layer or decorate, these Easter Dirt Cake Casserole ideas show some lovely variations I’ve tried when serving bigger crowds. Also, for a troubleshooting boost, King Arthur Baking has straightforward tips on pudding textures that helped me improve my chocolate pudding dirt cups over time.
Serving
When it comes to serving, Easter Dirt Cake Cups shine in their simplicity. The kids love it when I bring out the cute little cups—they immediately gravitate towards the gummy worms and those crunchy cookie crumbs nestled inside. It’s such a fun springtime pudding cups treat that turns any gathering into a smile fest. Sometimes, I like to pair these with a plate of fresh fruit or carrot sticks dipped in ranch to balance out the sweetness, especially if there are picky eaters around.
This Easter no-bake dessert is perfect for potlucks, school parties, or as a last-minute treat to sweeten up those busy weekend afternoons. On warm spring days, I sometimes transfer them to small Mason jars for an easy grab-and-go version, which kids adore. Presentation-wise, clear plastic cups let all those layers be the star, but if you want to get fancy, try layering them in pastel-colored glassware or little flower pots (inspired by these Easter Dirt Cake Pots).
In the rare event you have extra Easter Dirt Cake Cups leftover, they store beautifully in the fridge for up to two days. We’ve also repurposed them as an ice cream topping or mixed into yogurt for a quick, fun breakfast twist. Friends always ask for this recipe; I think the blend of textures and nostalgic flavors really hits the right note at Easter.
For some gorgeous plating ideas and pairing tips, I recommend this delightful article from Southern Living that inspired me to up my Easter dessert cups game.
FAQs
Absolutely! I usually make mine the night before so the flavors meld beautifully by Easter morning. Just keep them tightly covered in the fridge.
Sure can! I’ve tried mixing cocoa powder, sugar, and cornstarch as a pudding base—takes a bit longer but works wonderfully for those who want to avoid instant mixes. My family liked it, but we do prefer the instant pudding for convenience on busy days.
Great question! To avoid soggy chocolate pudding dirt cups, layer crushed cookies just before assembling and don’t mix cookies directly into the pudding layers until right before serving. Also, chilled serving helps maintain that crunch.
Not as is, but swapping in gluten-free sandwich cookies works perfectly. I’ve made gluten-free versions for friends, and they loved them.
Definitely! Just multiply ingredients by two or three and layer into larger trifle bowls or multiple small cups. The Easter Dirt Cake Casserole method is a great option for big family gatherings.
Try swapping regular pudding mix for sugar-free, or use Greek yogurt whipped with a bit of honey instead of heavy cream. I’ve done this occasionally when mindful of sugar intake, and it still got rave reviews.
Cover with plastic wrap or lids and keep refrigerated. They stay good for 2-3 days, but after that, the cookie “dirt” starts to lose its crunch.
For more answers to common Easter Dirt Cake Cups questions, these tips from Taste of Home offer excellent guidance that helped me troubleshoot early attempts.
My Final Thoughts
There’s something truly magical about Easter Dirt Cake Cups that goes beyond just the delicious layers of sweetness. They bring a bit of whimsy and childhood joy back to the table with every bite. This recipe holds a special place in my heart because it’s from those moments spent with my family, sharing laughter, watching eager little faces light up, and sneaking spoonfuls when no one’s looking.
My Easter Dirt Cake Cups Pro Tips:
- Always whip your cream until stiff peaks form to keep the pudding mixture light and airy.
- Crush cookies fresh right before layering to retain that crucial “dirt” crunch.
- Don’t skip the chilling time—it helps the flavors marry and makes these Easter dessert cups easier to serve.
Over the years, I’ve tried a few variations of these Easter Dirt Cake Cups—adding coconut flakes for texture, swapping pudding flavors like vanilla or butterscotch, and even turning them into fun Easter poke cakes that act as a festive centerpiece (see my Easter poke cake recipe). My youngest prefers the classic chocolate pudding dirt cups, while my older kids love when I pile on extra gummy worms and colorful sprinkles.
I invite you to make these Easter Dirt Cake Cups your own, playing around with layers, decorations, and even presentation. I truly hope this recipe brings your family as much joy as it has mine over the years. Don’t be shy to share your own twists—after all, that’s what family recipes are all about. Happy Easter, and happy baking!
If you’re looking for related inspiration, these Easter Dirt Cake Pots and Easter Dirt Cake Casserole recipes might just become your next favorites too. For fresh ideas and seasonal treats, give Martha Stewart’s holiday dessert tips a peek—they’ve really helped me polish my presentation skills over the years.
Here’s to many years of sweet, messy, and joyful Easter Dirt Cake Cups memories in your home!
For even more inspiration, check out these delightful Easter Dirt Cake Cups, creative Oreo Dirt Cake Cups, and fun Easy Easter Oreo Dirt Pudding Cups with Candy Eggs recipes by other home cooks who share the same love for this nostalgic treat.
Easter Dirt Cake Cups

Easter Dirt Cake Cups are a fun and festive no-bake dessert featuring layers of creamy pudding, crushed chocolate cookies, and gummy worms, perfect for spring celebrations.
- Prep Time: 15 minutes
- Cook Time: 0 minutes
- Total Time: 15 minutes
- Yield: 12 servings
- Category: Dessert
- Method: No-Cook
- Cuisine: American
Ingredients
- 1 (14 oz) package chocolate sandwich cookies, crushed
- 1 (8 oz) package cream cheese, softened
- 1/2 cup unsalted butter, softened
- 1 (16 oz) container whipped topping, thawed
- 1 (3.4 oz) package instant vanilla pudding mix
- 2 cups cold milk
- Gummy worms for garnish
- Mini plastic cups for serving
Instructions
- In a large bowl, beat together cream cheese and butter until smooth.
- Add instant vanilla pudding mix and cold milk. Whisk until thickened, about 2 minutes.
- Fold in half of the whipped topping gently until combined.
- In mini cups, place a spoonful of crushed chocolate cookies as the “dirt” base.
- Add a layer of the pudding mixture on top of the cookies.
- Repeat layers until cup is full, ending with a cookie “dirt” layer.
- Top with remaining whipped topping and garnish with gummy worms.
- Refrigerate for at least 2 hours before serving to let flavors meld.
Notes
For an extra festive touch, try adding pastel-colored sprinkles on top or use different flavored gummy candies to match your Easter theme.