

The kitchen was a whirlwind: flour dusting every surface, a bowl of zest-strewn lemons rolling precariously close to the edge of the counter, and the unmistakable scent of citrus filling the air like the first warm breeze of spring. This wasn’t just any baking day—it was the day the classic tart lemon squares would shine in their spring baking debut. Those Spring Lemon Bars, with their sun-kissed brightness and buttery crumb, are more than a dessert; they’re a celebration of renewal and warmth after months of winter’s chill.
If you’ve ever tried to capture the essence of spring in a dessert, you know it’s a delicate balance. The tang of lemon must sing brightly without overpowering, the crust should offer a gentle buttery hug, and the whole spring baking ritual brings a kind of joy that lingers in the kitchen and at the table. These easy lemon bars are exactly that—a simple, vibrant citrus dessert that channels fresh energy into every bite. Imagine biting into a smooth lemon custard with just the right pucker, resting on a golden crust that’s tender and crumbly but firm enough to hold those beautiful squares.
The first time I made these bars was on a blustery March afternoon. I wanted to bring a slice of sunshine indoors, and as the bars baked, their aroma filled the house, lifting spirits and igniting eager anticipation. When I finally sliced into them, the edges were perfectly set with a slight jiggle in the center, a sign of a well-made filling. The bright yellow color reminds me of daffodils blooming outside the kitchen window. With every bite, the balance between sweetness and tartness made the dessert unmistakably spring—inviting you to savor the new season’s possibilities, one delicious bar at a time.
This lemon bar recipe is a classic with a fresh twist for spring: a touch lighter, with just enough tartness to wake your palate. The buttery crust is easy to make, forgiving even for first-time bakers, and the filling sets just right with a subtle dusting of powdered sugar to finish. These Spring Lemon Bars are a perfect way to bring a sunny, citrusy dessert to your family table or to a potluck where they’ll disappear first. Let’s dive into the ingredients and steps to make these tart lemon squares that speak of the season in every bite.
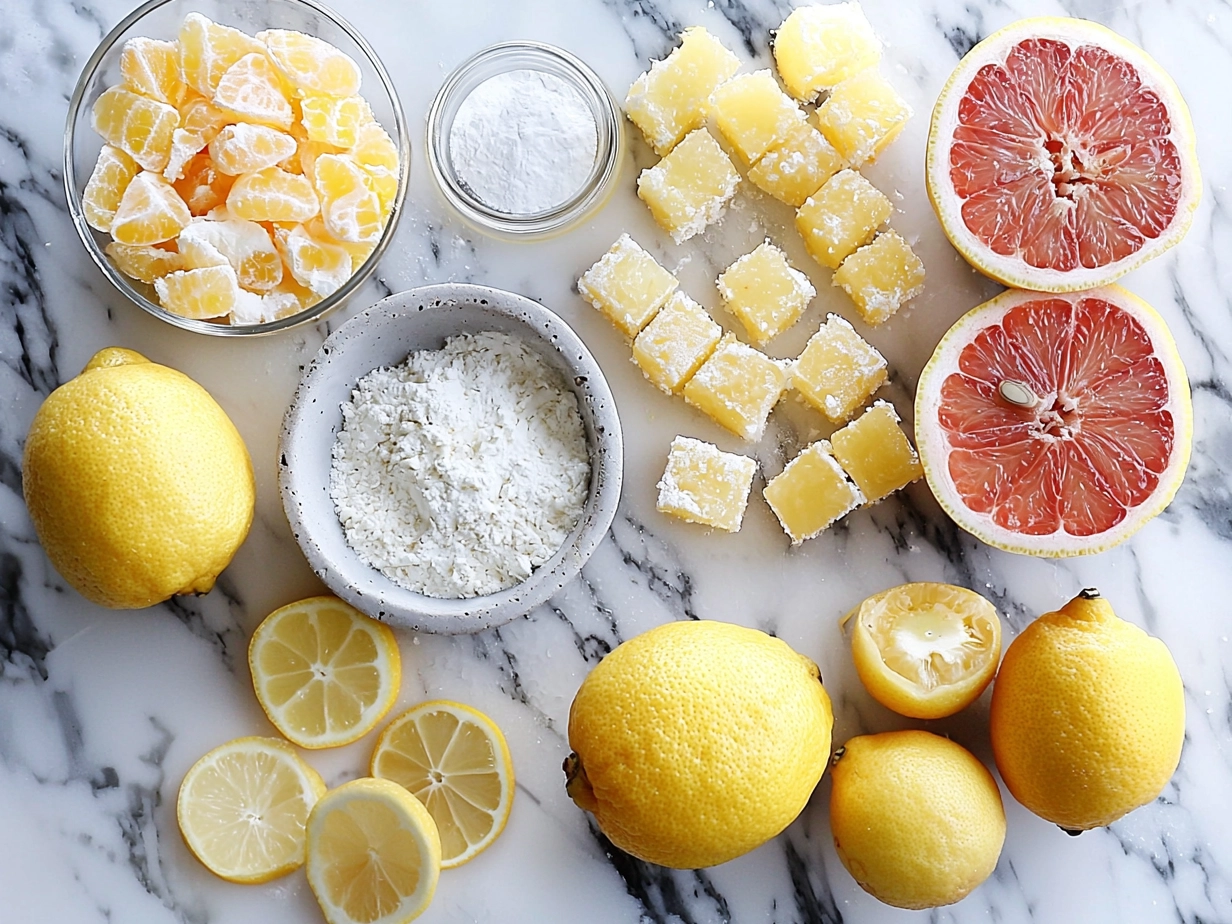
Ingredients for Spring Lemon Bars
For the crust:
- 1 cup (2 sticks) unsalted butter, softened (Substitute: margarine for budget-friendly option)
- 1/2 cup granulated sugar (Can use coconut sugar for a deeper flavor)
- 2 cups all-purpose flour (Gluten-free flour blends work but texture may vary)
- 1/4 teaspoon salt
For the lemon filling:
- 1 1/2 cups granulated sugar (Use fine sugar for smoother texture)
- 1/4 cup all-purpose flour (helps thicken without heaviness)
- 4 large eggs, at room temperature (Room temp eggs help filling set evenly)
- 2/3 cup freshly squeezed lemon juice (About 3–4 medium lemons, avoid bottled juice for best flavor)
- 1 teaspoon lemon zest (adds bright citrus oils)
For finishing:
- Powdered sugar, for dusting (Optional but adds a delicate sweetness & presentation)
Swaps and budget tips:
Butter is key for that rich crust, but you can cut costs by using a blend of butter and vegetable oil; it alters taste subtly but keeps texture nice. Fresh lemon juice and zest elevate the citrus dessert to another level; keep a small grater handy and choose lemons with bright, unblemished skins for the best flavor. If lemons are pricey, a mix of lemon and lime juice can add a delightful twist while stretching your yield a bit. Using finer sugar granules helps the filling come together smoothly while keeping your bars tender and light.
Steps to Make Perfect Spring Lemon Bars
- Prepare your pan and preheat the oven: Start by lining a 9×13-inch baking pan with parchment paper, allowing an overhang on two sides to lift bars out easily later. Preheat your oven to 350°F (175°C). This ensures even baking from the moment your batter hits the oven, crucial for that perfect crust texture.
- Make the crust: Cream the softened butter and 1/2 cup granulated sugar together until light and fluffy—about 3-5 minutes with a hand mixer. This step traps air to create a tender crumb. Slowly add 2 cups of flour and salt, mixing just until combined; over-mixing can toughen the crust. Press the dough evenly into the bottom of your prepared pan. Use the bottom of a flat glass or your hands to smooth it out, making sure edges aren’t thicker than the center.
- Bake the crust: Pop the crust into the preheated oven for 18-22 minutes, until it’s golden at the edges and lightly set on top. You might notice a lovely buttery aroma and tiny crackles—these are good signs. Pull it out and let it cool slightly while you prepare the filling; a hot crust can alter the filling’s cooking time unfavorably.
- Whisk the filling: In a bowl, whisk together the sugar and 1/4 cup flour. Add eggs, one at a time, whisking vigorously after each for a smooth custard base. Stir in lemon juice and zest last, combining evenly but avoid over-beating to keep the filling silky.
- Bake the lemon bars: Pour the filling over the warm crust and return to the oven. Bake for 20-25 minutes, or until the edges are set and the center jiggles just slightly when you gently shake the pan. This jiggle is key — overbaking will dry the filling, underbaking will leave it runny.
- Cool completely and chill: Let the lemon bars cool at room temperature for about 1 hour, then refrigerate for at least 2 hours. Chilling is crucial; it firms up the filling for those clean, tidy cuts that hold their shape. Patience here pays off in presentation and texture.
- Dust and serve: Use the parchment overhang to lift the entire slab out and place on a cutting board. Dust with powdered sugar for a delicate finish, then slice into squares — traditional size is about 2×2 inches.
Common mistakes to watch for:
- Underbaking crust leads to soggy bottoms.
- Overbeating eggs can incorporate too much air, causing cracks.
- Skimping on zest dulls the citrus punch.
- Not chilling means messy slices instead of neat spring lemon bars.
With these steps, your kitchen will soon fill with the unmistakable fragrance of fresh lemon sweetness balanced by a rich, buttery base. Each bite bites into spring itself, crisp and bright, a citrus dessert that’s as joyful as a sunny afternoon.
Presentation and Serving Ideas for Spring Lemon Bars
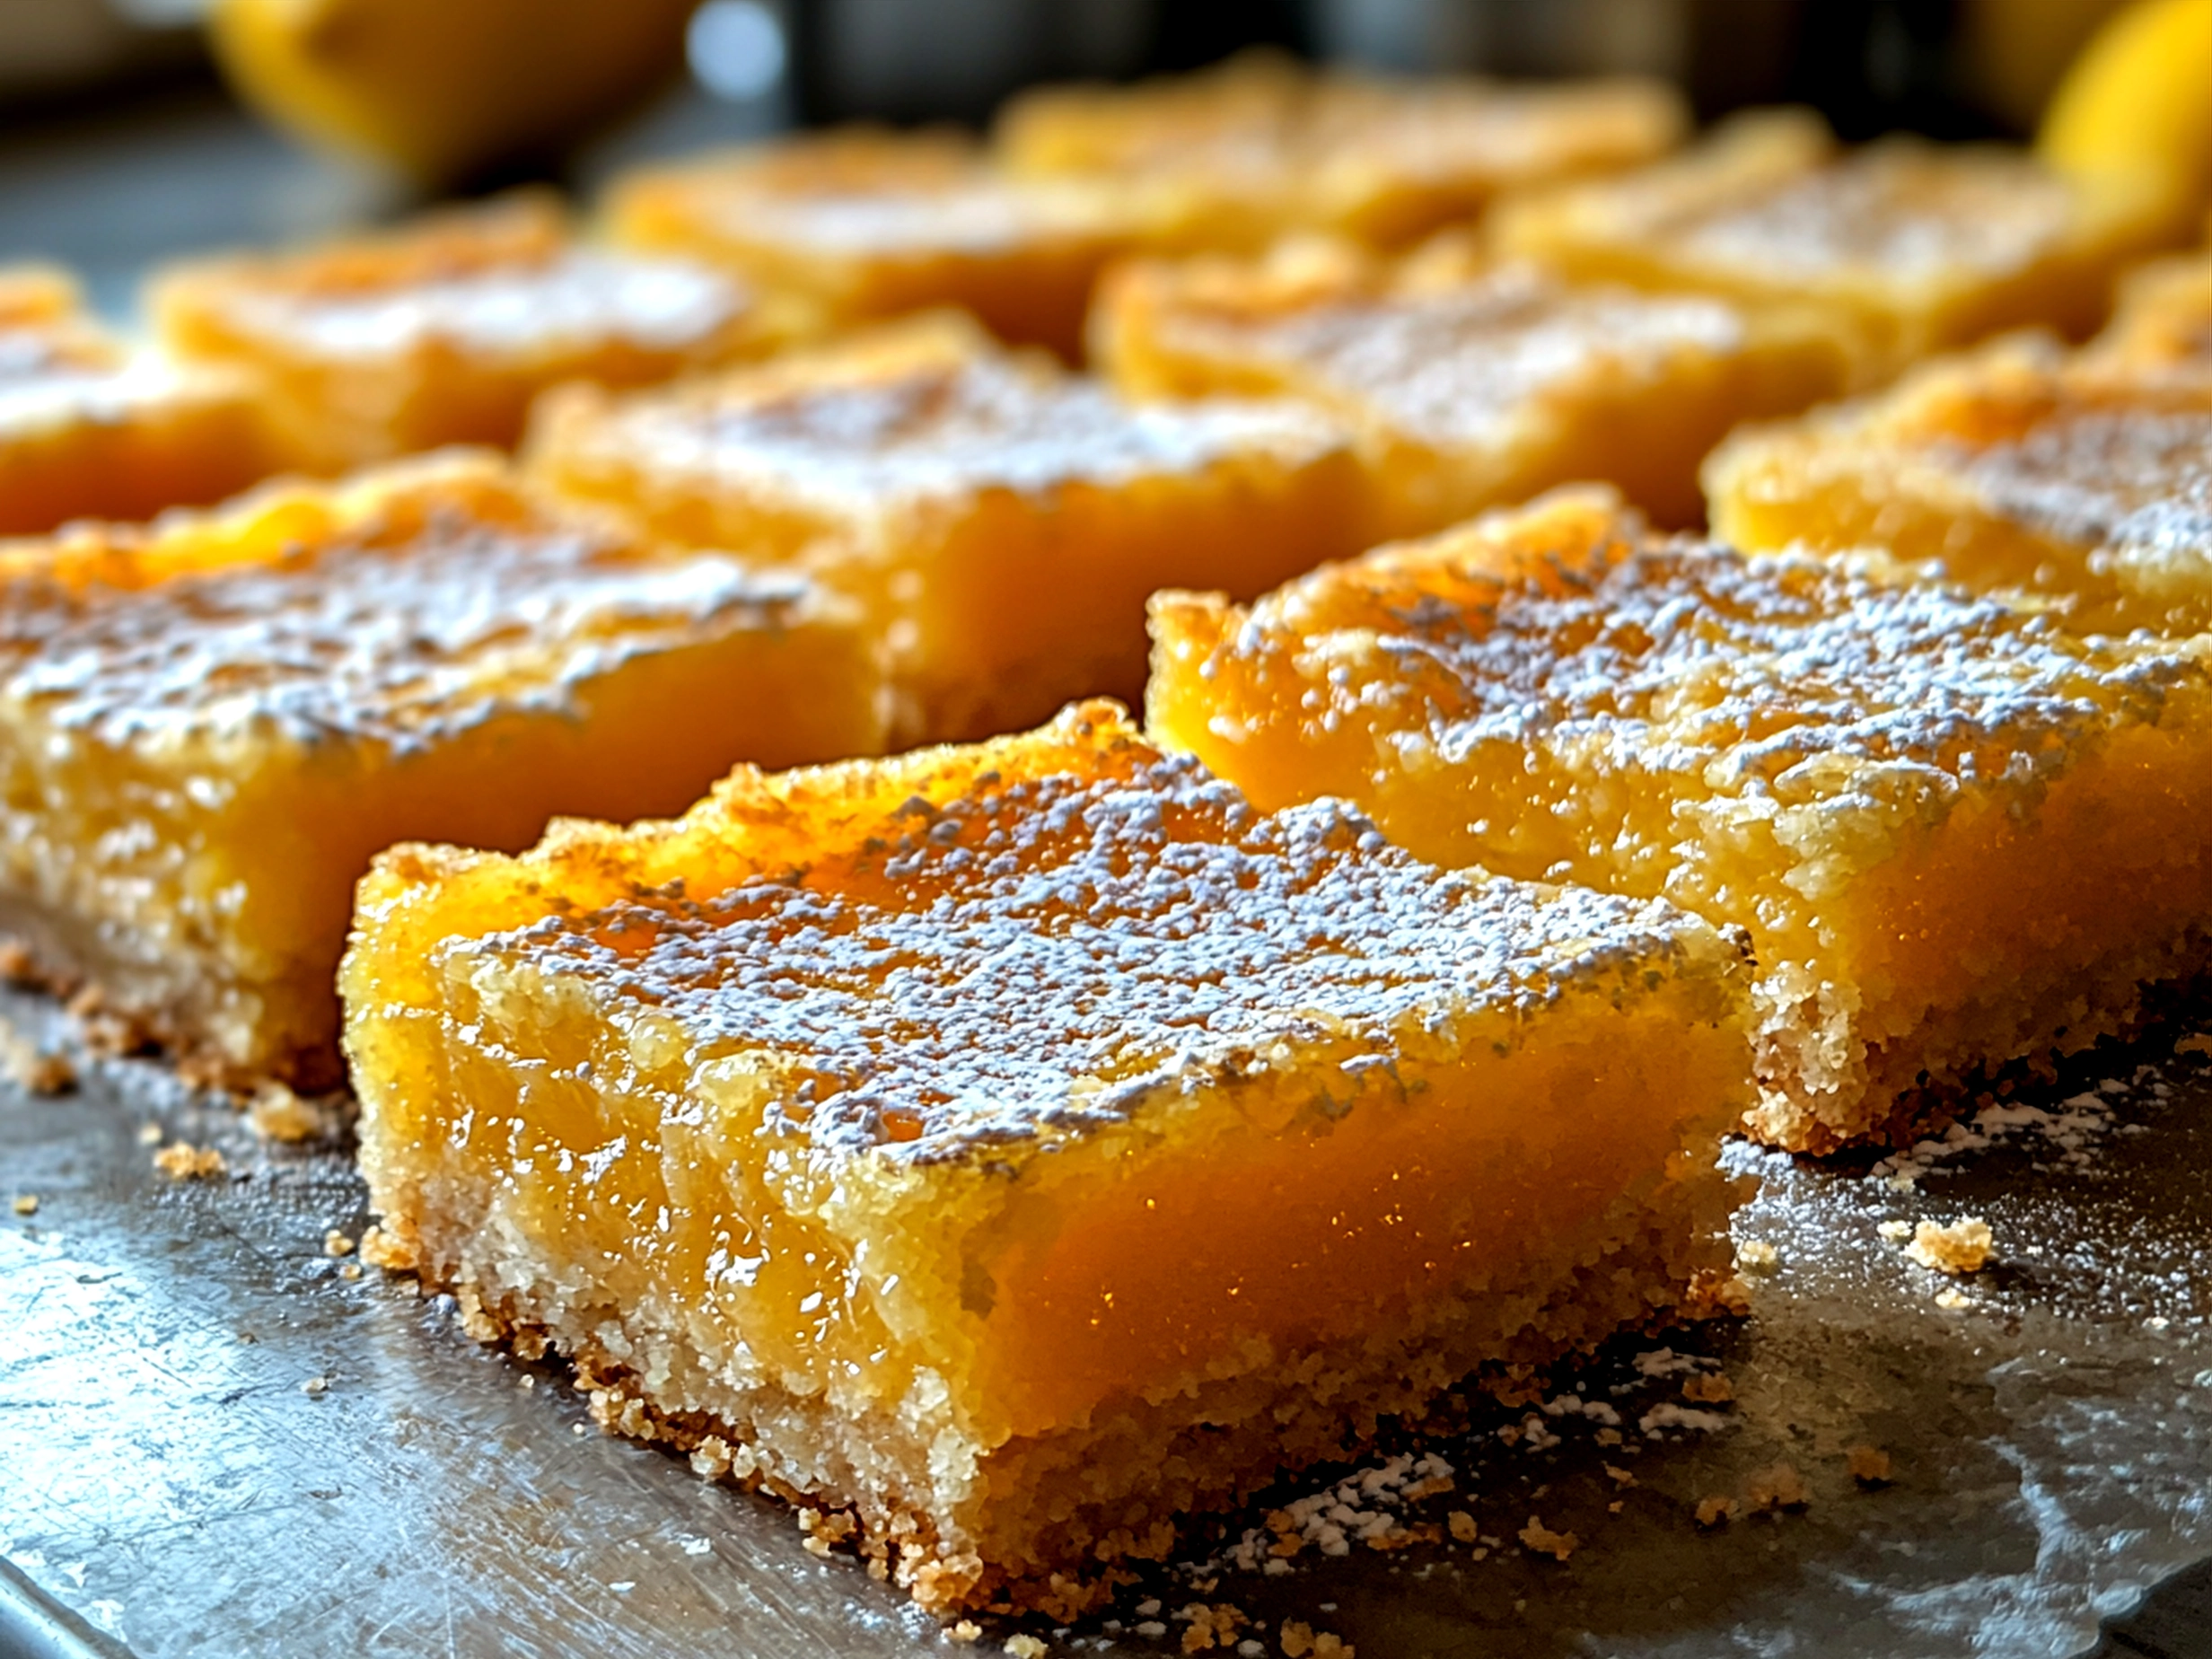
Spring lemon bars deserve to be showcased with as much love as you put into baking them. Once you’ve cut them into those perfect squares, arranging them on rustic wooden platters or vintage floral china plates adds charm and invites family to gather. Their inviting yellow hue pops beautifully against white or pastel ceramics, evoking garden picnics and Easter tables.
For a final touch, add a fresh mint leaf or a sprinkle of finely grated lemon zest on top—this not only brightens the look but refreshes the palate. Pairing these tart lemon squares with a light, floral tea like jasmine or chamomile enhances the delicate citrus notes without overpowering.
If you’re serving these bars at a spring brunch, consider complementing them with dishes like a spring vegetable salad with lemon tahini dressing, which echoes the citrus theme, or a buttery fish like lemon garlic butter cod with spring peas for a complete meal.
These bars shine at occasions from family gatherings to garden parties. Their portability and ease make them the perfect treat to take in a picnic basket or to a community potluck where they’re sure to be the first dessert gone. Light and refreshing, they offer a reprieve from denser desserts without sacrificing richness. Always serve slightly chilled; this preserves the integrity of the filling and enhances the melt-in-your-mouth texture everyone loves.
FAQs About Spring Lemon Bars
1. Why is my lemon bar filling too runny?
If you find the filling stays liquidy after baking, it’s usually because it’s underbaked or the egg-to-flour ratio is off. Make sure to bake until the center jiggles just slightly and refrigerate the bars for at least two hours—chilling helps it set properly.
2. Can I use bottled lemon juice?
While you can in a pinch, fresh lemon juice makes a huge flavor difference. Bottled juice often lacks brightness and can alter the balance of sweetness and tartness.
3. How do I prevent the crust from becoming soggy?
Blind-bake the crust fully until golden before adding the filling. Also, avoid overloading filling; it should be poured over a crust that’s slightly cool but not warm to prevent steam from softening the base.
4. What if I don’t have powdered sugar for dusting?
You can leave the bars plain or lightly brush with a simple syrup mixed with lemon zest to add shine and a touch of sweetness.
5. How can I make these lemon bars gluten-free?
Substitute the all-purpose flour with a 1:1 gluten-free blend that contains xanthan gum for structure. Expect minor texture differences; the crust might be a bit more crumbly.
6. Can I store lemon bars? How long do they last?
Store in an airtight container in the refrigerator for up to 4 days. The flavor actually deepens after sitting overnight!
7. Can I freeze Spring Lemon Bars?
Yes! Wrap tightly in plastic and foil and freeze for up to 2 months. Thaw overnight in the fridge before serving to maintain texture.
Conclusion
Spring Lemon Bars are a timeless way to welcome the season into your kitchen and onto your family’s table. From the first buttery bite to the last hint of zesty brightness, they capture the spirit of spring baking perfectly. Remember, the keys to success are simple: fresh lemons, well-creamed butter crust, just-right baking times, and patience to chill before slicing. Experiment with small twists like adding a hint of lavender to the crust or mixing lime juice with the lemon for a new citrus note.
Enjoy these tart lemon squares with your loved ones for celebrations or simple afternoons when you want to brighten the day. Let each bite remind you of sunshine, garden blooms, and that warm feeling of home. Ready to try this lemon bar recipe? I promise it’s easier than you think and will give you that joy only a perfect citrus dessert can bring. For more fresh spring inspiration, check out my Lemon Oatmeal Crumble Bars for a nutty twist or explore other lemon delights throughout your seasonal cooking!
Happy baking and joyful tasting! Your Spring Lemon Bars are waiting to bring sunshine to your kitchen this season.
For additional inspiration on making Spring Lemon Bars, watch this helpful video tutorial from Sally’s Baking or try the Foolproof Lemon Bars recipe by Bon Appétit. For a traditional take, see the Homemade Lemon Bars recipe at Nutmeg Nanny.
Spring Lemon Bars

Delight in the fresh, tangy flavor of Spring Lemon Bars featuring a buttery crust and zesty lemon filling, perfect for a light and refreshing dessert.
- Prep Time: 15 minutes
- Cook Time: 40 minutes
- Total Time: 55 minutes
- Yield: 16 servings
- Category: Dessert
- Method: Baked
- Cuisine: American
Ingredients
- 1 cup unsalted butter, softened
- 1/2 cup granulated sugar
- 2 cups all-purpose flour, divided
- 1/4 teaspoon salt
- 4 large eggs
- 1 1/2 cups granulated sugar
- 1/4 cup freshly squeezed lemon juice
- 2 teaspoons lemon zest
- 1/2 teaspoon baking powder
- Powdered sugar for dusting
Instructions
- Preheat the oven to 350°F (175°C). Grease a 9×13 inch baking pan or line with parchment paper.
- In a medium bowl, cream together the butter, 1/2 cup sugar, 1 1/2 cups flour, and salt until well blended. Press the mixture evenly into the prepared pan.
- Bake the crust for 15-20 minutes or until lightly golden. Remove from oven and set aside.
- In another bowl, whisk the eggs, remaining 1 1/2 cups sugar, lemon juice, lemon zest, 1/2 cup flour, and baking powder until smooth and combined.
- Pour the lemon filling over the hot crust and return to the oven for another 20-25 minutes until the filling is set.
- Allow to cool completely in the pan on a wire rack, then dust with powdered sugar and cut into bars.
Notes
For an extra burst of flavor, add a teaspoon of fresh thyme or basil to the lemon filling before baking.