
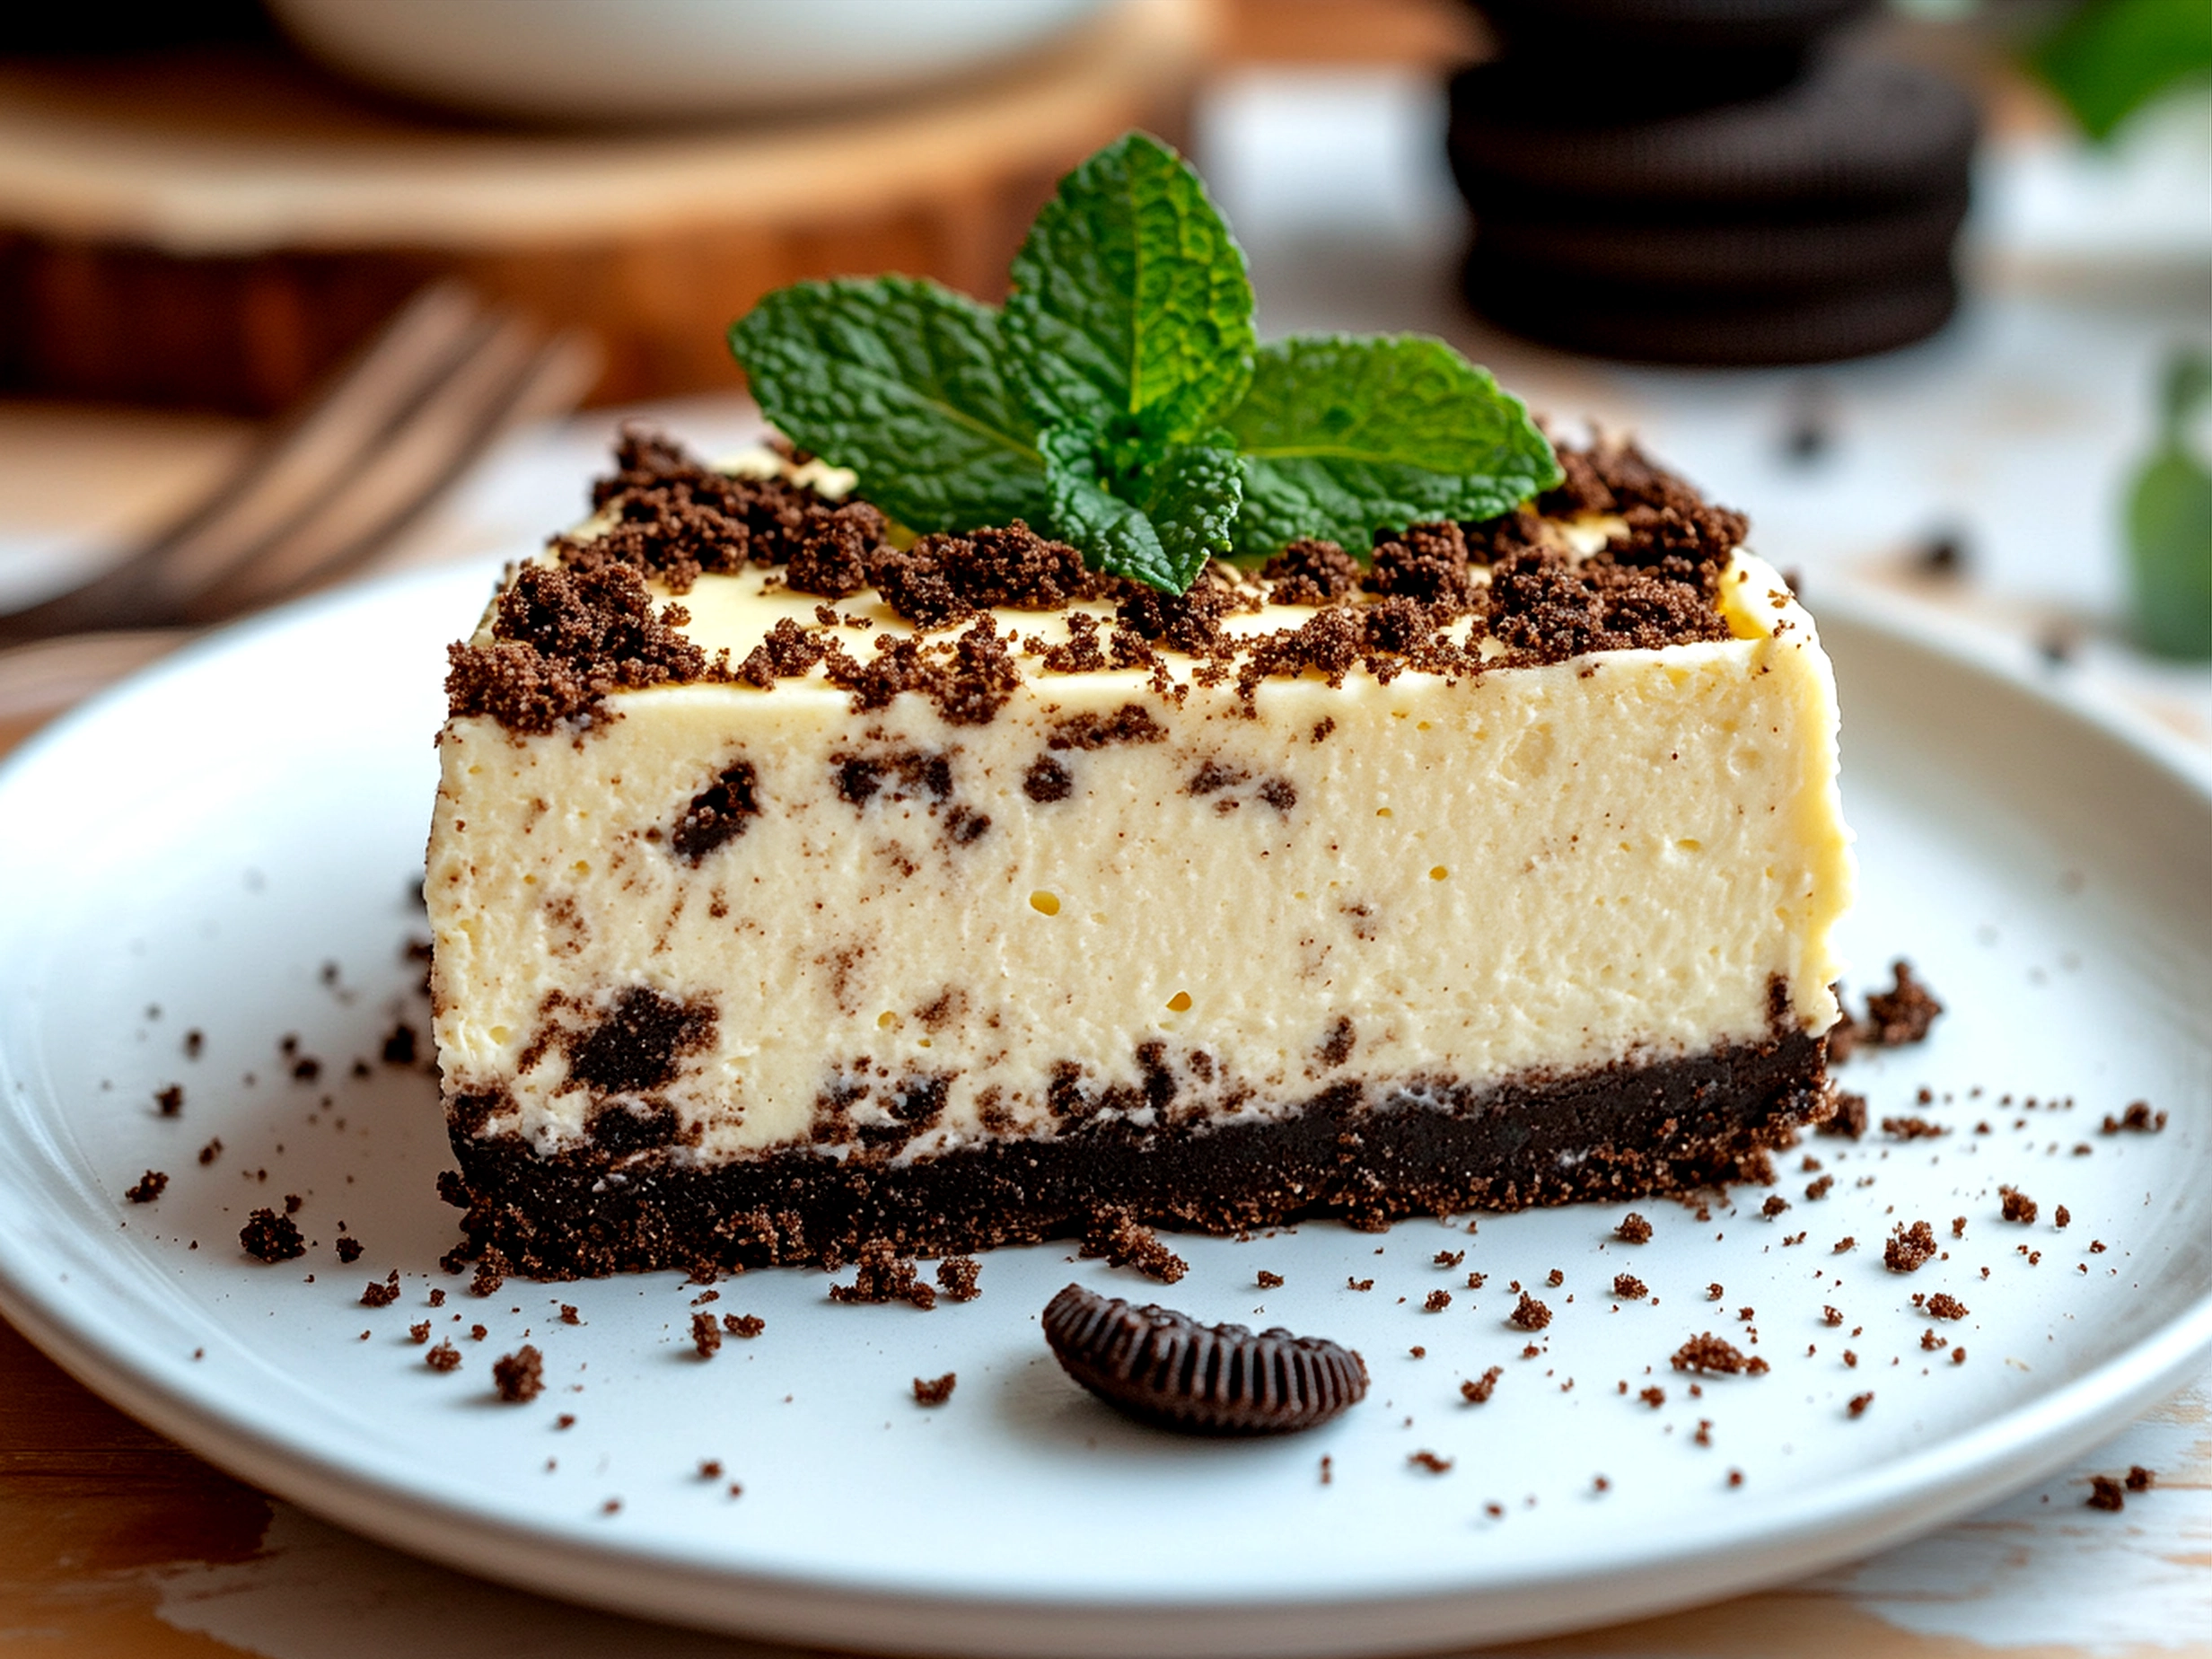
Have you ever wished for a dessert that feels like a fresh breeze on a warm day but with that irresistible chocolate crunch? My sister asked me one afternoon as we sipped tea. “Oh, absolutely!” I replied, thinking of how mint and chocolate have always danced so beautifully in my kitchen. Shortly after, I set out to perfect the Lucky Mint Oreo Cheesecake — a dreamy blend that marries the cool, refreshing essence of mint with the creamy decadence of cheesecake, all wrapped up in an OREO cookie crust cheesecake base.
This mint Oreo cheesecake recipe has become a household favorite — no-bake, easy, and always impressive. Imagine biting into a luscious, silky mint chocolate cheesecake, dotted with crushed Oreo pieces that bring a delightful crunch. It’s not just any dessert; it’s a refreshing mint dessert that surprisingly feels light yet rich. It’s perfect for those who crave a cool finish after a hearty meal or want a show-stopping dessert for family gatherings.
From the very first whistle of the minty aroma to the velvety texture that melts on your tongue, this dessert invites smiles all around the table. Often, beginners worry about the cheesecake setting just right or fear the mint flavor might overpower the balance. But with this straightforward, step-by-step recipe, you’ll confidently master a mint Oreo cheesecake that’s as beautiful to look at as it is to taste. So, gather your ingredients — fresh cream cheese, mint extract, crushed Oreos — and let’s embark on making the lucky mint Oreo cheesecake that’s going to bring luck and love to your table.
Ingredients for Lucky Mint Oreo Cheesecake
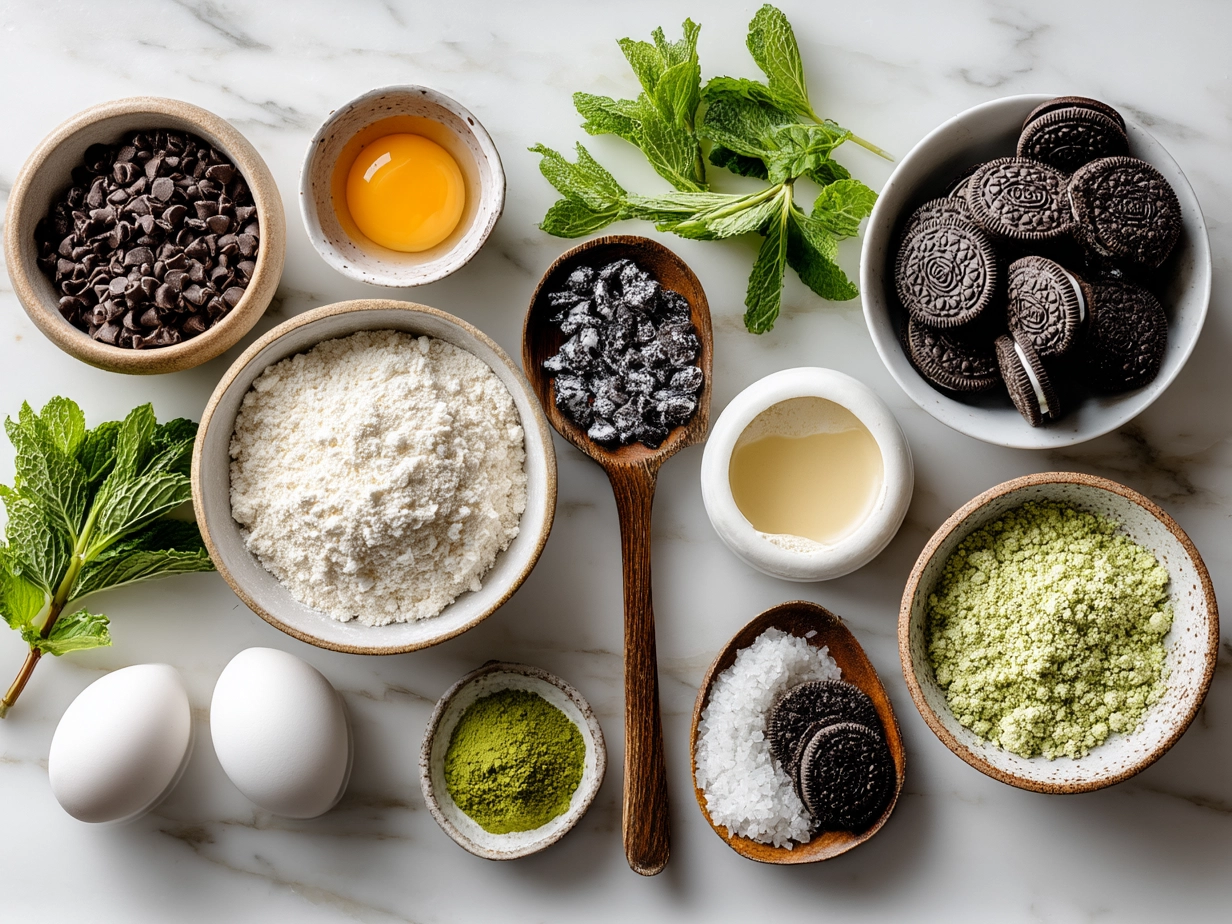
- 24 Oreo cookies, finely crushed (about 2 cups) — for the classic OREO cookie crust cheesecake base. Swap: Use chocolate graham crackers for a budget-friendly option.
- 6 tablespoons unsalted butter, melted — helps bind the crust. Swap: Coconut oil for a dairy-free crust.
- 16 oz (450g) cream cheese, softened at room temperature — the creamy heart of the cheesecake.
- 1 cup powdered sugar, sifted — for even sweetness.
- 1 cup heavy whipping cream, cold — whipped till soft peaks for that airy texture.
- 1 teaspoon pure mint extract — the key to the refreshing mint dessert feel. Tip: Start with half and adjust for preference.
- 1/2 cup chopped Oreo cookies, to fold inside the cheesecake — for extra mint chocolate cheesecake texture.
- Green food coloring (optional) — gives the cheesecake that signature minty hue.
Budget Tip: Cream cheese can be pricey—try store brands or local markets for deals without sacrificing quality. Heavy cream can also be swapped for whipping cream labeled specifically for desserts.
Steps to Create Your Mint Oreo Cheesecake Masterpiece
- Prepare the crust (10 minutes): Mix crushed Oreos with melted butter in a bowl until crumbs look like damp sand. Press the mixture firmly into the bottom of an 8-inch springform pan. Use the back of a spoon to smooth it evenly. Pop it into the fridge to chill and firm while you prepare the filling.
- Whip the cream (5-7 minutes): In a chilled bowl, whisk heavy cream until soft peaks form. Over-whipping can turn your cream grainy — stop as soon as you see smooth, billowy peaks.
- Beat cream cheese and sugar (5 minutes): Use a mixer on medium speed to beat softened cream cheese with powdered sugar until perfectly smooth — no lumps! Scrape down the sides occasionally for even mixing.
- Add mint and color (2 minutes): Slowly beat in mint extract and a few drops of green food coloring if using. Taste the batter — the mint should wake up your palate without overpowering.
- Fold in whipped cream and crushed Oreo bits (3 minutes): Gently fold whipped cream and chopped Oreos into the cream cheese mixture using a spatula. This keeps the batter light and airy.
- Assemble and chill (4 hours to overnight): Pour the filling over the chilled crust and smooth the top. Refrigerate for at least 4 hours, or preferably overnight, to set the cheesecake firm.
- Serve with care: Release the springform rim, and garnish with extra Oreo crumbs or mint leaves as you like.
Key Insight: If your cheesecake isn’t setting, check that your cream cheese was cold when whipped. If too warm, it can cause a runny texture. Also, don’t skip chilling—the longer it rests, the better it holds shape.
Presenting Your Lucky Mint Oreo Cheesecake
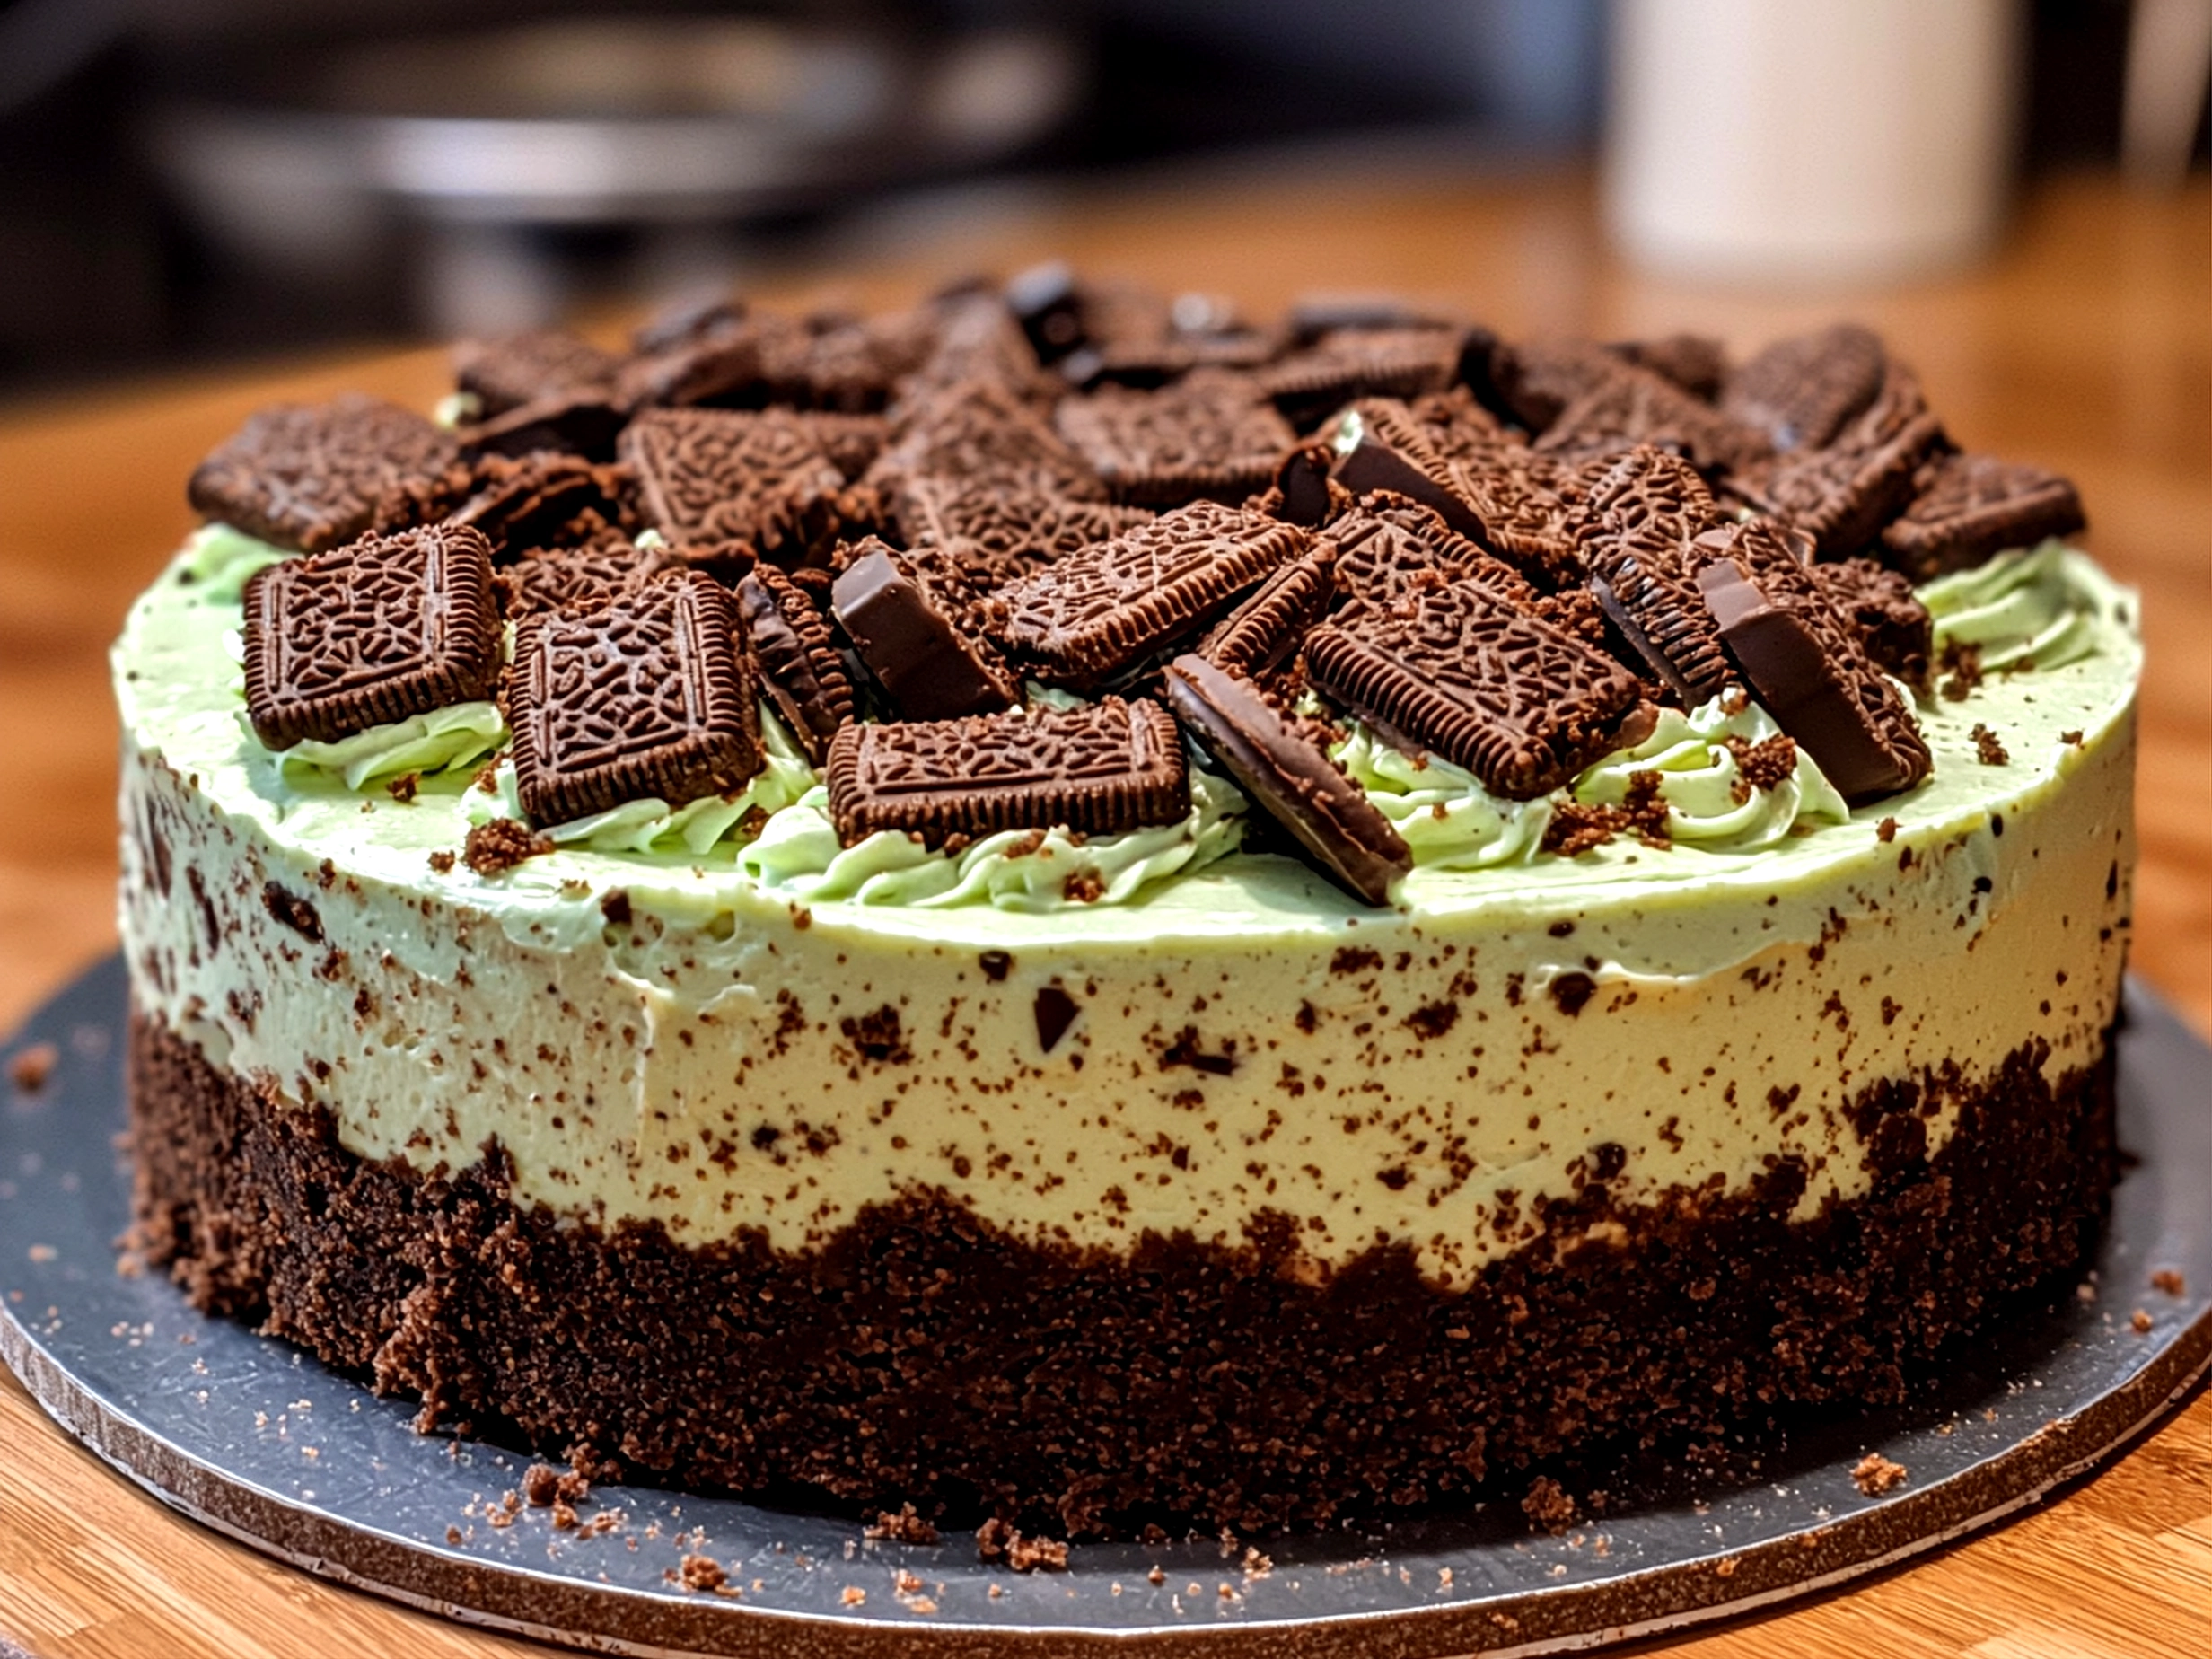
Serving this mint Oreo cheesecake is like offering a slice of joy. The soft green hue shimmering with black Oreo specks visually invites even the youngest family members. I find the best way to serve is chilled but not ice-cold — take it out 10 minutes before slicing for the smoothest cuts.
For family dinners or celebratory occasions like St. Patrick’s Day or Christmas, it fits right in with festive vibes. Pair it with a hot cup of mint tea or classic black coffee to amplify the mint-chocolate harmony. A drizzle of chocolate sauce or a dollop of whipped cream adds a decadent touch for special guests.
For casual weekend treats, slice into small squares for easy sharing. Consider layering some fresh raspberries or strawberries alongside to add a fruity contrast that balances the richness and adds a fresh aroma.
Hosting a potluck? Bring this lucky mint Oreo cheesecake in a sealed container — it will garner compliments and requests for your special recipe. The no-bake mint Oreo dessert style means it’s quick to make and transport, yet stunning enough to steal the show.
FAQs About Lucky Mint Oreo Cheesecake
- Q1: Can I use any type of mint extract, or is peppermint better?
Peppermint extract gives a classic sharpness perfect for cheesecake; however, spearmint extract works if you prefer a milder, sweeter mint flavor. Start small and adjust as mint extracts can be potent. - Q2: How do I avoid the cheesecake cracking after chilling?
Since this is a no-bake cheesecake, cracks are rare. For extra smoothness, avoid overwhipping cream or overmixing. Also, chill it covered to prevent drying out. - Q3: Can I make this dessert vegan or dairy-free?
Try plant-based cream cheese alternatives and coconut cream whipped to soft peaks. Use dairy-free Oreos, which many brands offer. - Q4: What if my crust is too crumbly or too hard?
Crust too crumbly? Add a bit more melted butter to bind crumbs. Too hard after chilling? Use less butter or press less firmly when forming. - Q5: How long does the cheesecake keep in the fridge?
Up to 3-4 days covered tightly. Beyond that, texture and flavor may degrade. - Q6: Can I freeze this cheesecake?
Yes, wrap tightly and freeze for up to 1 month. Thaw in the fridge overnight before serving. - Q7: Is it necessary to use an 8-inch pan?
An 8-inch pan gives a perfect thickness. Using smaller pans yields taller cheesecake; larger pans make it thinner. Adjust chilling time accordingly.
Conclusion
This Lucky Mint Oreo Cheesecake is more than a dessert—it’s a tradition waiting to happen in your kitchen. By following these clear, reliable steps, you’ll create a mint chocolate cheesecake that delights all senses, combining creamy, crunchy, and refreshing notes in every bite. Remember, small details like chilling your cream cheese properly, folding whipped cream gently, and balancing the mint extract elevate your no-bake mint Oreo dessert from good to unforgettable.
Feel free to experiment: add chocolate chips for extra texture or swirl in fudge for richness, turning this into an even more decadent treat. Whether it’s a family gathering, holiday, or just because, this cheesecake offers comfort and joy to every table. So grab those Oreos, bring out your mixing bowl, and enjoy the magic of this lucky mint Oreo cheesecake. Your loved ones will thank you!
For more minty inspirations, check out Peppermint Cheesecake Mousse Pie, Andes Mint Mini Cheesecakes, and Mint Oreo Parfaits.
And of course, you can explore other variations and tips on trusted external sites like Life, Love and Sugar, The Love Nerds, and The Recipe Critic for even more ways to enjoy this refreshing mint dessert.
Lucky Mint Oreo Cheesecake
This Lucky Mint Oreo Cheesecake blends creamy mint-flavored cheesecake with crunchy Oreo crust, creating a festive and delicious dessert perfect for any celebration.
- Prep Time: 20 minutes
- Cook Time: 60 minutes
- Total Time: 5 hours 20 minutes
- Yield: 12 servings
- Category: Dessert
- Method: Baked
- Cuisine: American
Ingredients
- 24 Oreo cookies (mint variety if available), crushed
- 4 tbsp unsalted butter, melted
- 3 (8 oz) packages cream cheese, softened
- 1 cup granulated sugar
- 3 large eggs
- 1 tsp vanilla extract
- 1/2 cup sour cream
- 1/4 cup heavy cream
- 1 tsp peppermint extract
- Green food coloring, optional
- Whipped cream, for garnish
- Additional crushed Oreos, for topping
Instructions
- Preheat the oven to 325°F (163°C). Grease a 9-inch springform pan.
- In a medium bowl, combine the crushed Oreos with melted butter and press firmly into the bottom of the pan to form the crust.
- Bake the crust for 10 minutes, then remove from the oven and set aside.
- In a large mixing bowl, beat the cream cheese and sugar until smooth and creamy.
- Add eggs one at a time, mixing well after each addition.
- Stir in vanilla extract, sour cream, heavy cream, peppermint extract, and green food coloring (if using) until fully combined.
- Pour the cheesecake batter over the baked crust and smooth the top.
- Bake for 50–60 minutes or until the center is almost set but slightly jiggly.
- Turn off the oven, crack the door open, and let the cheesecake cool inside for 1 hour.
- Remove from oven and refrigerate for at least 4 hours or overnight.
- Before serving, garnish with whipped cream and additional crushed Oreos.
Notes
For a stronger mint flavor, add extra peppermint extract or top with mint chocolate chips. Serve chilled for the best texture.