
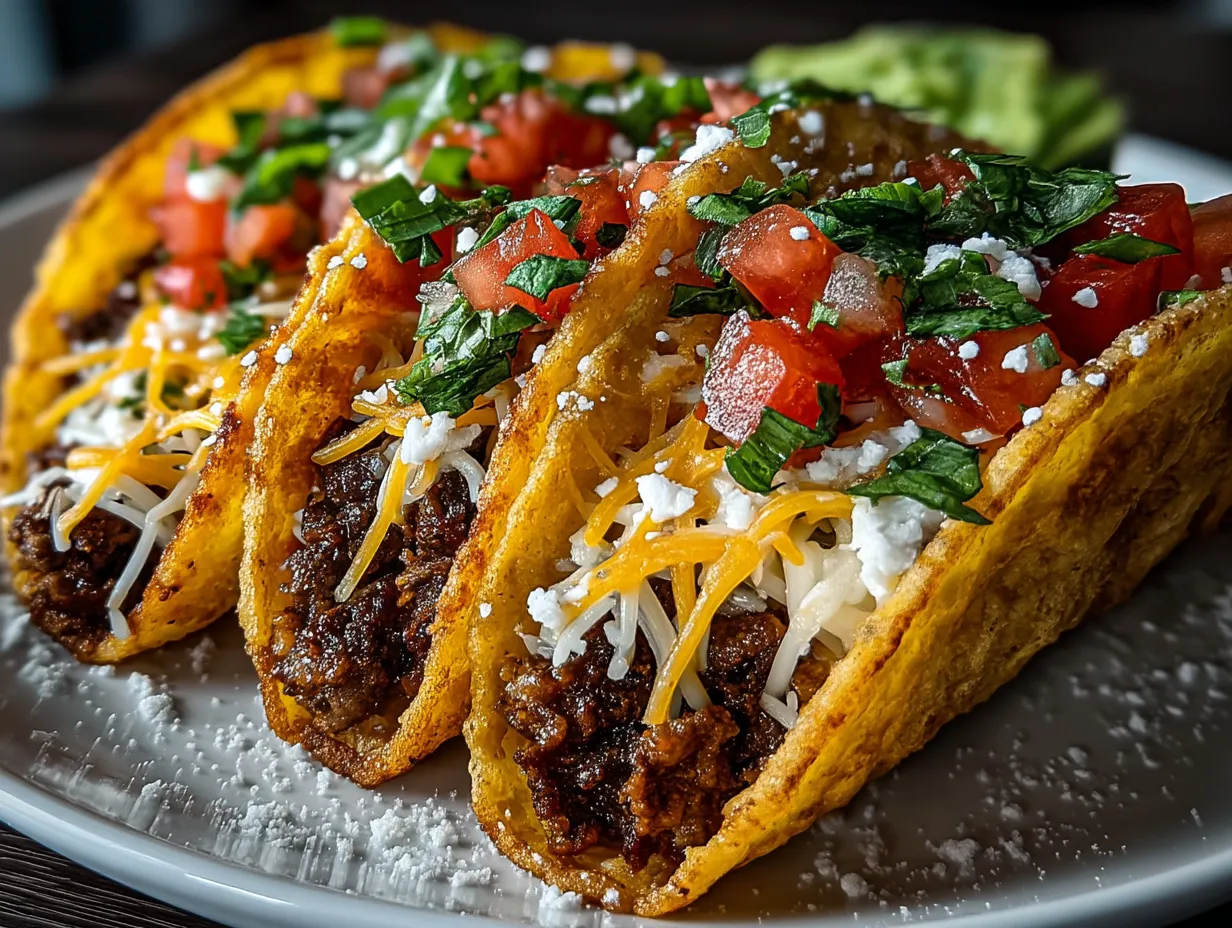
Mom, can we have tacos tonight? But can we try something crispy without frying? my son asked, eyes gleaming with hopeful anticipation. I smiled, knowing just the recipe to satisfy his craving. Baked tacos have a special charm—they’re crispy, flavorful, and healthier than their fried counterparts. Today, we’re diving into how to make baked tacos right in your oven, giving you that satisfying crunch and all the delicious taco filling your family loves.
Baked tacos are an excellent option when you want a meal that’s quick, less messy, and full of homemade goodness. Instead of the usual grease from frying, oven baked taco shells get beautifully crisp without the extra oil. Plus, the baked taco filling steams and simmers in your pan, melding all those classic Mexican spices in a warm, comforting way. It’s a simple twist that makes dinner feel both festive and nourishing.
What I love most about baked tacos is their versatility. Whether you’re making a crowd-pleasing easy taco bake or aiming for healthy baked tacos with light veggies, the oven does all the work while you focus on the fun parts. Once you master the basics, you can customize your baked taco filling with everything from ground beef to beans, or even chicken for a leaner option. We’ll go step-by-step so your family enjoys tacos that are crispy, juicy, and totally crave-worthy.
Ready to bring some crunch to your kitchen? Let’s roll up our sleeves and make baked tacos the next family favorite!
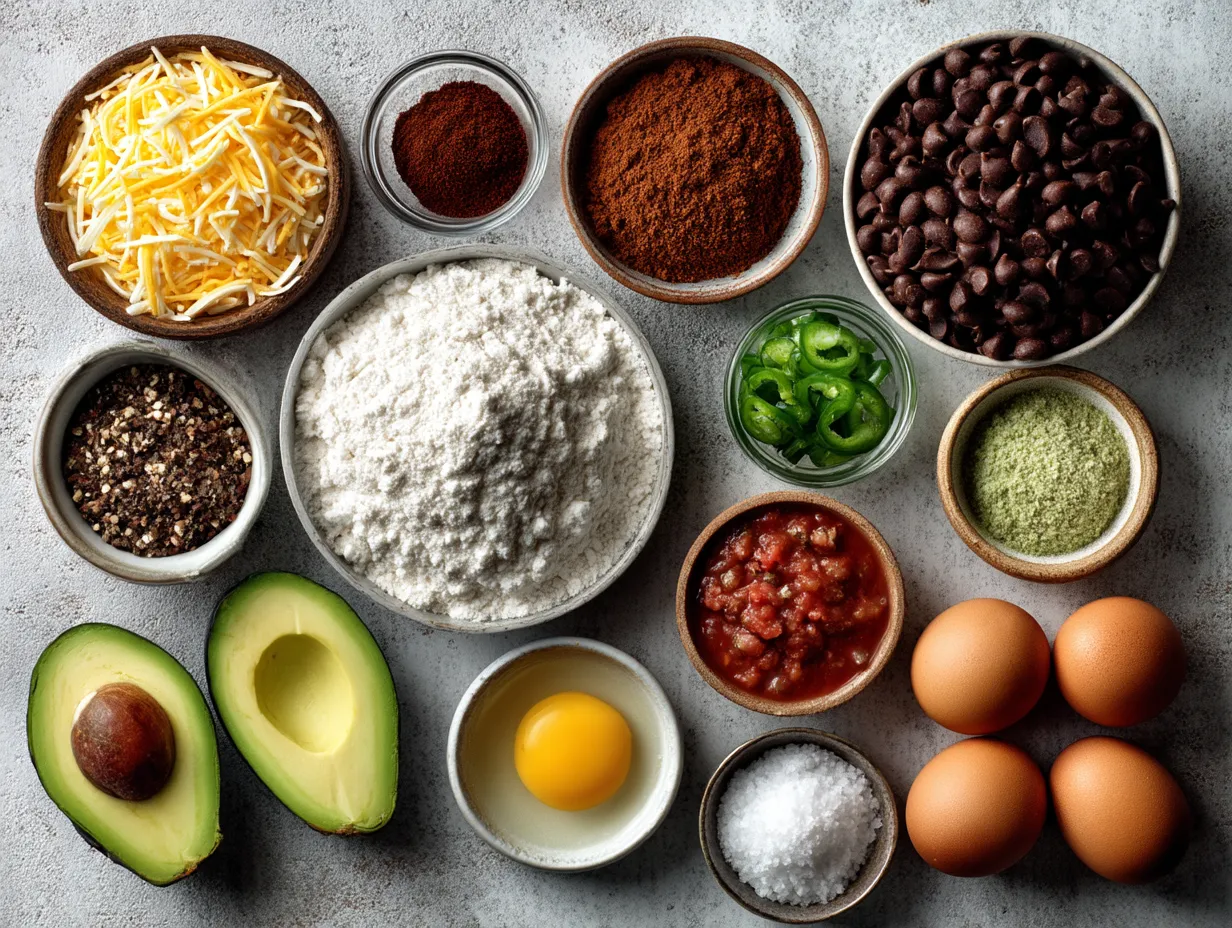
Ingredients for Baked Tacos
12 small corn or flour tortillas (6-inch size) — Corn shells crisp better, but flour shells offer a softer bite.
1 lb ground beef or ground turkey — Swap for ground chicken or chickpeas for a budget-friendly, healthy baked tacos version.
1 small onion, finely chopped — Adds sweetness and texture.
2 cloves garlic, minced — Fresh garlic gives a fragrant savoriness.
1 tsp chili powder — Or adjust to taste for heat.
1 tsp cumin — Essential for that warm taco flavor.
1/2 tsp smoked paprika — Adds depth and subtle smokiness to the baked taco filling.
1/4 tsp salt — To balance flavors.
1/4 tsp black pepper — Freshly ground preferred.
1 cup shredded cheddar or Mexican blend cheese — Use low-fat cheese for healthier baked tacos or vegan cheese for dairy-free.
1/2 cup diced tomatoes — Fresh or canned; swappable with salsa.
Olive oil spray or 1 tbsp olive oil — For coating shells to get crispy in the oven.
Optional toppings: chopped lettuce, sour cream, sliced avocado, cilantro, lime wedges, and sliced jalapeños.
Budget swaps: Use canned beans instead of meat for a cheaper and protein-rich filling. Substitute fresh veggies like bell peppers or corn for texture and extra nutrition. Tortillas can be homemade or store-bought depending on your time and preference.
This list is straightforward and flexible for all family tastes.
How to Make Crispy Baked Tacos: Step-by-Step
1. Preheat the oven to 375°F (190°C). This moderate heat ensures crispy baked taco shells without burning.
2. Prepare the taco filling: Heat a skillet over medium heat and add olive oil. Sauté the chopped onion until translucent, about 3-4 minutes. Add garlic and cook for 30 seconds until fragrant. Add the ground beef or turkey, breaking it apart with a spatula. Brown the meat thoroughly, about 7 minutes. Tip: Brown the meat well for deeper flavor, and drain excess fat if necessary.
3. Season the filling: Stir in chili powder, cumin, smoked paprika, salt, and pepper. Add diced tomatoes and cook for another 3-4 minutes, letting flavors meld. The filling should be juicy but not watery. Beware: Overcooking after adding tomatoes can dry out the filling—keep it moist.
4. Prepare the shells: Lightly spray or brush both sides of each tortilla with olive oil. Fold them gently into a taco shape and place upright in a greased muffin tin or over a wire rack on a baking sheet. This helps keep their shape and enables air circulation for crispness.
5. Bake shells alone for 5 minutes to start crisping.
6. Fill each shell with 2 tablespoons of the warm taco filling and sprinkle about a tablespoon of shredded cheese on top.
7. Return to the oven for 8-10 minutes, or until the shells are golden and crisp and the cheese has melted beautifully.
8. Remove from the oven and let cool for a minute. This resting period helps shells firm up even more.
9. Serve with fresh toppings like shredded lettuce, sour cream, avocado slices, and a squeeze of lime.
Notice the delightful sizzle when the cheese melts and the irresistible aroma of warm spices filling your kitchen. No greasy mess, just crisp baked shells and tender, flavorful fillings that stay inside their cozy envelope. Perfect for little hands and big appetites alike!
Presenting Your Baked Tacos: Serving and Pairing Ideas
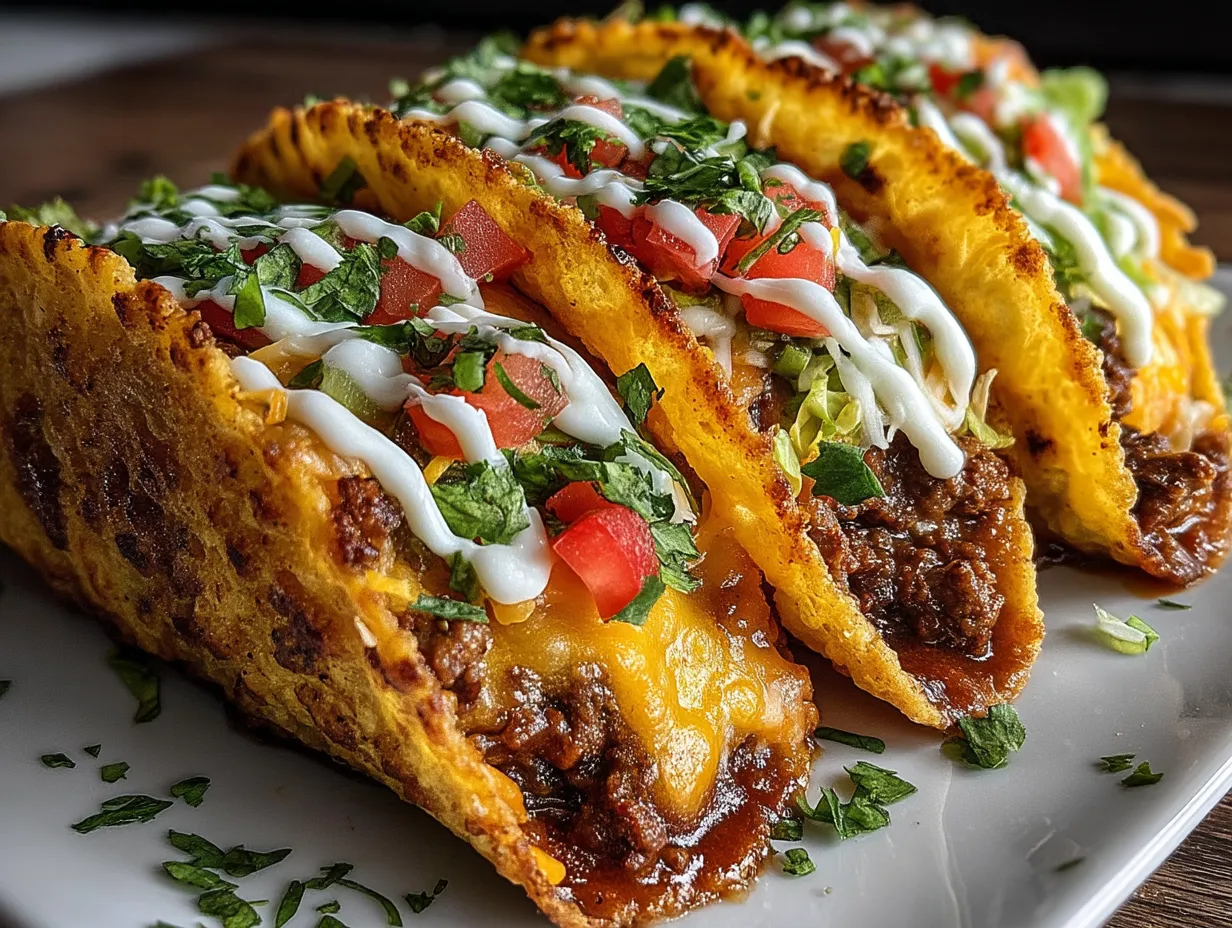
Nothing brings a homey atmosphere like a plate piled high with crispy baked tacos. For casual family dinners, set the table with bowls of colorful toppings—bright green avocado, chunky tomato salsa, tangy sour cream, and fresh cilantro sprigs. A few lime wedges on the side add a citrus burst with every bite.
Serve these tacos alongside a simple Mexican-style rice or a frizzled corn salad for a complete meal that’s as vibrant as it is satisfying. If you want to keep it light, try pairing your baked tacos with a fresh cucumber and radish salad dressed in lime and chili powder.
For occasions like game nights or birthday parties, these baked tacos make fun handheld snacks. Arrange them on a rustic wooden board or bright platter and watch everyone dig in, sharing compliments on the crispy shell and rich filling.
And don’t forget drinks! A cold glass of horchata, a fruity agua fresca, or even a sparkling lime soda complements the warm spices and crunch perfectly. These tacos are flexible—they work for weeknight dinners, casual entertaining, or meal prep for busy lunches.
Whether you’re building a taco bar or enjoying them simply with toppings, baked tacos bring warmth and joy to your table every time.
FAQs About Baked Tacos
1. Can I use flour tortillas instead of corn for baked tacos?
Yes! Flour tortillas tend to be softer and less crisp when baked, but spraying with olive oil and the right oven temperature can yield a nice crunchy texture.
2. How do I keep the taco shells from becoming soggy?
Avoid overfilling with wet ingredients. Drain excess juices from your filling, bake shells a few minutes before filling, and serve immediately for best crispness.
3. Can I make baked tacos ahead of time?
You can prepare the filling a day before and store in the fridge. Assemble and bake the shells just before serving to maintain crunch.
4. What’s a good vegetarian baked taco filling?
Try sautéed mushrooms, black beans, corn, chopped bell peppers, and spices. Add some crumbled queso fresco or vegan cheese for creaminess.
5. How do I prevent the tacos from falling apart?
Using a muffin pan or taco shell mold helps hold the shape while baking. Don’t overfill, and serve soon after baking.
6. How can I make baked tacos healthier?
Choose lean meats or plant-based proteins, use whole grain tortillas, and add plenty of fresh veggies like tomatoes, lettuce, and avocado.
7. Can I freeze baked tacos?
It’s best to freeze the filling separately. Baked tacos lose crispness when frozen, so reheat shells briefly in the oven and add warm filling before serving.
Conclusion: Making Baked Tacos Your New Family Favorite
Baked tacos bring you the best of both worlds—crunchy oven baked taco shells paired with rich, spiced taco filling prepared right at home. With just simple ingredients and a few easy steps, you can create crispy baked tacos that don’t just taste amazing but feel wholesome and nourishing. The key is knowing how to season the filling well, baking shells to golden crispness, and serving with fresh toppings that add color and texture.
For a twist, try shredded chicken or fish in your baked taco filling, or go fully vegetarian with beans and roasted veggies. Feel free to get creative with cheeses or add a dollop of guacamole as a cool contrast to the warm crunch.
Trust me, once you start making baked tacos, they’ll become a staple in your family meals—easy, crowd-pleasing, and healthy baked tacos ready whenever you need a comforting dinner. So gather your ingredients, heat your oven, and make taco night a little happier and a lot crunchier!
For more easy oven-baked comfort dishes, explore these recipes: Mediterranean Baked Fish, Baked Texas Trash Cheese Dip, and Baked Chicken Legs and Rice.
Or check out these external guides for crispy baked taco variations: Crunchy Baked Beef Tacos – The Defined Dish, Easiest Sheet Pan Tacos Recipe – Allrecipes, and Baked CRISPY tacos made in the oven! Recipe – Facebook.
Baked Tacos

Baked Tacos are a delicious twist on the classic taco, featuring crispy taco shells filled with seasoned meat, cheese, and fresh toppings, then baked to perfection for a warm, melty experience.
- Prep Time: 10 minutes
- Cook Time: 15 minutes
- Total Time: 25 minutes
- Yield: 4 servings
- Category: Dinner
- Method: Baked
- Cuisine: Mexican
Ingredients
- 8 small taco shells
- 1 lb ground beef
- 1 packet taco seasoning
- 1/2 cup water
- 1 cup shredded cheddar cheese
- 1/2 cup diced tomatoes
- 1/4 cup chopped onions
- 1/4 cup sliced black olives (optional)
- 1/4 cup chopped cilantro
- 1/2 cup sour cream (for serving)
- 1/2 cup salsa (for serving)
Instructions
- Preheat your oven to 375°F (190°C).
- In a skillet over medium heat, cook the ground beef until browned, breaking it apart as it cooks.
- Drain excess fat, then add taco seasoning and water; simmer for 5 minutes until thickened.
- Place taco shells upright in a baking dish.
- Fill each shell with the seasoned beef mixture.
- Sprinkle shredded cheddar cheese evenly over the filled tacos.
- Bake in the preheated oven for 10-12 minutes until the cheese is melted and bubbly.
- Remove from oven and top with diced tomatoes, onions, olives, and cilantro.
- Serve warm with sour cream and salsa on the side.
Notes
For added crunch, sprinkle crushed tortilla chips on top before baking or serve with a side of guacamole.