I have a cozy story to share that I think you’ll really enjoy—about my go-to, no fuss dessert: this No Bake Classic Woolworth Cheesecake. I remember the first time I stumbled upon this creamy, dreamy Woolworths dessert while browsing vintage recipes online and how it immediately sparked a sweet revolution in my kitchen. There’s something incredibly comforting about its smooth, creamy cheesecake filling combined with an easy cheesecake no oven technique that instantly won my family over. Over the years, this no bake cheesecake recipe became our simple, reliable way to satisfy those cheesecake cravings without turning on the oven or stressing over tricky steps.
What really seals the deal for me is that No Bake Classic Woolworth Cheesecake fits perfectly into the chaos of family dinners and weekend gatherings. I’ve learned through trial and error that this one’s a winner whether you’re serving it for an impromptu dessert or a planned celebration. You know, not too sweet, perfectly balanced—kind of like that classic cheesecake everyone remembers fondly. Plus, I recall a particular evening where a baking mishap meant no oven time, and thankfully, this no bake cheesecake recipe saved the day. From that moment, I was all in, perfecting the recipe to get that luscious, creamy cheesecake filling just right.
If you love fuss-free cooking and nostalgic flavors, I’m inviting you to join me in making this No Bake Classic Woolworth Cheesecake. It’s a brilliant no oven strategy that keeps things cool (pun intended!) and delightful. And if you’re curious about other no bake treats, I’ve linked a lovely spin on a no-bake pink cheesecake that you might want to try next! I promise, once you try this easy cheesecaky goodness, you’ll be reaching for it all year round. Let’s dive in together—your new favorite classic cheesecake is just a few steps away.
Ingredients:
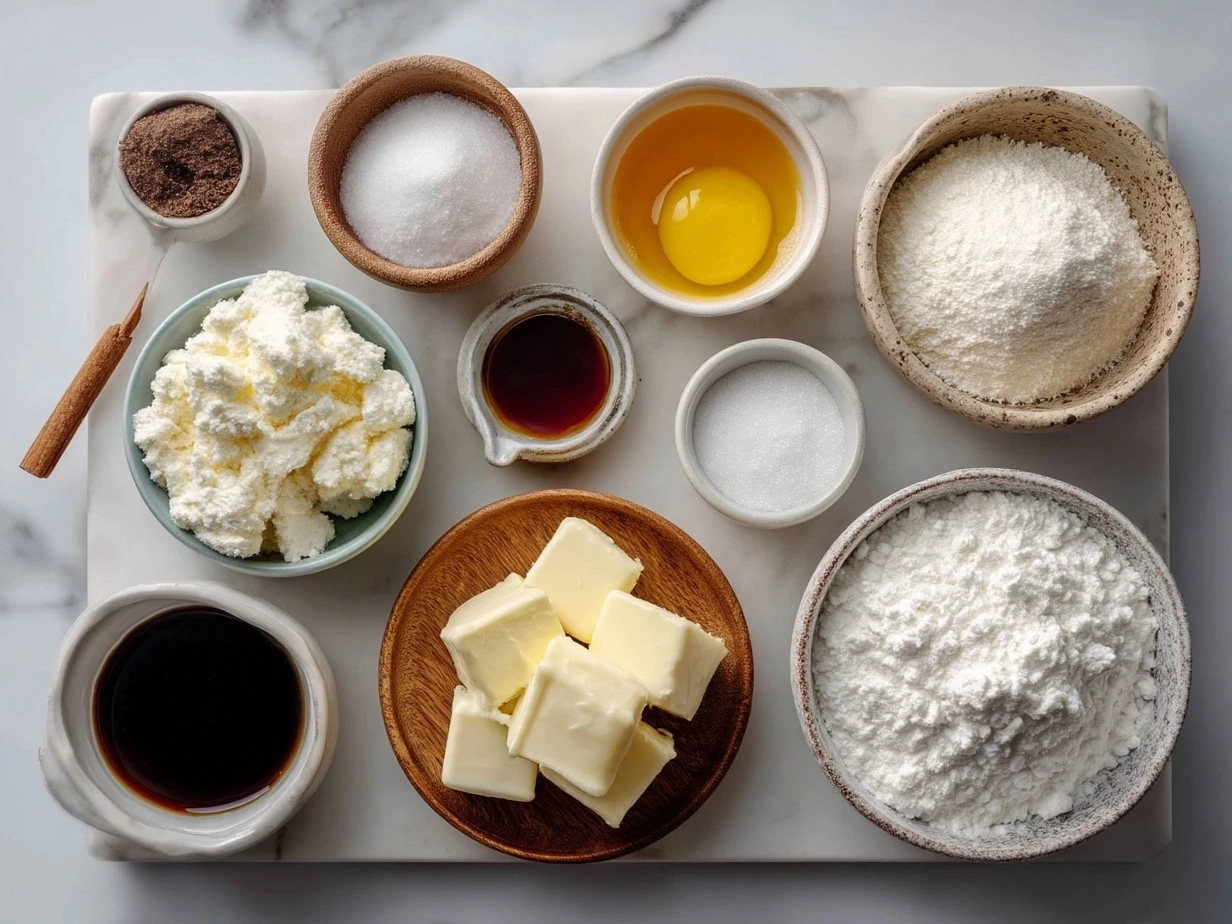
Now, for this No Bake Classic Woolworth Cheesecake, you’ll want to gather some simple ingredients, but trust me, the magic happens with exactly the right ones. Here’s what I always use in my kitchen when preparing this beloved Woolworths dessert:
- 250g digestive biscuits or plain sweet biscuits (I usually find these at Woolworths or any major supermarket)
- 100g unsalted butter, melted (makes the base perfectly bind)
- 500g cream cheese, softened (this gives the creamy cheesecake filling its signature texture)
- 1 cup (250ml) thickened cream (whipped to soft peaks for that ethereal fluffiness)
- 3/4 cup (150g) castor sugar (balances sweetness without overwhelming)
- 2 tsp vanilla extract (always opt for real vanilla extract; it elevates the classic cheesecake flavor)
- 1 tbsp lemon juice (to brighten the creamy cheesecake filling)
- 2 tsp gelatine powder (optional for extra firmness if you prefer your cheesecake a bit more set)
Here’s a useful tip I learned from my mum: for a smoother No Bake Classic Woolworth Cheesecake, beat the cream cheese until it’s perfectly lump-free before folding it into the whipped cream. When you’re shopping for ingredients, you can usually grab all of these from your local Woolworths store. Don’t forget to check for store specials on cream cheese and biscuits—it’s a great way to save without skimping on quality.
A little prep shortcut that saved me countless times is to crush the biscuits in a zip-lock bag with a rolling pin instead of busting out a food processor. It’s quick and cheap, and kids love helping out! Plus, leftover cream cheese can be refrigerated and used in dips or spreads—nothing goes to waste in my kitchen, especially when whipping up this classic cheesecake. If you want to see an alternative twist on this creamy cheesecake filling, check out this delightful Classic Woolworth No Bake Cheesecake recipe for inspiration.
How to Make – Step-by-Step:
1. Prepare the biscuit base: First, crush your digestive biscuits until fine crumbs form. Don’t rush this part—you want a nice crumb texture for the perfect crunch and binding in your No Bake Classic Woolworth Cheesecake crust. I usually melt the butter while doing this; it helps speed things up.
2. Combine the base: Mix the melted butter into your crushed biscuits until well combined. Press this mixture firmly into the bottom of a springform pan or a pie dish. Use the back of a spoon or a glass to smooth it out. Make sure it’s packed tight because this foundation supports your creamy cheesecake filling. Chill in the fridge for 15 minutes.
3. Make the cheesecake filling: Whip the thickened cream to soft peaks in a chilled bowl. In another bowl, beat the softened cream cheese with sugar and vanilla extract until smooth. Add lemon juice for that fresh, slightly tangy zing. If using gelatine, dissolve it carefully in warm water first and add it to your filling mix. For a No Bake Classic Woolworth Cheesecake, this technique is perfect to keep it no oven but firmly set.
4. Fold whipped cream: Gently fold the whipped cream into the cream cheese mixture. Don’t beat it here—a light touch keeps the filling airy and deliciously smooth. Your No Bake Classic Woolworth Cheesecake should smell like vanilla and lemon together—a real inviting aroma in your kitchen!
5. Assemble: Pour the creamy cheesecake filling over your chilled biscuit base. Smooth the top with a spatula. Cover loosely with cling film and refrigerate for at least 4 hours or overnight. Patience is key here; the flavors marry beautifully while it sets.
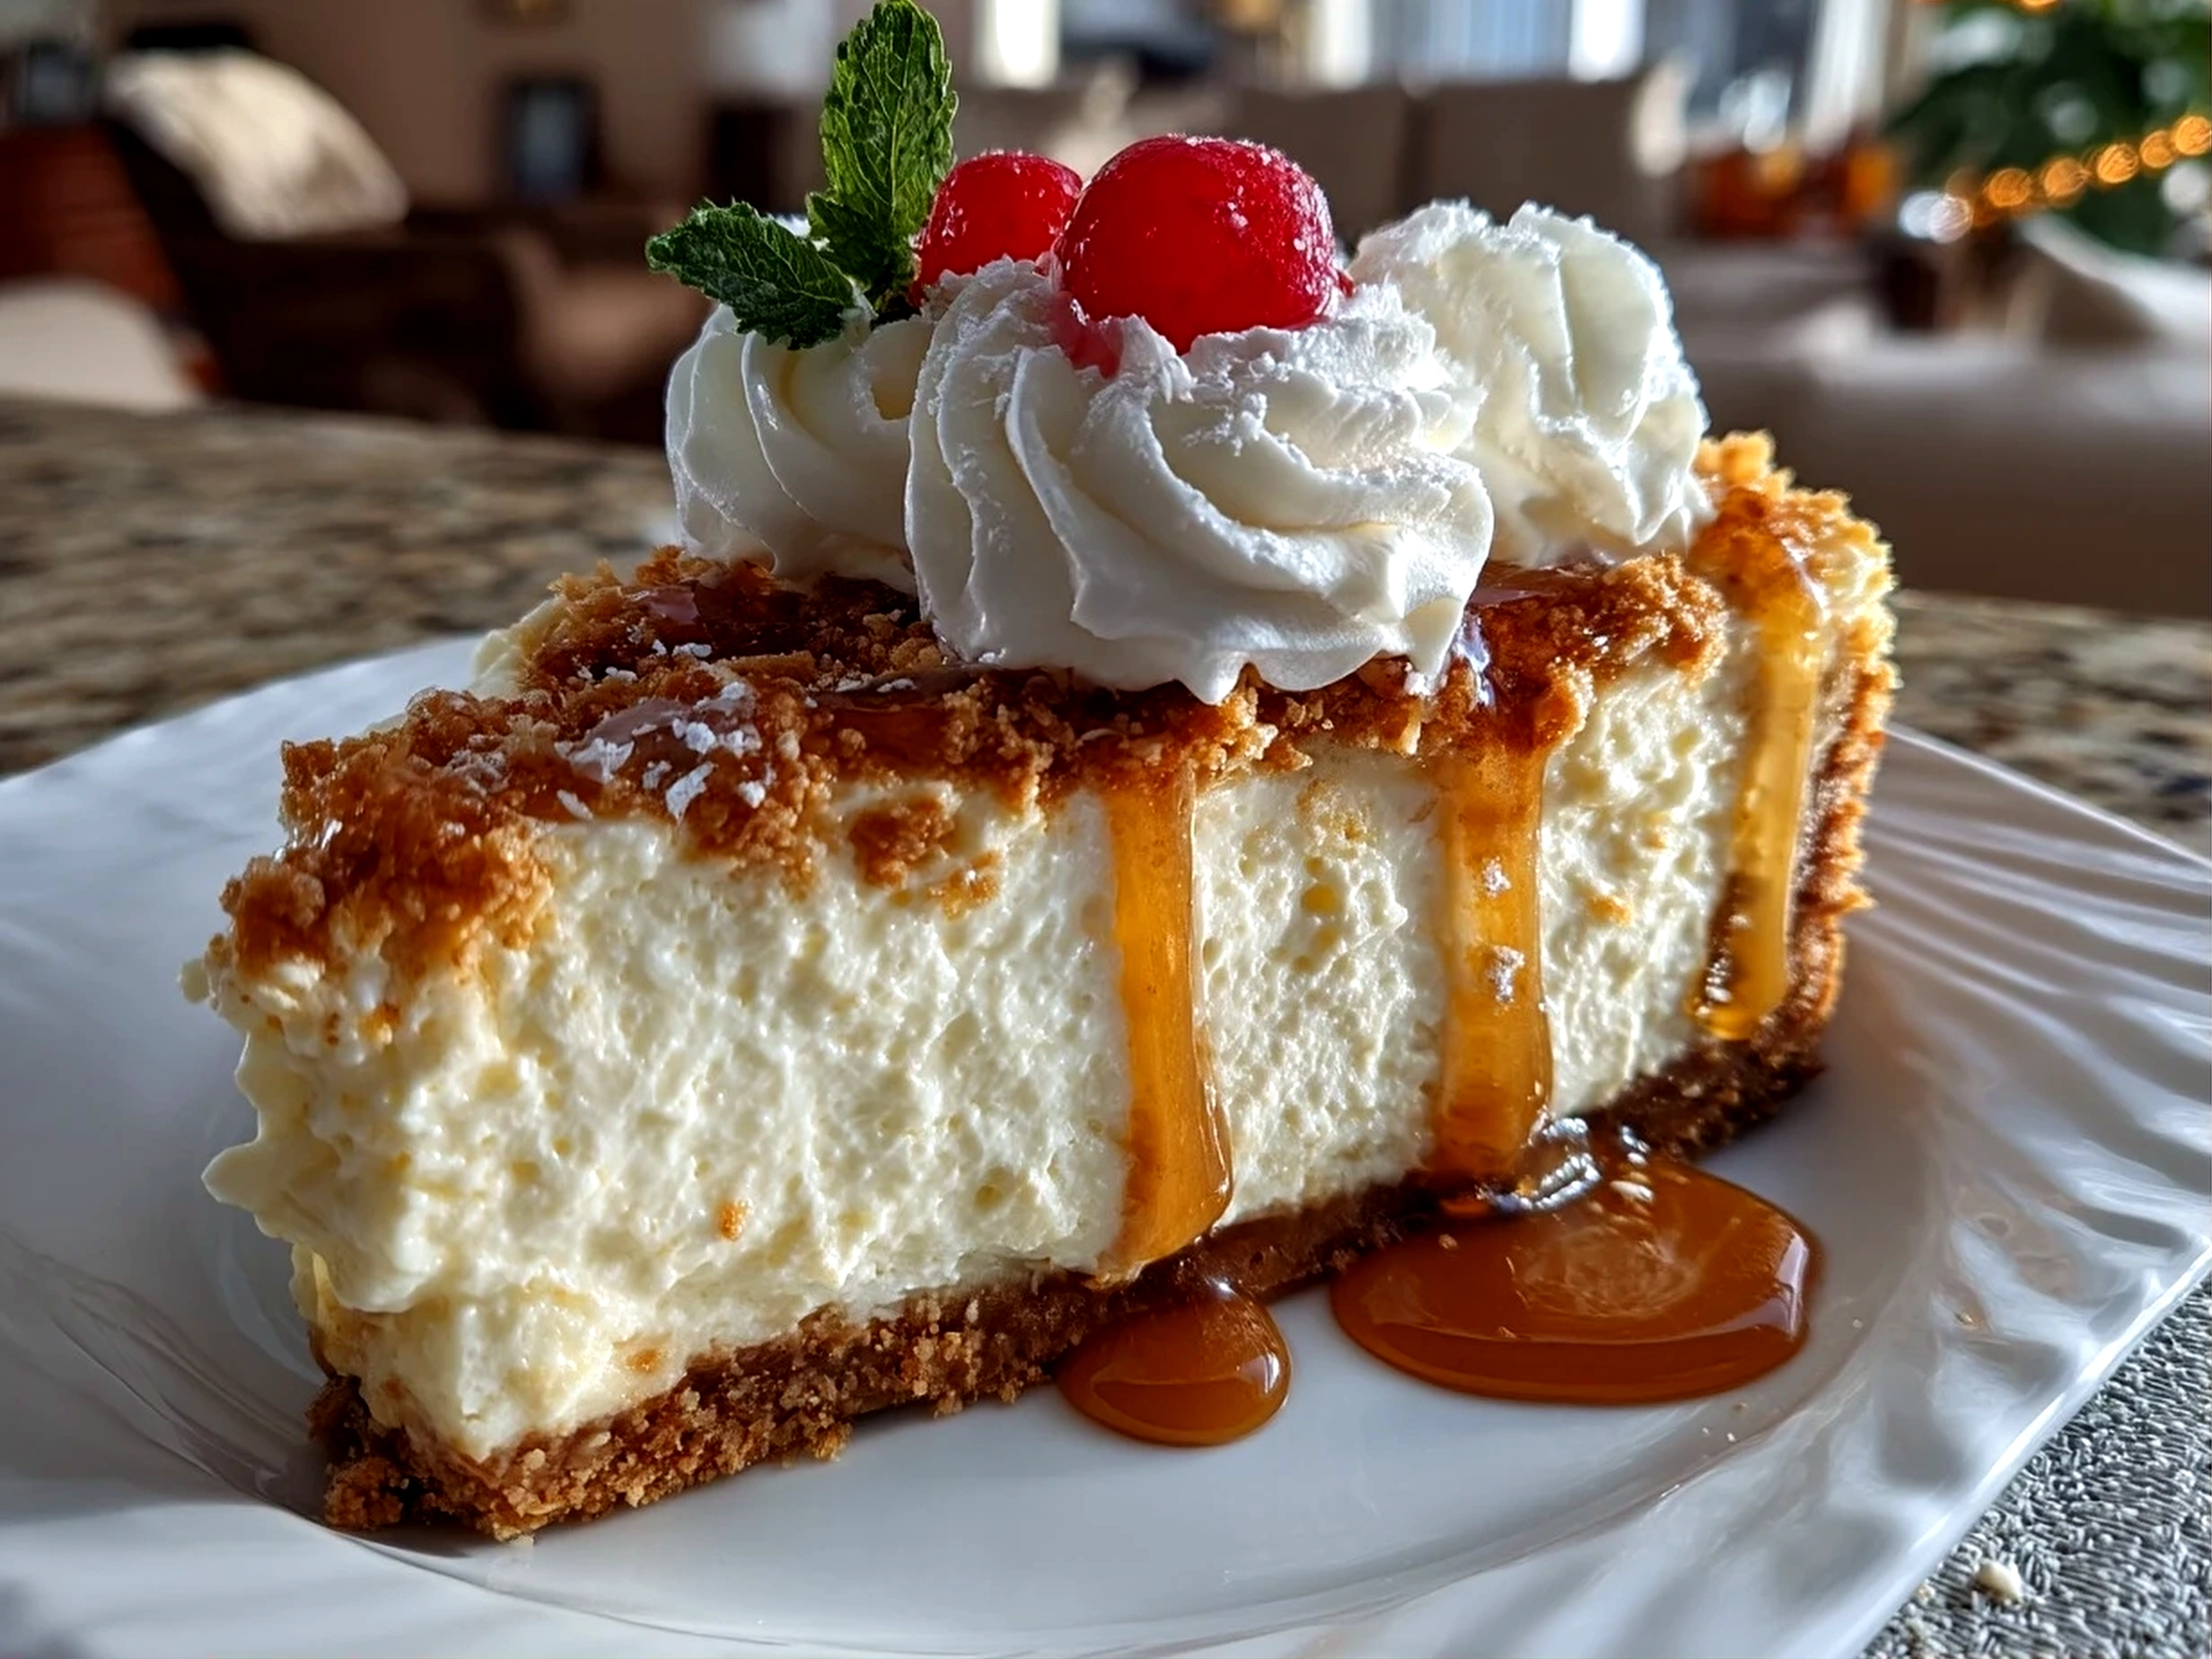
6. Serving prep: Just before serving, run a knife around the edges to loosen, then remove the cake from the pan. You can add a simple fruit topping or a drizzle of homemade berry compote for that extra special touch.
Don’t worry if the filling seems a bit soft initially—that’s the beauty of a No Bake Classic Woolworth Cheesecake: it firms up beautifully in the fridge without the anxiety of overbaking. While the cheesecake chills, I normally prep a cup of tea or help the kids with homework, knowing dessert success is in the making. If you’re curious about other no bake dessert techniques, this post has some great insights on why this cheesecake works so well as an easy cheesecake no oven treat.
Serving:
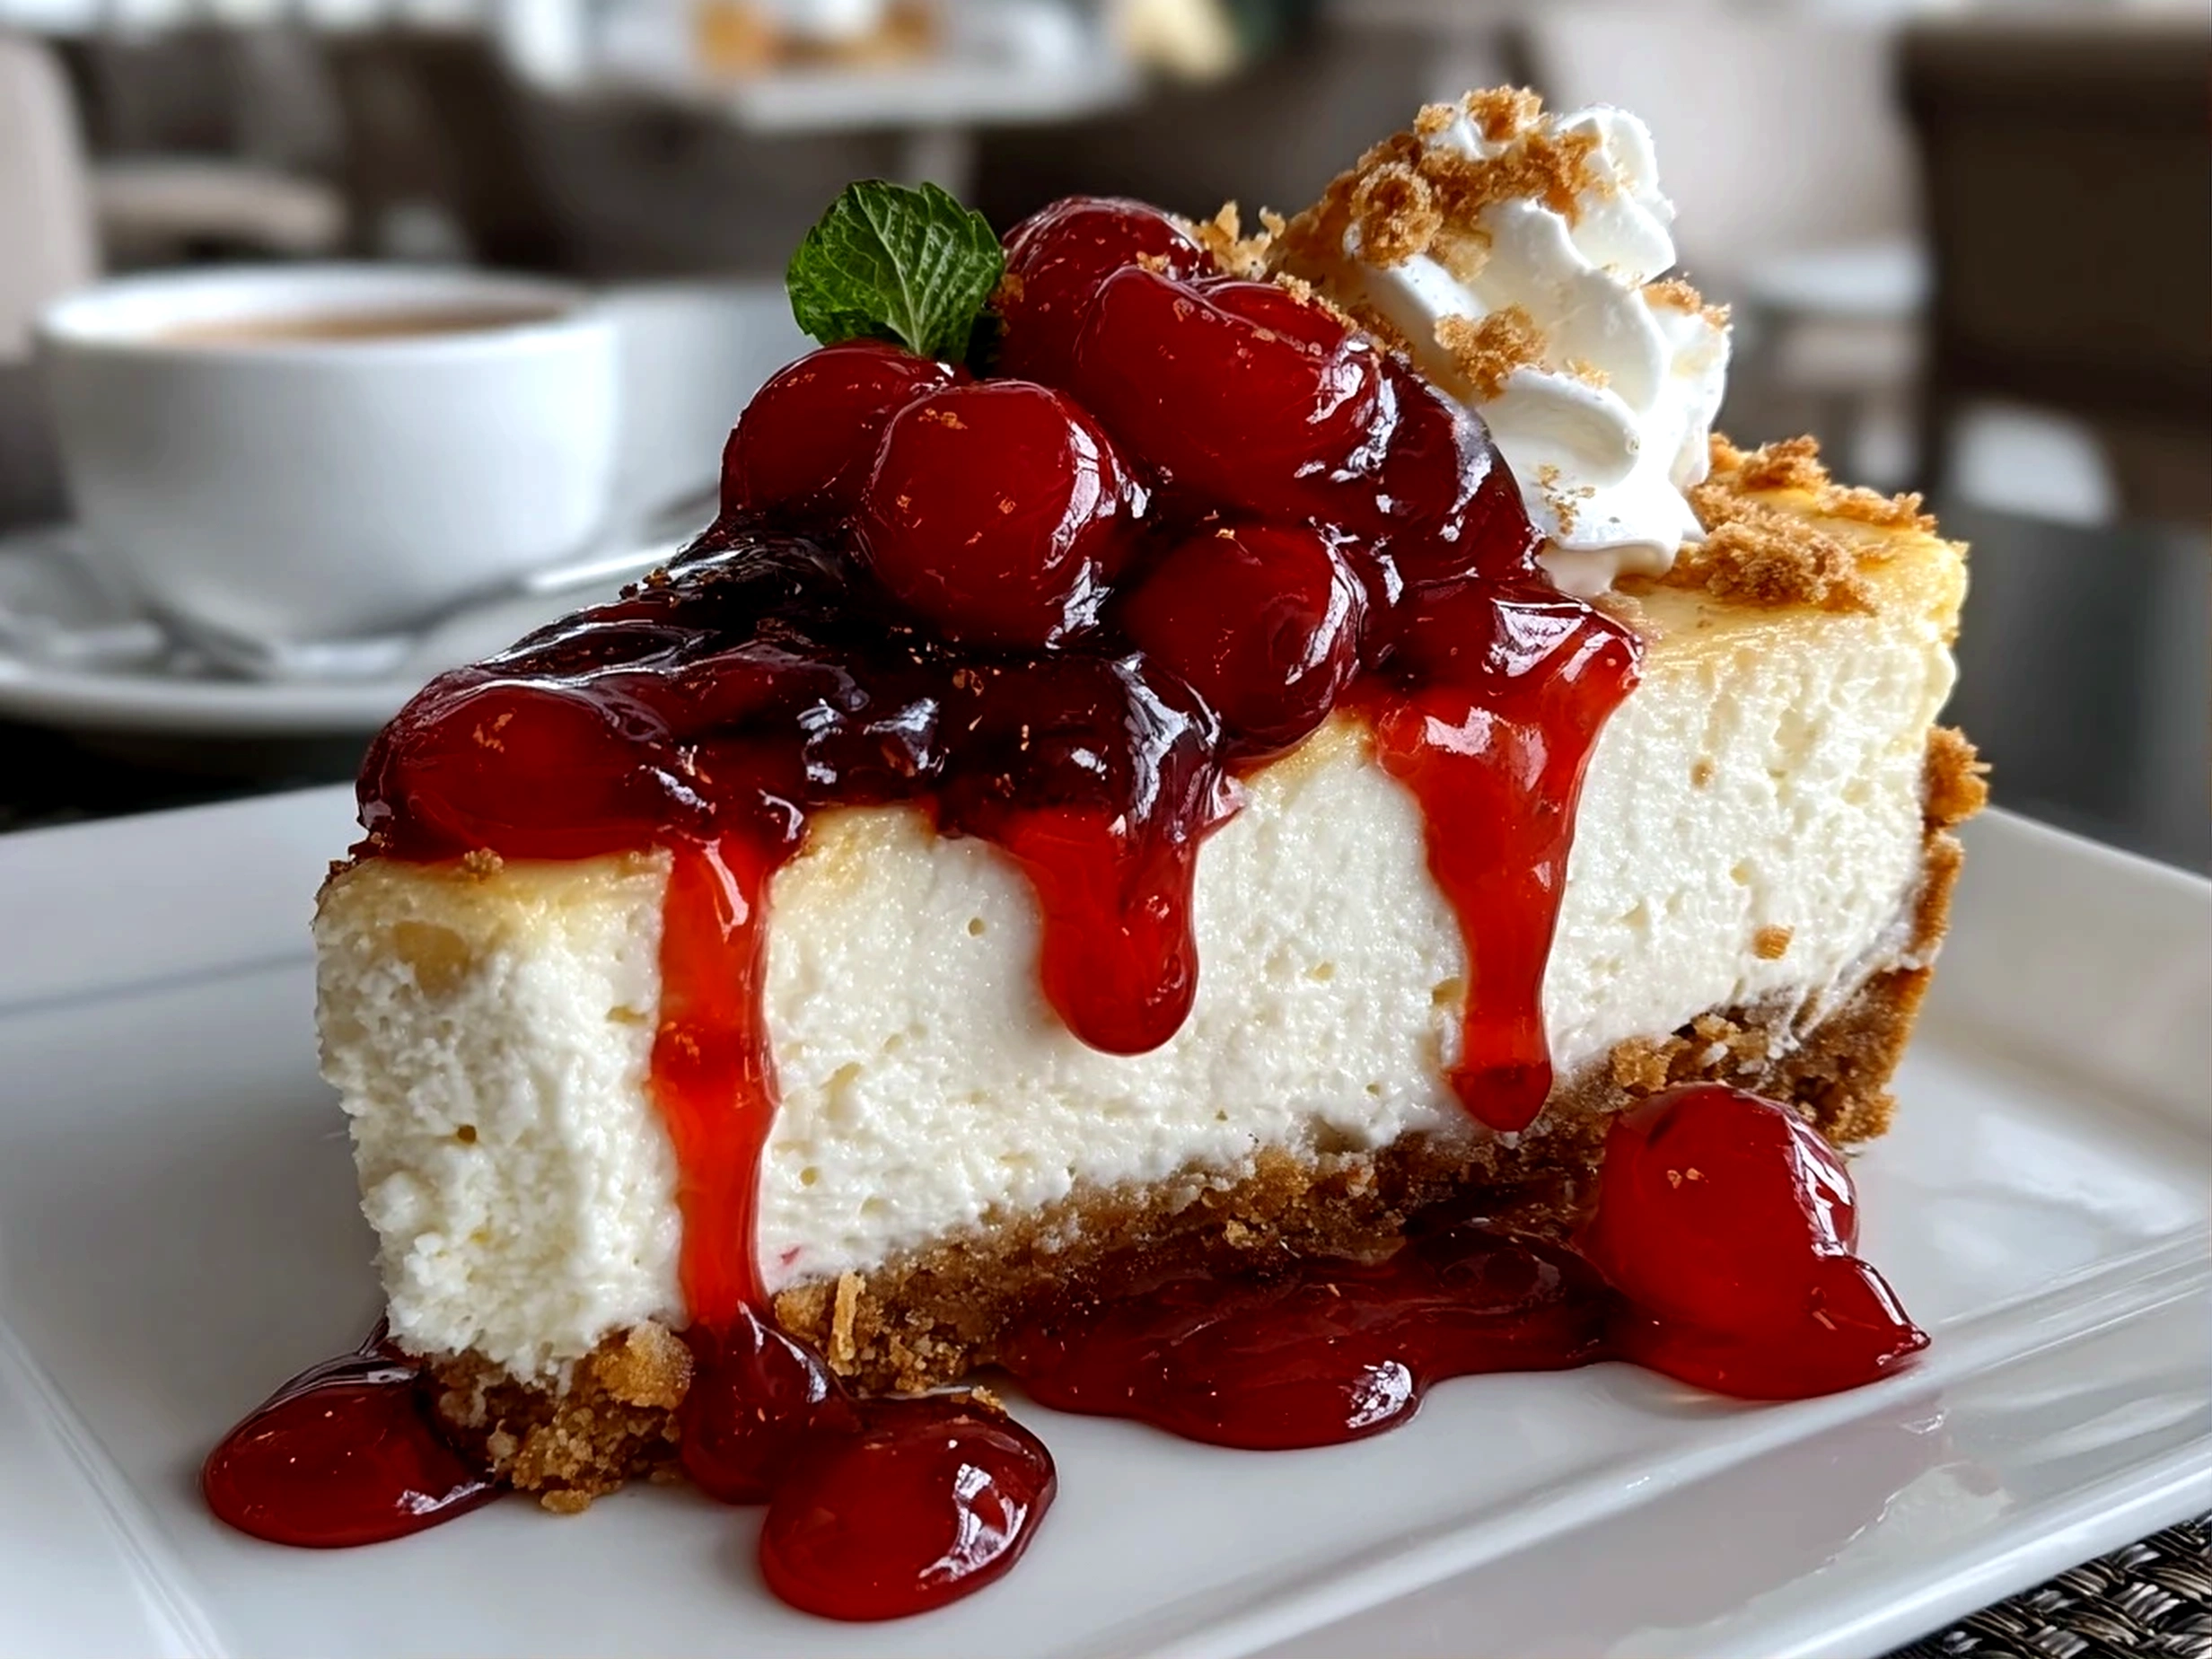
This No Bake Classic Woolworth Cheesecake is seriously a crowd-pleaser in my house. The kids especially love when I add fresh berries on top, and it pairs perfectly with a cup of coffee or after-dinner tea. Sometimes I’ll whip up a quick drizzle of melted chocolate or a glossy berry compote to make it look extra fancy without extra fuss.
It’s a great Woolworths dessert choice for casual family dinners, weekend lunch treats, or even holiday celebrations where you want something classic yet effortless. One of my favorite moments was serving this cheesecake at a backyard BBQ—guests couldn’t stop raving about the creamy cheesecake filling and perfectly crumbly biscuit base.
If you have extra No Bake Classic Woolworth Cheesecake leftover, don’t toss it! I often slice a small piece and freeze it wrapped tightly, which lets me grab a sweet treat later on handy days. Some seasonal variations I’ve tried include swapping out the lemon juice for a teaspoon of orange zest or adding crushed passionfruit on top for a tropical flair.
Presentation-wise, a sprinkle of edible flowers or a dusting of icing sugar just before serving can transform your cheesecake into a showstopper. My friends are always asking for this No Bake Classic Woolworth Cheesecake recipe after tasting it at gatherings—it’s like sharing a little piece of comfort and nostalgia. If you want to try a fun fruity variation, I’d recommend checking out this No Bake Key Lime Pie that carries the same creamy, no fuss vibes.
FAQs:
Q1: Can I make No Bake Classic Woolworth Cheesecake without gelatine?
Absolutely! I usually skip gelatine to keep it purely creamy and softer. Just make sure to chill it overnight—it sets nicely on its own.
Q2: What can I use instead of digestive biscuits for the base?
Graham crackers or plain sweet biscuits work nicely. I once experimented with crushed almonds for a nuttier touch—it was a hit!
Q3: How long does No Bake Classic Woolworth Cheesecake keep in the fridge?
About 3-4 days. I tightly cover it with cling wrap or store it in a cake container to keep that creamy cheesecake filling fresh.
Q4: Can I prepare this No Bake Classic Woolworth Cheesecake ahead of time?
Yes! In fact, making it the day before makes the flavors more harmonious. I’ve learned this helps the creamy cheesecake filling settle just right.
Q5: My cheesecake filling was too runny—what happened?
You might want to check the cream cheese for softness (not too warm) and ensure your cream is whipped to soft peaks. Some readers have also found this no bake cheesecake recipe helpful for a sturdier filling.
Q6: How do I get that classic cheesecake tang without using too much lemon?
A dash of lemon juice or a teaspoon of vanilla extract does wonders. Finding that balance took me a few tries but now it’s my signature creamy cheesecake filling flavor.
Q7: Can I freeze this No Bake Classic Woolworth Cheesecake?
Yes, slices freeze well wrapped in cling film and foil. Thaw in the fridge overnight for best texture.
You know what I do when my No Bake Classic Woolworth Cheesecake needs an extra zing? I add a little homemade berry sauce on top—that little touch always impresses guests! For more tips on making no bake desserts delicious and fuss-free, you might find this Woolworths dessert link super handy.
My Final Thoughts:
This No Bake Classic Woolworth Cheesecake truly holds a special place in my heart—and kitchen—because it’s more than just a dessert; it’s a bridge to sweet family memories and effortless weekend treats. My No Bake Classic Woolworth Cheesecake Pro Tips? First, always soften your cream cheese properly for that silky cheesecake filling. Second, chilling time isn’t a suggestion—it’s crucial for a flawless set. And third, don’t hesitate to fold your whipped cream gently; it keeps the filling light and fluffy.
Over time, I’ve tried a few lovely variations with my family: a passionfruit swirl for a tropical twist, a chocolate version where cocoa is folded into the creamy cheesecake filling, and a berry topped classic that’s the kids’ favorite. My daughters prefer the fruitier versions, while my husband sticks to the simple, classic cheesecake because it reminds him of Woolworths dessert counters from years ago.
If you decide to make this No Bake Classic Woolworth Cheesecake your own, I hope it brings the same joy, simplicity, and sweet comfort to your table as it does mine. There’s nothing quite like sharing a slice of classic, creamy cheesecake love with people you care about. Don’t forget, if you enjoy this, there are also some fantastic no bake treats like the no-bake pink cheesecake or no bake key lime pie waiting to be discovered!
Warmly, cheers to many happy kitchens and sweet moments ahead with your very own No Bake Classic Woolworth Cheesecake. You’ve got this, and I can’t wait to hear how your creamy cheesecake filling turns out!
No Bake Classic Woolworth Cheesecake

Enjoy a creamy and smooth No Bake Classic Woolworth Cheesecake that’s quick to prepare and perfect for any dessert occasion.
- Prep Time: 15 minutes
- Cook Time: 0 minutes
- Total Time: 4 hours 15 minutes
- Yield: 8 servings
- Category: Dessert
- Method: No-Cook
- Cuisine: American
Ingredients
- 200g digestive biscuits, crushed
- 100g unsalted butter, melted
- 500g cream cheese, softened
- 250ml thickened cream
- 150g powdered sugar
- 2 tsp vanilla extract
- 1 tbsp lemon juice
- Fresh berries or fruit topping (optional)
Instructions
- Mix crushed digestive biscuits with melted butter until well combined.
- Press the biscuit mixture firmly into the base of a 23cm springform pan to form the crust.
- In a large bowl, beat the cream cheese until smooth and creamy.
- Add powdered sugar, vanilla extract, and lemon juice to the cream cheese and mix well.
- In a separate bowl, whip the thickened cream until soft peaks form.
- Gently fold the whipped cream into the cream cheese mixture until fully combined.
- Pour the cheesecake filling over the biscuit base and spread evenly.
- Cover and refrigerate for at least 4 hours, preferably overnight, until set.
- Before serving, top with fresh berries or fruit topping if desired.
Notes
For best results, chill the cheesecake overnight to allow it to set properly and enhance flavors.