
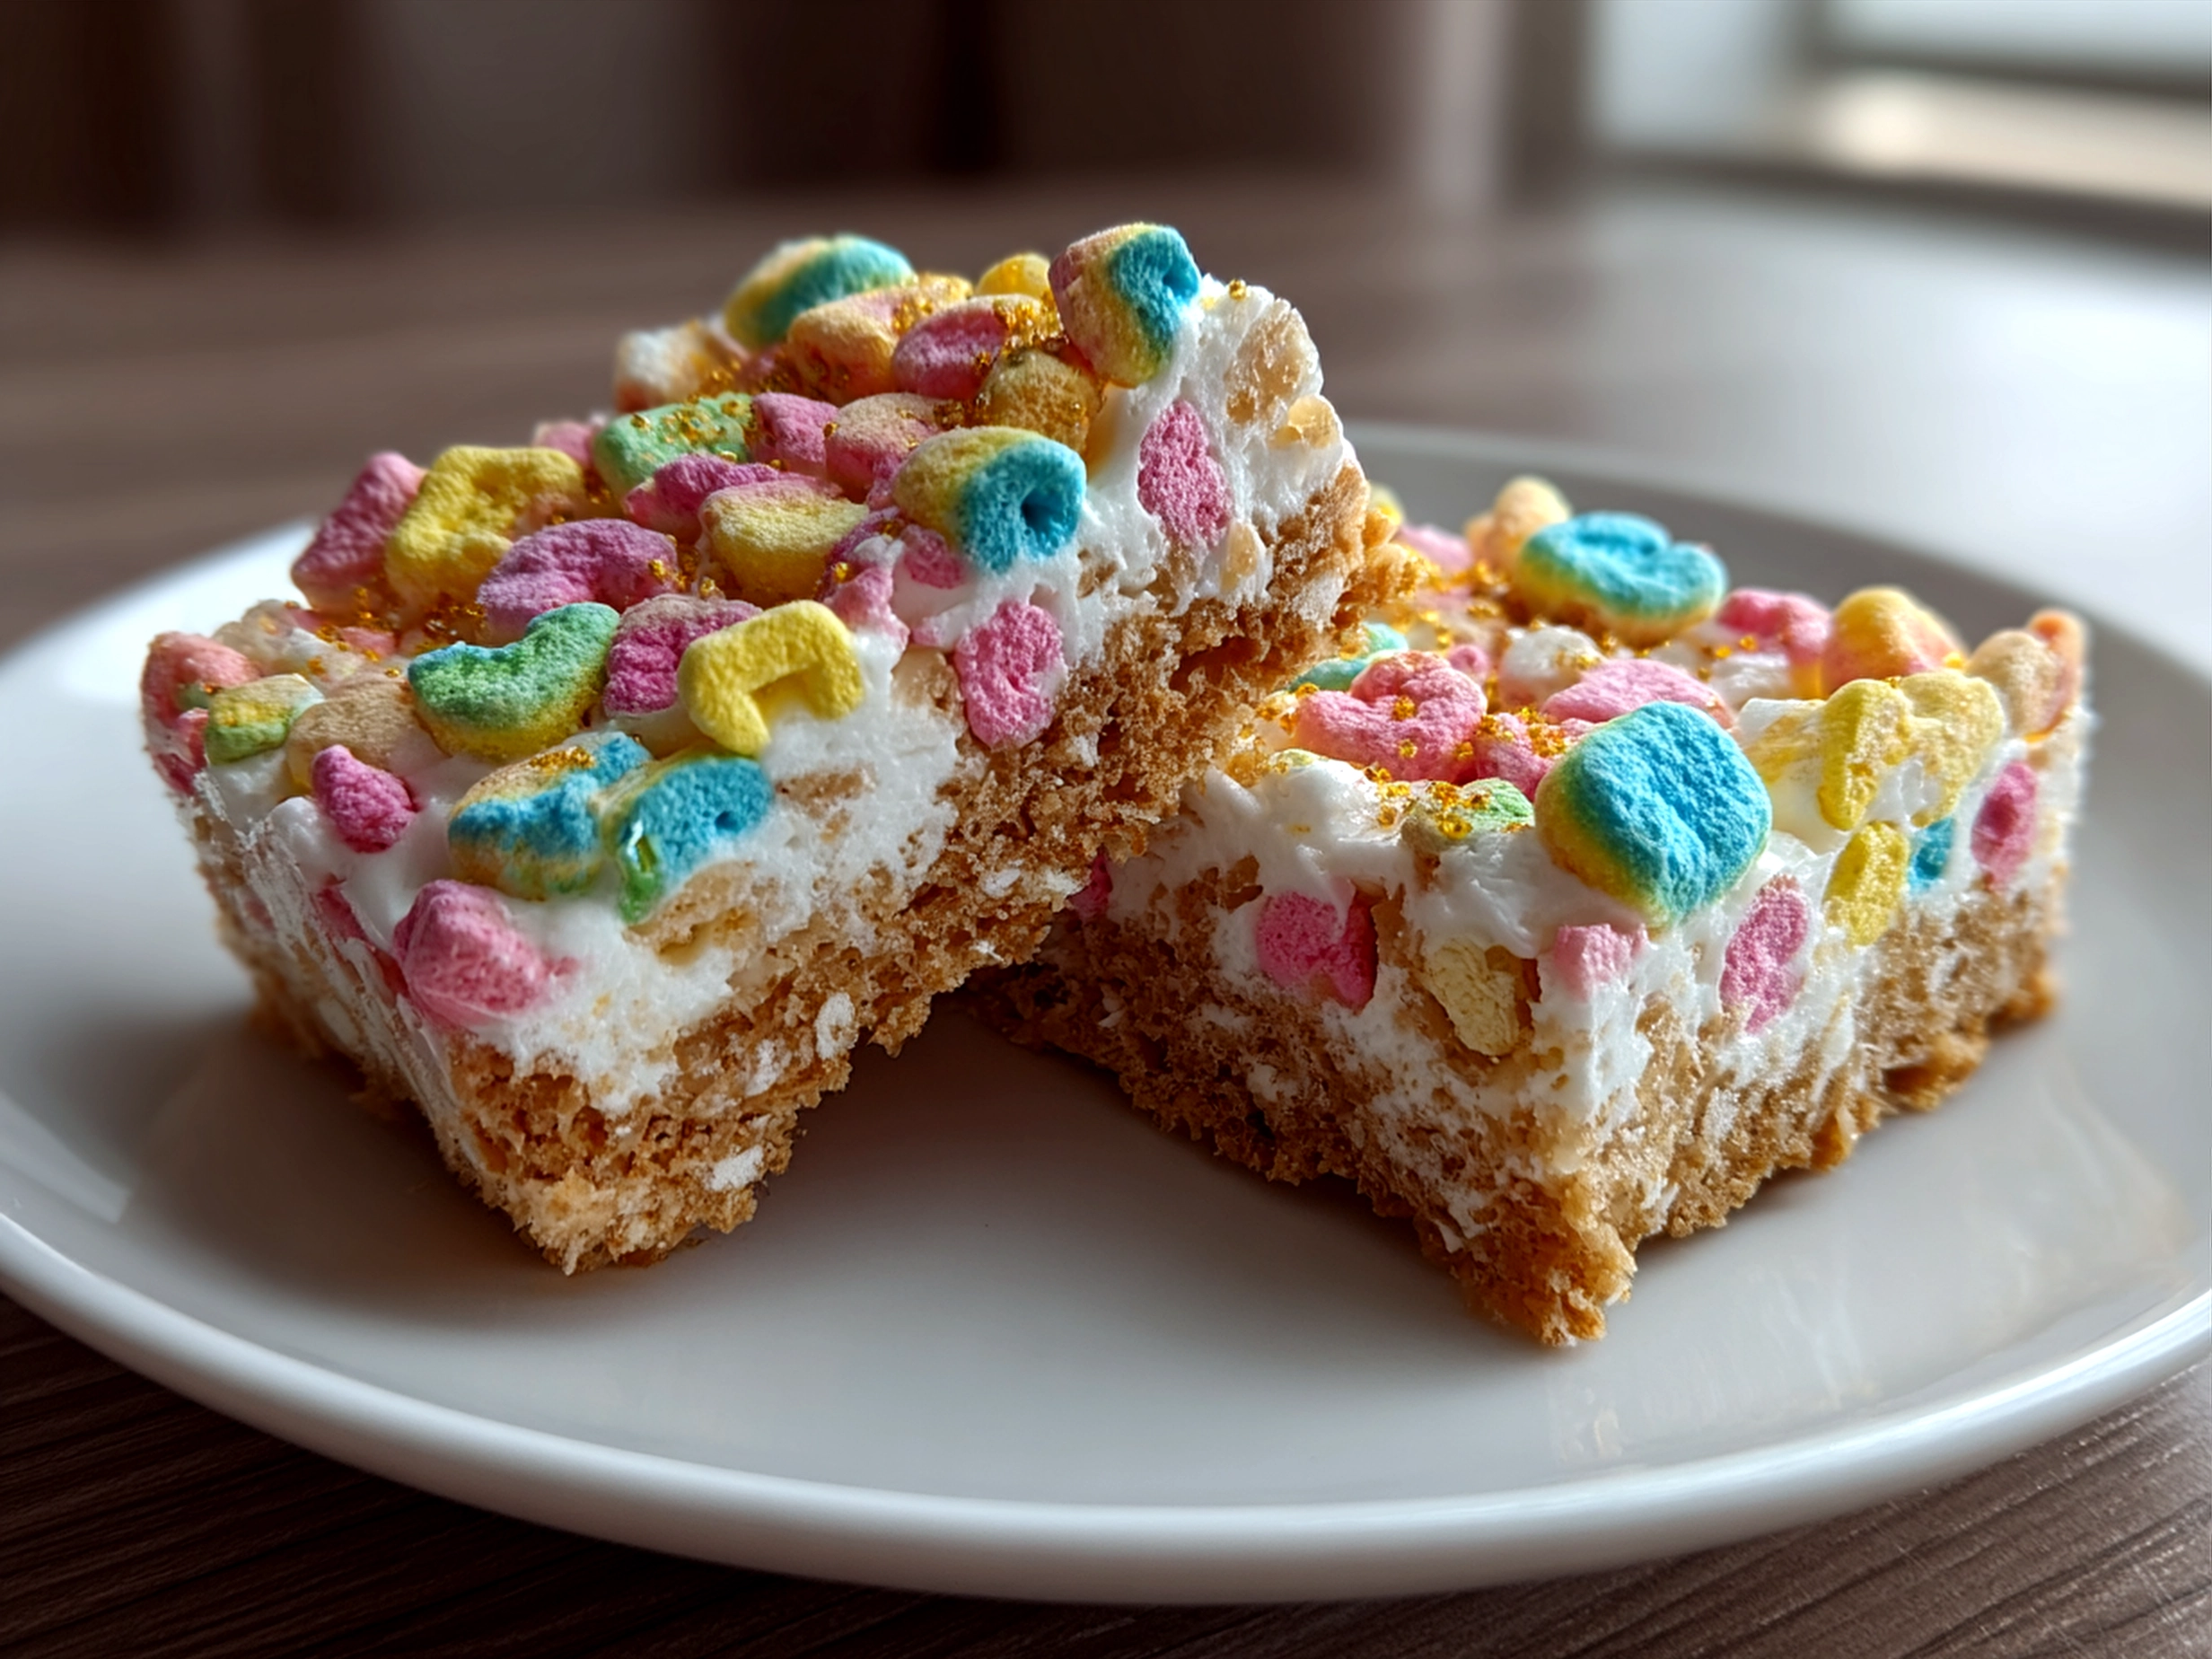
I can still remember the first time I made Lucky Charms Marshmallow Bars—it was during one of those hectic weekend afternoons when everyone was craving a fun treat but I didn’t have hours to spend in the kitchen. The sweet, gooey aroma of melting marshmallows mixed with the colorful crunch of Lucky Charms filling my little kitchen felt like instant happiness. These Lucky Charms Marshmallow Bars quickly became a go-to family favorite, especially when the kids needed a cheerful, quick snack after school.
What I love about this recipe is how it brings back that warm, nostalgic feeling of homemade marshmallow cereal bars but with the added charm of the magical marshmallows you find in Lucky Charms cereal. And oh, the first time I tried making Lucky Charms Marshmallow Bars, I totally underestimated how sticky the marshmallows could get—my spoon was a gooey mess! But once I figured out that simple trick of buttering your spatula to help with mixing, the whole process became so much easier.
For our busy family, this recipe is a lifesaver. Whether it’s a quick dessert after dinner or a fun marshmallow snack bars option for birthday parties, it fits perfectly into our days. I first discovered the joy of these Lucky Charms Marshmallow Bars while looking for an easy marshmallow bars recipe that would bring some everyday magic to our snack time. Since then, it’s been a staple because it’s kid-approved, easy to whip up, and just plain delicious.
If you’re like me and love a recipe that lets you spend more time enjoying and less time stressing, these Lucky Charms Marshmallow Bars are for you. Plus, they bring a pop of color and sweetness that makes them a special treat anytime. I can’t wait to share everything I’ve learned about making these marshmallow cereal bars—so grab your favorite bowl, and let’s get started on creating something delightful!
Oh, and before we get rolling, if you love the idea of mixing cereals into treats, you might also enjoy this Lucky Charms Cookies recipe that’s delightful for cookie lovers craving a touch of nostalgia!
Ingredients
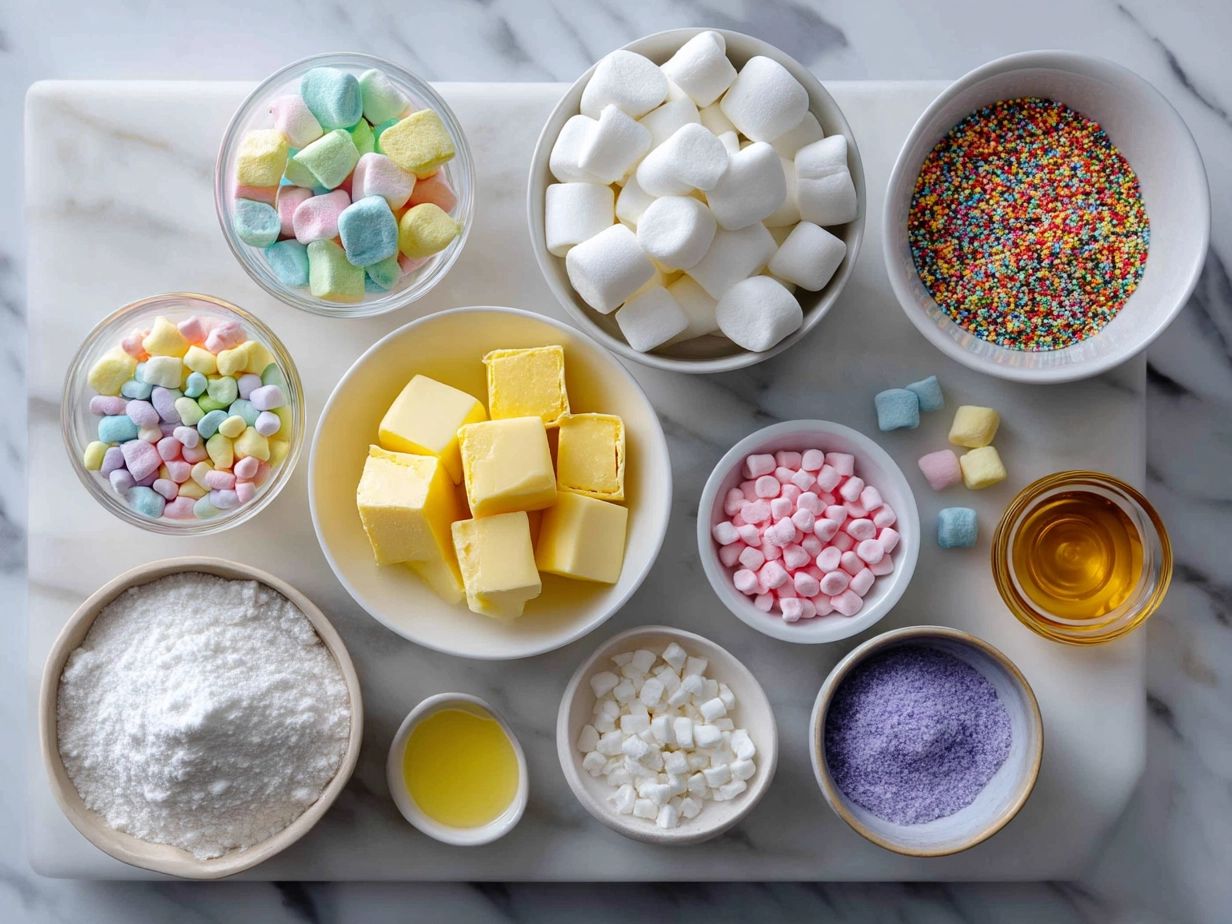
Here’s what you’ll need for the perfect batch of Lucky Charms Marshmallow Bars. I always rely on simple, easy-to-find ingredients because this recipe is all about quick assembly without sacrificing taste or fun:
- 6 cups Lucky Charms cereal – The star of the show! I find this usually at my local grocery store’s cereal aisle, but if it’s sold out (thanks to these bars being so popular!), your nearby supermarket or big-box stores almost always have it in stock. A colorful must-have to make your bars magical.
- 4 cups mini marshmallows – While Lucky Charms already have marshmallows, adding mini ones helps bind everything together for the perfect marshmallow cereal bars texture.
- 3 tablespoons unsalted butter – Butter gives those Lucky Charms Marshmallow Bars a rich, melt-in-your-mouth quality. I learned from my mom that unsalted butter offers better control over the sweetness.
- 1 teaspoon vanilla extract – Just a splash for warmth and a lovely depth in flavor.
- Pinch of salt – To balance the sweetness and round off the flavor beautifully.
I prefer to use mini marshmallows instead of jumbo ones because they melt more evenly—avoiding those pesky marshmallow lumps that can sometimes make the bars harder to press into the pan. When making Lucky Charms Marshmallow Bars, a little cooking tip I picked up is to set your butter on the counter ahead of time so it softens perfectly, which helps when stirring it with marshmallows.
If you ever find yourself with leftover Lucky Charms cereal, it keeps well in an airtight container for a couple of weeks—great for last-minute marshmallow snack bars or even just for some cereal-to-go for quick breakfasts. The same goes for mini marshmallows if you want to keep the scraps handy for another batch.
And for frugal kitchen lovers, buying Lucky Charms cereal in family-size boxes or during sales can save you a bit here and there since this recipe calls for a good amount of cereal. Keeping an eye out on your grocery apps or local flyers can pay off nicely.
While you get your ingredients ready, here’s a little peek at other wonderful cereals and bars recipes like this easy plum crumble bars that pairs the same comforting vibes with seasonal fruit—perfect if you want to try something a little different soon!
How to Make – Step-by-Step
Alright, friend, let’s get to the fun part—making these Lucky Charms Marshmallow Bars! Don’t worry if you’re new to this; I’m right here guiding you every sticky step of the way.
- Prep your pan and tools: Lightly grease a 9×13-inch baking dish or line it with parchment paper for easy removal. Have a large mixing bowl, a sturdy spatula, and a buttered spoon ready. Buttering the spatula is one of those quick Lucky Charms Marshmallow Bars pro tips that saves you so much trouble later.
- Melt the butter and marshmallows: In a large saucepan, melt 3 tablespoons of unsalted butter over low heat. Once melted, add in the 4 cups of mini marshmallows and stir continuously until completely melted and smooth. Your kitchen will start smelling like that sweet, puffed corn sweetness we all remember, which is always the best sign.
- Add vanilla and salt: Take the melted marshmallow mixture off the heat, stir in the vanilla extract and a pinch of salt. This little touch takes your Lucky Charms Marshmallow Bars from sweet indulgence to balanced treat.
- Mix in the cereal: Toss in all 6 cups of Lucky Charms cereal and gently fold it into the marshmallow mixture. Be patient here—try not to crush the cereal too much to keep the marshmallow cereal bars nice and light. Using a large bowl allows you the space to work without making a mess everywhere.
- Press the mixture into the pan: Pour the sticky mixture into your prepared baking dish. Here’s the trick: instead of using your hands, coat the back of a spatula or wax paper with butter and gently press the mixture evenly. This prevents it from sticking all over your fingers and keeps the Lucky Charms Marshmallow Bars perfectly compact.
- Let it cool: Pop the pan in the fridge, or sit it on your counter to cool for at least 1 hour. Patience is key here—even though the gooey marshmallow snacks bars are tempting to dig into right away, letting it set properly gives you that clean slice and perfect chewy texture.
- Slice and serve: After your bars have hardened, cut into squares or rectangles. These marshmallow cereal bars keep well in an airtight container at room temperature for a couple of days, but I doubt they’ll last that long!
I’ve picked up lots of good info about getting the perfect texture through sites like Serious Eats on marshmallow bar techniques and it helped me avoid the too-hard or too-sticky mishaps on my early attempts.
While the bars are setting, I usually clean up the mess or brew myself a fresh cup of coffee — it’s the little moments waiting that keep kitchen life so enjoyable.
If you’re craving a different twist or extra flair, try mixing in some chocolate chips or swapping the vanilla for almond extract—our family tested and loved the vanilla version best, but sometimes a little change keeps things exciting.
And if you’re thinking about similar easy marshmallow bars recipes, you might enjoy clicking through this peach crumble bars recipe for another sweet, crowd-pleasing snack optionally paired with warm beverages.
Serving
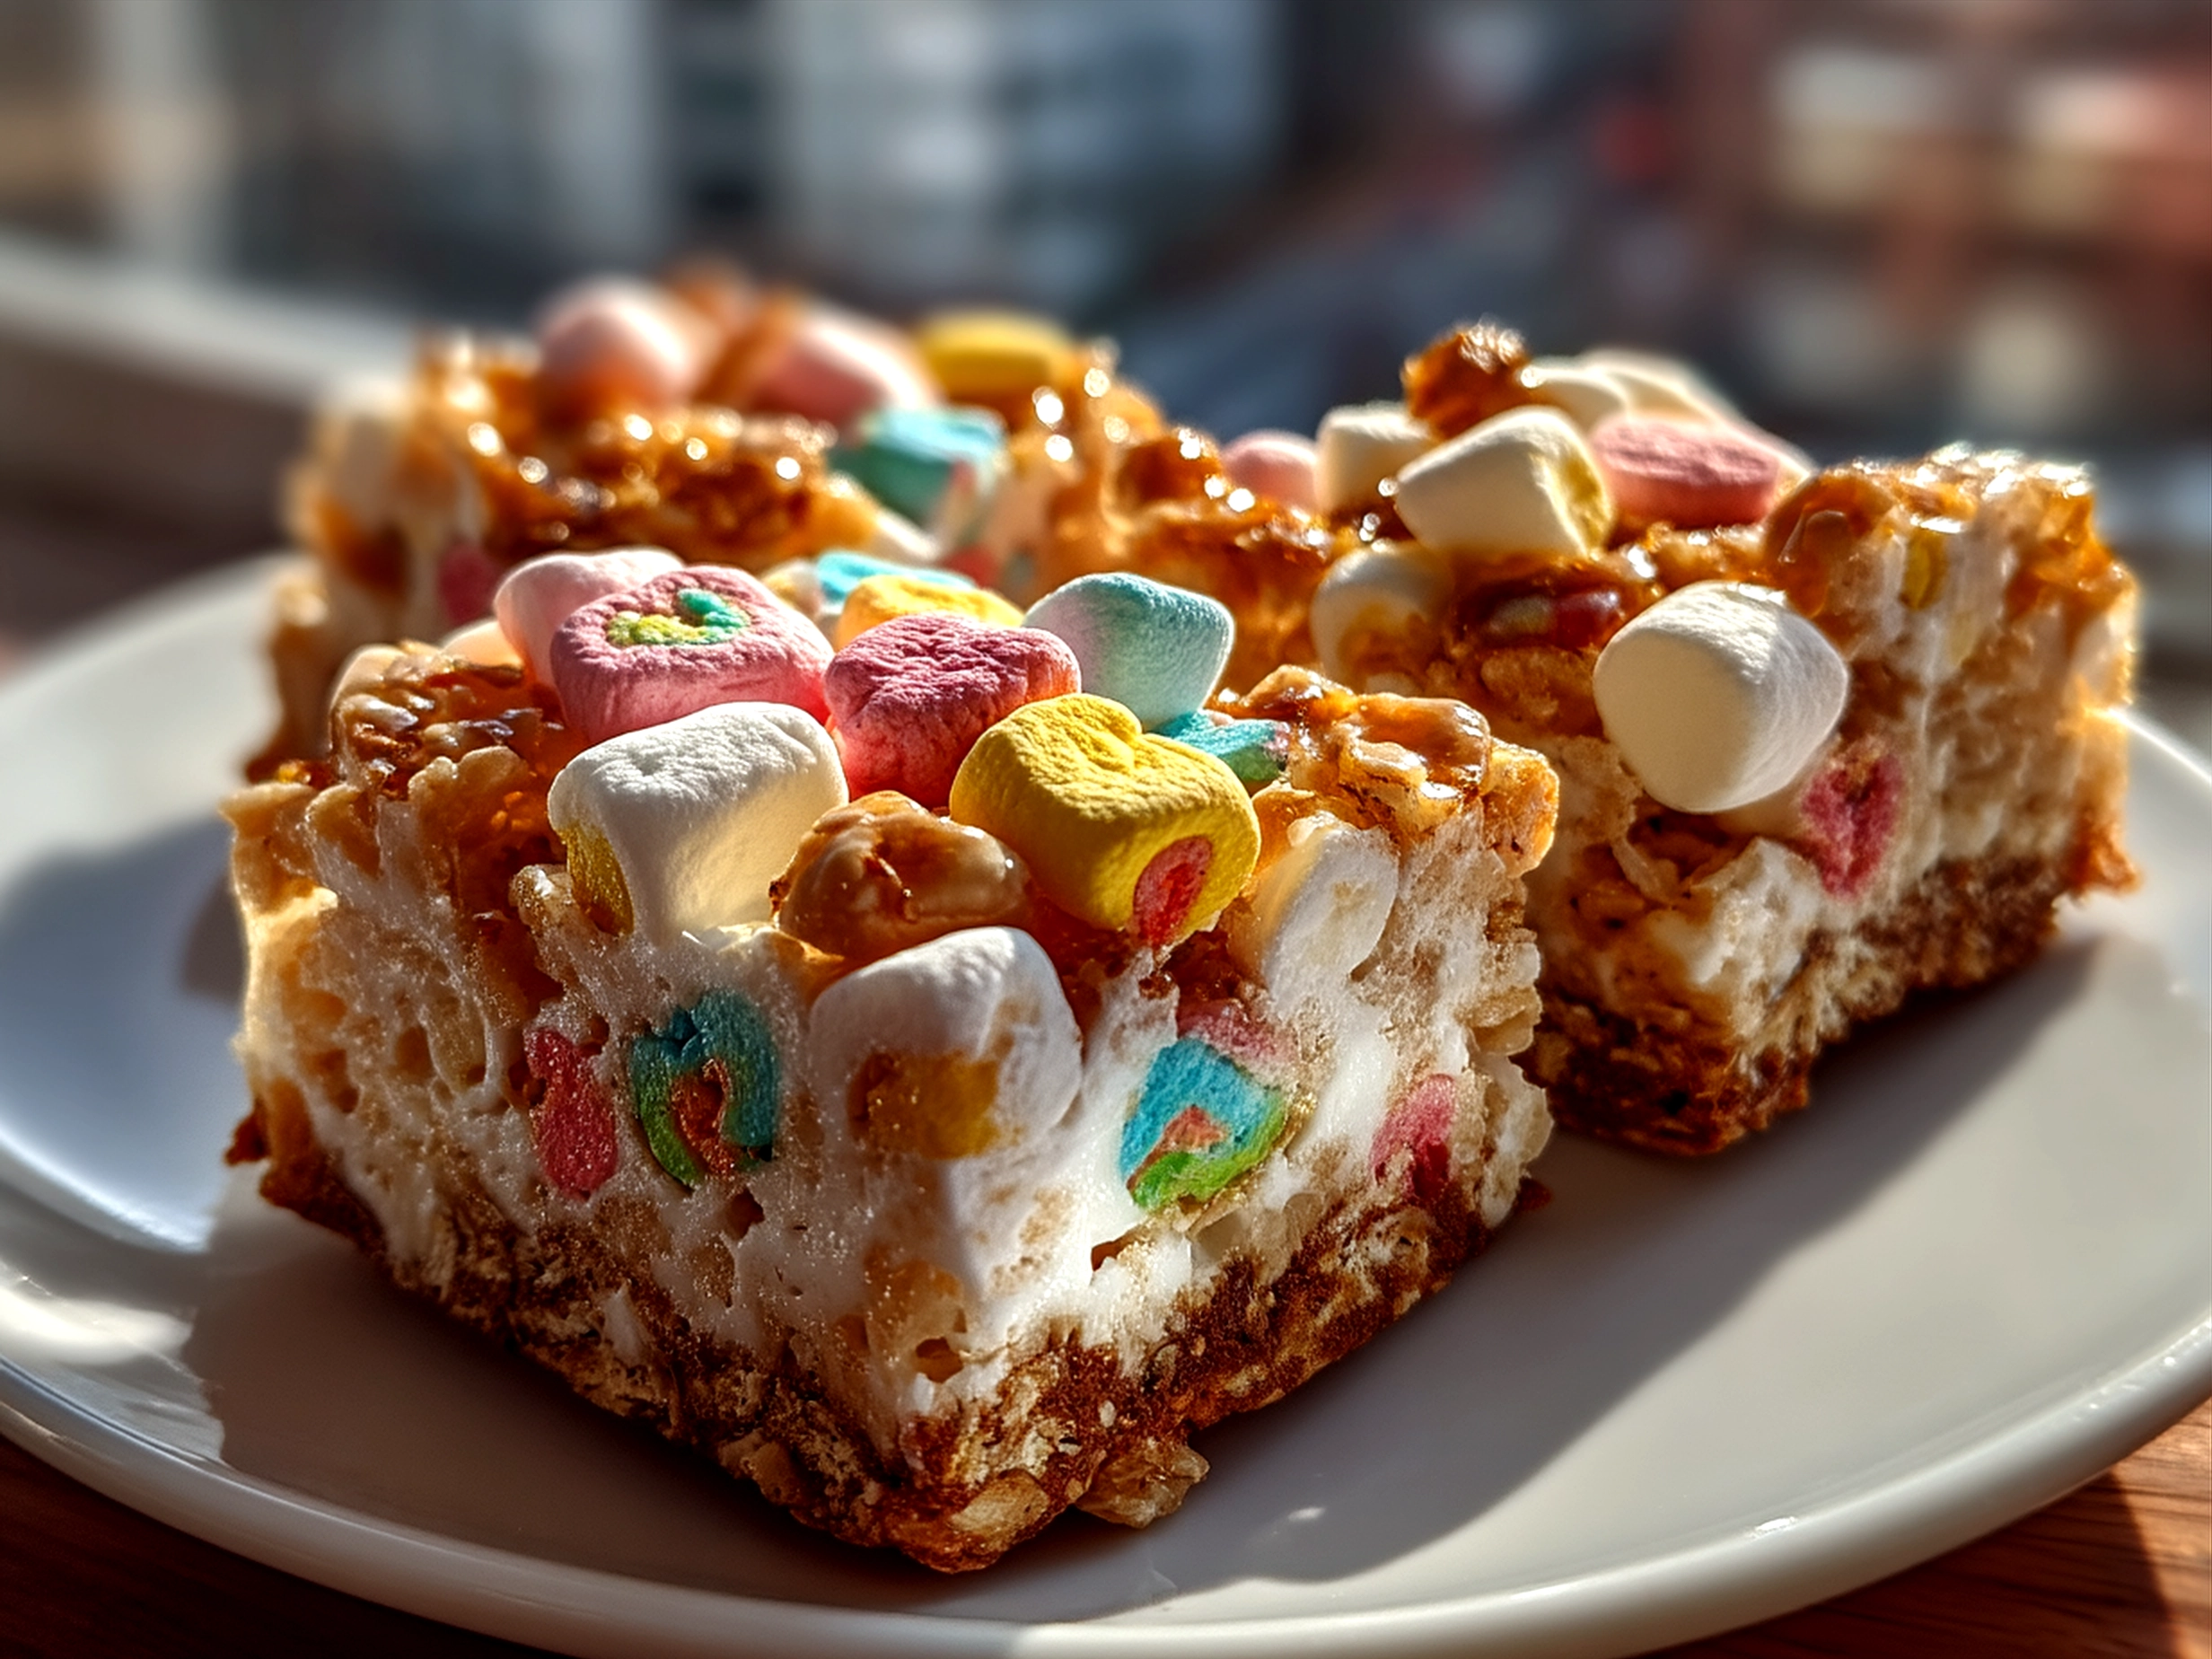
Now, here comes the part I adore most — sharing these Lucky Charms Marshmallow Bars! Our kids get especially excited when these bars come out of the fridge after school; they love the chewy marshmallow snack bars with the crunchy, colorful cereal popping in their mouths. For quick weekday treats, I usually set the bars on a pretty platter to jazz things up a bit; presentation really does add sparkle when kids think they’re getting something fancy.
I found that pairing these bars with a cold glass of milk is my secret weapon to keeping everyone happy—they balance out the sweetness and keep the snack feeling wholesome. On weekends, I love serving Lucky Charms Marshmallow Bars with fruit salad or even alongside some whipped cream for a semi-Lucky Charms dessert with a grown-up twist.
These bars are perfect for any occasion from school lunches, picnic treats, birthday parties, or even festive holidays. Around St. Patrick’s Day, swapping regular marshmallows for green mini marshmallows creates an extra-special seasonal flair that the whole family looks forward to.
If you find yourself with leftover Lucky Charms Marshmallow Bars (which, again, doesn’t happen often at our house!), I like to break them into chunks for topping yogurt or ice cream. It’s the perfect way to add a little crunch and color without extra work. And friends always ask me for this Lucky Charms Marshmallow Bars recipe whenever they come over, so it’s become a bit of a crowd-pleaser at gatherings.
Pairing ideas also include a simple vanilla ice cream scoop or even some trail mix to complement the cereal bars. You might also want to peek at this charming Lucky Charms Cookies recipe if you’re interested in other ways to enjoy that magical cereal.
FAQs
Q1: Can I use regular marshmallows instead of mini marshmallows in my Lucky Charms Marshmallow Bars?
Absolutely! I’ve done this quite a bit. Using regular marshmallows works too, but mini marshmallows melt more evenly and quickly, making your Lucky Charms Marshmallow Bars less clumpy. If you only have large marshmallows, just chop them into smaller pieces before melting to keep the texture just right.
Q2: How do I prevent the bars from sticking to the pan?
Great question—this used to trip me up! I always line my pan with parchment paper or wax paper and then lightly butter it. This method has saved me countless times with Lucky Charms Marshmallow Bars, making cleanup a breeze and keeping bars from sticking. If parchment paper isn’t available, greasing generously with butter does the trick too.
Q3: Can I store Lucky Charms Marshmallow Bars in the fridge?
Yes, but they keep best at room temperature in an airtight container for a couple of days. If your kitchen is especially warm, storing them in the fridge is fine—just let them come back to room temperature before serving so they’re chewy, not hard.
Q4: Why did my marshmallow cereal bars come out too hard?
This usually happens when the marshmallow mixture is cooked on high heat or cooked too long. The best way to get soft, chewy Lucky Charms Marshmallow Bars is to melt butter and marshmallows gently on low heat and remove from heat right after everything’s melted. I learned the hard way that patience is key in this step!
Q5: Are there gluten-free options?
If you’re making marshmallow snack bars for friends or family who avoid gluten, look for gluten-free Lucky Charms cereal variants or substitute with a gluten-free cereal you like. Just be sure to double-check packaging.
Q6: Can I add extras like chocolate chips or nuts?
Yes! My family loves mixing in mini chocolate chips or chopped nuts for extra texture and flavor. Just fold them in after mixing in the cereal, before pressing into the pan. It’s a fun little twist on classic Lucky Charms Marshmallow Bars.
Q7: How long does it take to make Lucky Charms Marshmallow Bars?
From start to finish, you’re looking at about 20 minutes of active prep and cooking time, plus about an hour to set. This easy marshmallow bars recipe is perfect for quick treats that don’t keep you tied to the stove.
If you want to troubleshoot or learn more about marshmallow cereal bars techniques, checking out Joy of Baking’s guide on marshmallow treats always helps me perfect mine.
My Final Thoughts
There’s just something about these Lucky Charms Marshmallow Bars that makes my heart smile. Maybe it’s the colorful, whimsical charms that get the kids excited or the gooey, chewy delight that brings everyone back to childhood memories. This recipe holds a special place in our home because it’s easy enough for busy days but special enough for celebrations.
My Lucky Charms Marshmallow Bars Pro Tips:
– Use buttered spatulas or parchment for easy pressing and clean-up.
– Gently melt marshmallows over low heat to avoid drying them out.
– Press bars firmly but gently to keep them light and chewy, not crumbly.
We’ve tried several variations—swirling in peanut butter for a richer treat, adding cinnamon for fall vibes, or tossing in some dried cranberries for a tart contrast. My youngest loves the classic version best, while the teenagers often request the peanut butter twist. No matter how you make it your own, these Lucky Charms Marshmallow Bars feel like a little hug after a long day.
If you’re ready to brighten your snack game, I truly hope you enjoy making and sharing these bars as much as we do. They’re my little kitchen treasure that keeps giving joy.
And don’t forget, if you love these bars, I think you’ll really enjoy these crumbly delights like Peach Crumble Bars—another family favorite that’s just as approachable and delicious.
Stay cozy, friend, and happy baking with your Lucky Charms Marshmallow Bars!
Remember to check out these lovely resources and recipes while making your Lucky Charms Marshmallow Bars:
– Lucky Charms Cookies
– Peach Crumble Bars Recipe
– Easy Plum Crumble Bars
And for some outside guides on marshmallow treats and techniques:
– Serious Eats on Rice Cereal Treats Techniques
– Joy of Baking Rice Crispy Treats Tips
– Food Network Easy Marshmallow Treats
Happy cooking, dear friend!
Lucky Charms Marshmallow Bars
Delight in these colorful and chewy Lucky Charms Marshmallow Bars, a fun and easy treat combining the classic cereal with gooey marshmallows for a perfect snack or dessert.
- Prep Time: 10 minutes
- Cook Time: 5 minutes
- Total Time: 15 minutes
- Yield: 12 servings
- Category: Dessert
- Method: No-Cook
- Cuisine: American
Ingredients
- 4 cups Lucky Charms cereal
- 3 tablespoons butter
- 10 oz marshmallows (about 40 large or 4 cups mini marshmallows)
- Optional: 1/2 teaspoon vanilla extract
Instructions
- Grease a 9×13 inch baking dish or line it with parchment paper.
- In a large pot, melt the butter over low heat.
- Add marshmallows to the melted butter and stir continuously until fully melted and smooth. If using, stir in vanilla extract.
- Remove pot from heat and immediately add Lucky Charms cereal.
- Gently fold the cereal into the marshmallow mixture, making sure all pieces are coated.
- Transfer the mixture into the prepared baking dish and press it down evenly with a spatula or wax paper.
- Let cool completely at room temperature (about 30 minutes) before cutting into bars.
Notes
For an extra touch, drizzle melted white chocolate over the bars once cooled, or wrap individual bars for easy grab-and-go snacks.