
Oh, honey, let me tell you about these pineapple bars. I swear, they’re practically sunshine baked into a little square. I remember the first time I made them – it was for a church potluck, and I was so nervous! I’d seen my grandma whip them up a million times, but somehow, when it was my turn, I almost forgot the sugar! Can you believe it? Thankfully, I caught myself just in time. I was so proud of those pineapple bars, and even more thrilled when they were the first dessert to disappear!
What makes this pineapple bars recipe so special? It’s simple: it’s easy, it’s comforting, and it always brings a smile to everyone’s face. My kids practically inhale them, and my husband sneaks them from the fridge when he thinks I’m not looking. It’s the perfect balance of sweet and tangy, with a creamy, dreamy topping that just melts in your mouth. It’s a dessert that brings joy and a little bit of sunshine to any day. The combination of the buttery crust, the sweet pineapple filling, and the tangy cream cheese topping is simply irresistible.
I’ve tweaked and perfected this recipe over the years, learning a few tricks along the way. Like, did you know that chilling the crust dough makes it so much easier to work with? That was a hard-learned lesson, believe me! I used to end up with a sticky, crumbly mess that drove me crazy. It’s amazing how one little step can make such a big difference in the final result. Over time, I’ve also experimented with different variations, adding coconut or nuts to the filling, but I always come back to the classic recipe.
Honestly, this pineapple bars recipe has been a lifesaver on busy weeknights when I need a quick and easy dessert to bring to a family gathering. It’s a total crowd-pleaser, and I always get asked for the recipe. I’m so excited to finally be sharing it with you! Trust me, once you try this pineapple bars recipe, it’ll become a family favorite in your house, too. So, let’s get baking!
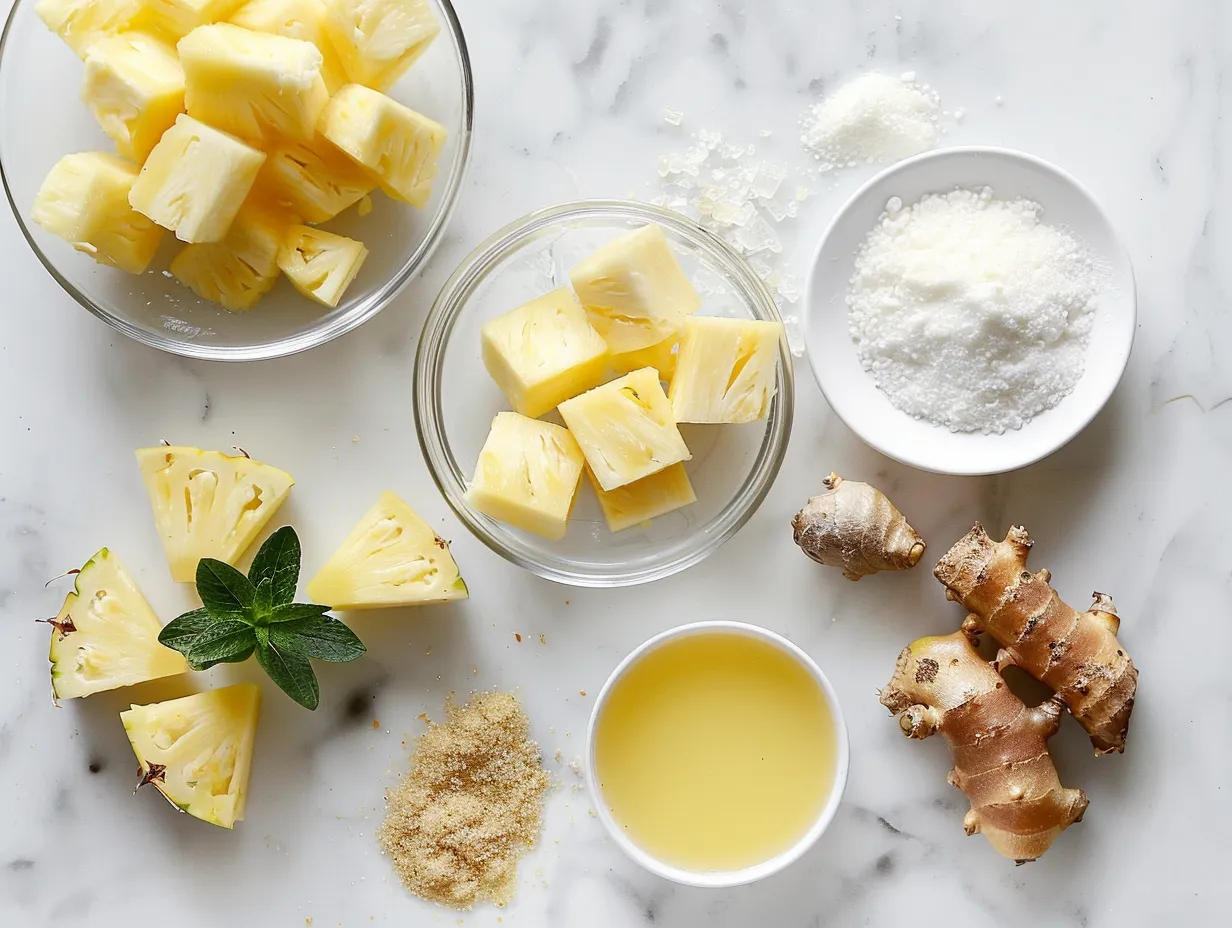
Ingredients: What You’ll Need
Here’s what you’ll need to make these delicious pineapple bars. Don’t worry; it’s all pretty basic stuff you probably already have in your pantry!
For the Crust:
- 1 1/2 cups all-purpose flour
- 1/2 cup (1 stick) cold unsalted butter, cut into cubes
- 1/4 cup powdered sugar
- 1/4 teaspoon salt
For the Filling:
- 1 (20 ounce) can crushed pineapple, undrained
- 1 cup granulated sugar
- 1/4 cup all-purpose flour
- 2 large eggs, lightly beaten
For the Cream Cheese Topping:
- 8 ounces cream cheese, softened
- 1/4 cup granulated sugar
- 1 teaspoon vanilla extract
- 1 cup whipped topping (like Cool Whip)
When making these pineapple bars, I always use real butter for the crust. It gives it that rich, melt-in-your-mouth texture that’s just irresistible. And for the cream cheese topping, make sure your cream cheese is nice and soft; otherwise, you’ll end up with a lumpy topping, and nobody wants that! You can usually find good deals on canned pineapple at the big box stores. I often stock up when they’re on sale, just so I have them on hand for these bars or other recipes.
Here’s a trick I learned from my grandma: To easily soften cream cheese, just unwrap it and microwave it for about 15-20 seconds. Just keep an eye on it so it doesn’t melt!
If you’re short on time, you can even buy a pre-made graham cracker crust. It won’t be quite the same as the homemade crust, but it’ll still be delicious. Plus, it’s a great shortcut for those crazy busy days when you just need a quick and easy dessert. For any leftover ingredients, I typically seal in airtight containers and store in a cool, dry place. Make sure to keep your cream cheese refrigerated! Proper storage is key to maintaining the freshness and quality of your ingredients, ensuring that your pineapple bars turn out perfect every time.
How to Make Pineapple Bars: Step-by-Step
Alright, let’s get down to the nitty-gritty and make these pineapple bars! Trust me, it’s easier than you think. Just follow along, and we’ll have a pan of sunshine in no time!
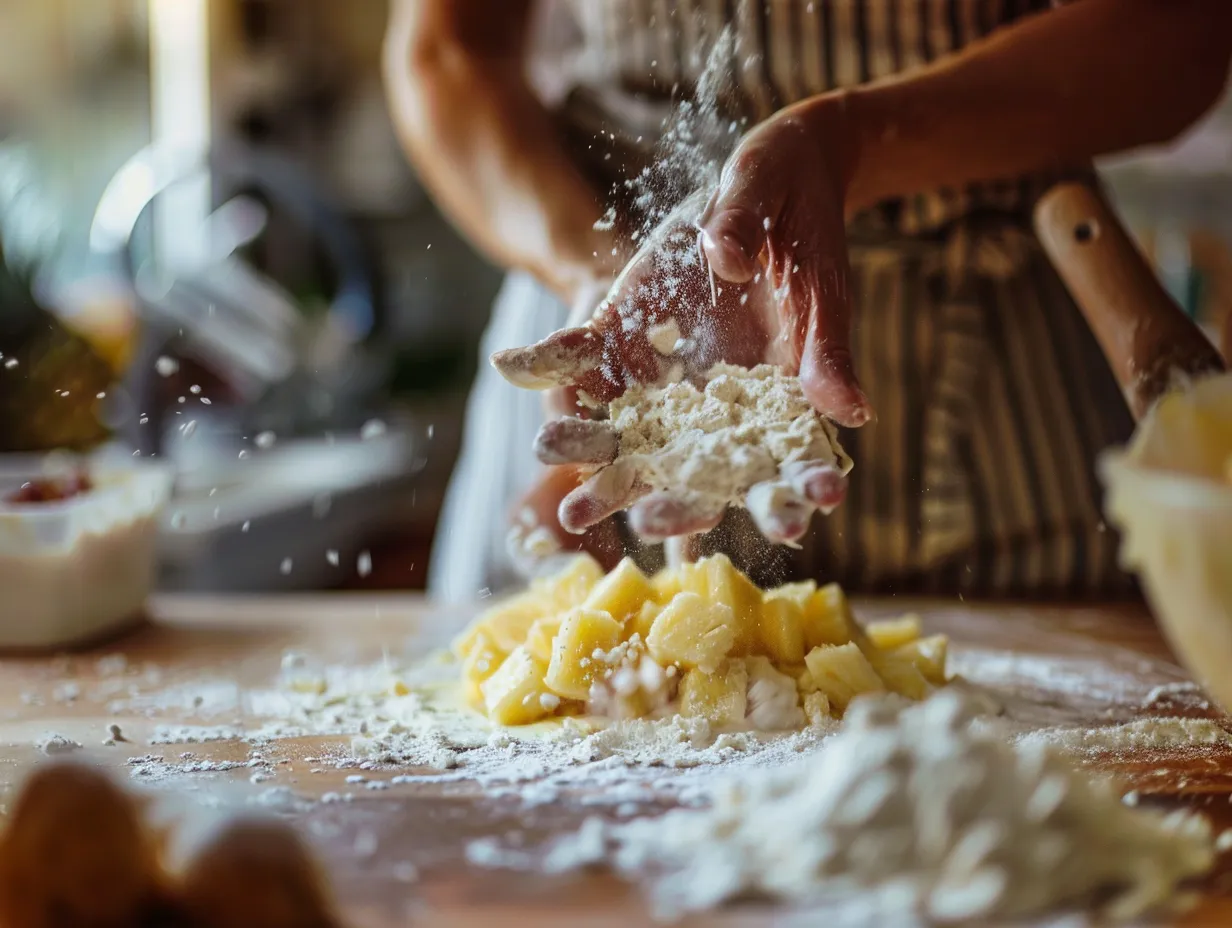
- Make the Crust: In a medium bowl, whisk together the flour, powdered sugar, and salt. Cut in the cold butter using a pastry blender or your fingertips until the mixture resembles coarse crumbs. This is where a pastry blender really comes in handy. If you don’t have one, don’t worry; just use your fingers and work quickly so the butter doesn’t melt too much.
- Press the mixture into the bottom of an ungreased 9×13 inch baking pan. I find that using the bottom of a measuring cup helps to evenly distribute the crust. Don’t worry if your crust isn’t perfectly even; it’ll still taste amazing! Ensure the crust is firmly pressed for a solid base.
- Bake the crust in a preheated oven at 350°F (175°C) for 15-20 minutes, or until lightly golden brown. In my kitchen, this usually takes about 18 minutes, but ovens vary, so keep an eye on it. Keep a close watch to prevent burning.
- Prepare the Filling: While the crust is baking, prepare the filling. In a medium bowl, combine the undrained crushed pineapple, granulated sugar, flour, and lightly beaten eggs. Mix well until everything is nicely combined. Make sure there are no lumps for a smooth filling.
- Pour the pineapple mixture over the hot, baked crust. Return to the oven and bake for another 20-25 minutes, or until the filling is set. The filling should be slightly jiggly but not liquidy. Your pineapple bars should smell like a tropical paradise! This is where the magic happens, as the flavors meld together in the oven.
- Make the Cream Cheese Topping: While the filling is baking, prepare the cream cheese topping. In a medium bowl, beat the softened cream cheese and granulated sugar until smooth and creamy. Stir in the vanilla extract and whipped topping. Gently fold everything together until well combined. The topping should be light and airy.
- Once the pineapple bars are done baking, remove them from the oven and let them cool completely. This is important; otherwise, the cream cheese topping will melt! I usually let them cool on the counter for about an hour, then pop them in the fridge to chill completely. Patience is key for the perfect cream cheese layer.
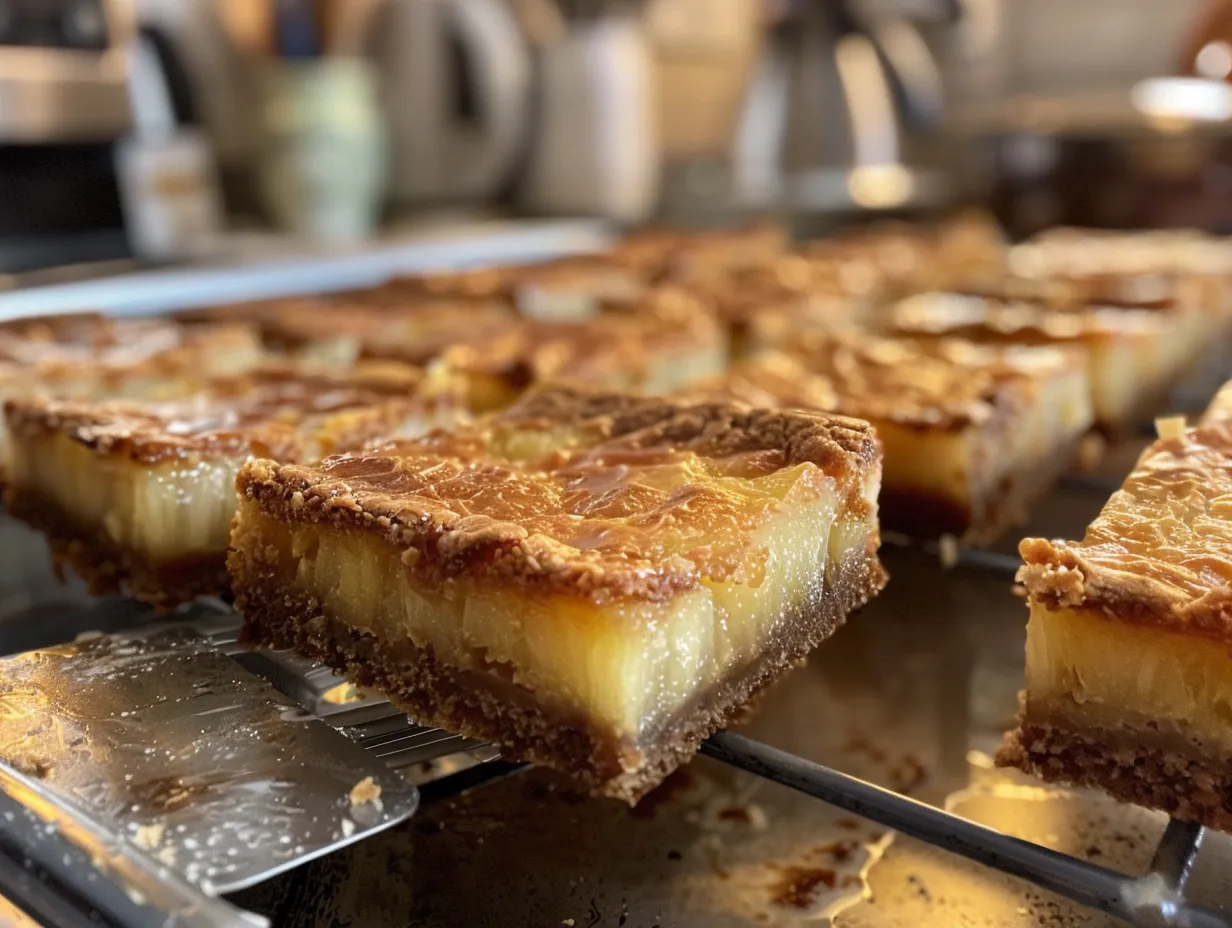
- Spread the cream cheese topping evenly over the cooled pineapple bars. Use a spatula for a smooth finish.
- Cut into bars and serve. Store any leftovers in the refrigerator. Properly chilled bars are easier to cut and serve.
I learned the hard way with pineapple bars that it’s essential to let them cool completely before adding the cream cheese topping. The first time I made these, I was in a rush and put the topping on while the bars were still warm. The topping melted and made a soupy mess! Now, I always make sure they’re completely cooled before I even think about adding the topping.
While the pineapple bars are baking, I usually tidy up the kitchen or start prepping dinner. It’s all about multitasking, right?
Serving Suggestions
Okay, so you’ve got a pan of gorgeous pineapple bars sitting in front of you. Now what? Well, it’s time to enjoy them, of course!
The kids love when I pack these pineapple bars in their lunchboxes for a special treat. They always get so excited! And my husband likes to have one with his afternoon coffee.
These pineapple bars are absolutely perfect for potlucks, picnics, and summer barbecues. They’re also great for holiday gatherings. I often make them for Easter and Thanksgiving because they’re such a crowd-pleaser. Their versatility makes them ideal for any occasion. Whether it’s a casual get-together or a formal celebration, these bars are always a hit.
For side dishes, I usually serve these tropical pineapple bars with fresh fruit salad. The bright, refreshing flavors of the fruit complement the sweet and tangy pineapple bars perfectly. A scoop of vanilla ice cream is always a hit, too. The combination of textures and temperatures elevates the dessert experience.
When it comes to presentation, I like to dust the pineapple bars with a little powdered sugar before serving. It adds a touch of elegance and makes them look extra pretty. You can also garnish them with a few fresh pineapple chunks or a sprig of mint. Presentation can make a big difference in how appealing a dessert looks. A simple garnish can transform a plain dessert into something special.
If you have extra pineapple bars, they’ll keep in the fridge for up to 3-4 days. Just make sure to store them in an airtight container to prevent them from drying out. You can also freeze them for longer storage. Just wrap them individually in plastic wrap and then place them in a freezer-safe bag. They’ll keep in the freezer for up to 2-3 months. Proper storage ensures that your pineapple bars stay fresh and delicious for as long as possible.
I’ve experimented with seasonal variations of this recipe, too. In the fall, I sometimes add a sprinkle of cinnamon to the crust and filling for a warm, cozy flavor. And in the winter, I like to drizzle them with a little melted white chocolate. Seasonal variations can add a unique twist to the classic recipe, making it perfect for any time of year.
My friends always ask for this easy pineapple bars recipe whenever I bring them to a party. They can’t believe how easy they are to make and how delicious they taste.
Frequently Asked Questions
Okay, let’s tackle some of the most frequently asked questions about these pineapple bars. I’ve heard it all, from “Can I use fresh pineapple?” to “What if my crust is too crumbly?” Don’t worry; I’ve got you covered!
- Can I use fresh pineapple instead of canned?
- While you can use fresh pineapple, I don’t recommend it for this recipe. Canned crushed pineapple has a specific texture and moisture content that works perfectly in these bars. Fresh pineapple can be too juicy and make the filling too watery.
- What if my crust is too crumbly?
- If your crust is too crumbly, it’s likely because you didn’t use enough butter or your butter was too warm. Make sure your butter is cold and cut it into the flour mixture until it resembles coarse crumbs. You can also add a tablespoon or two of ice water to help the dough come together. I find if I let my butter sit out for too long this happens.
- Can I use a different type of crust?
- Absolutely! If you’re not a fan of the shortbread crust, you can use a graham cracker crust or even a cookie crust. Just adjust the baking time accordingly.
- What if my cream cheese topping is too thin?
- If your cream cheese topping is too thin, it’s probably because your cream cheese was too warm or you added too much whipped topping. Make sure your cream cheese is softened but not melted. And gently fold in the whipped topping, being careful not to overmix. You know what I do when my pineapple bars cream cheese is too thin, I add a thickening agent that is safe to consume.
- Can I make these no bake pineapple bars?
- While this particular recipe requires baking, you could adapt it to create a no-bake version. You’d need to start with a pre-made graham cracker crust and adjust the filling ingredients to create a no-bake pineapple filling, potentially using gelatin or agar-agar to help it set. It would take some experimenting, but it’s definitely possible!
- What if my filling is too runny?
- If your filling is too runny, it could be because you didn’t bake it long enough or you used too much liquid. Make sure to bake the bars until the filling is set but still slightly jiggly. And be sure to use the exact amount of crushed pineapple called for in the recipe.
- Can I freeze these cream cheese pineapple bars?
- Yes, you can freeze these pineapple bars, but the cream cheese topping may change texture slightly after thawing. To freeze, wrap the bars individually in plastic wrap and then place them in a freezer-safe bag. They’ll keep in the freezer for up to 2-3 months. My family loves the freezer version of these pineapple bars.
Final Thoughts
These pineapple bars hold a special place in my heart because they remind me of my grandma. She was the queen of easy, delicious desserts, and this recipe is a testament to her simple yet satisfying style of cooking. I hope this easy pineapple bars recipe brings the same joy to your family that it has brought to mine. It’s a recipe that has been passed down through generations, and I’m so happy to be sharing it with you.
Before you go, here are a few of my pineapple bars Pro Tips:
- Chill the Crust: Chilling the crust dough for 30 minutes before baking helps prevent it from shrinking in the oven.
- Don’t Overbake: Overbaking the filling will result in dry, tough bars. Bake until the filling is set but still slightly jiggly.
- Cool Completely: Let the bars cool completely before adding the cream cheese topping to prevent it from melting.
Here are a few variations you can try with your family:
- Coconut Pineapple Bars: Add 1/2 cup of shredded coconut to the filling for a tropical twist. My daughter loves this version!
- Macadamia Nut Pineapple Bars: Sprinkle 1/4 cup of chopped macadamia nuts over the cream cheese topping for added crunch and flavor. My husband prefers this version.
- Spice Pineapple Bars: Add 1/2 teaspoon of cinnamon and 1/4 teaspoon of nutmeg to the filling for a warm, cozy flavor.
I encourage you to make this pineapple bars recipe your own. Don’t be afraid to experiment with different ingredients and flavors. After all, the best recipes are the ones that are made with love and tailored to your family’s tastes. Add a personal touch to create a dessert that is uniquely yours.
I hope you have as much fun making these pineapple bars as I do. And I hope they become a cherished family favorite in your house for years to come. Happy baking!
My Grandma’s Famous Pineapple Bars : You’ll Love

These pineapple bars are a tropical delight! A buttery crust topped with a sweet and tangy pineapple filling.
- Prep Time: 20
- Cook Time: 45
- Total Time: 65
- Yield: 24 bars
- Category: Dessert
- Method: Baking
- Cuisine: American
Ingredients
- 1 1/2 cups all-purpose flour
- 1/2 cup (1 stick) unsalted butter, softened
- 1/4 cup powdered sugar
- 1/4 teaspoon salt
- 3 large eggs
- 1 1/2 cups granulated sugar
- 1/4 cup all-purpose flour
- 1/4 teaspoon baking powder
- 1/4 teaspoon salt
- 1 (20 ounce) can crushed pineapple, well drained
Instructions
- Preheat oven to 350 degrees F (175 degrees C).
- For the crust: In a medium bowl, combine 1 1/2 cups flour, butter, powdered sugar, and 1/4 teaspoon salt. Press into the bottom of a 9×13 inch baking pan.
- Bake for 15 minutes.
- For the filling: In a large bowl, beat eggs until light and fluffy. Gradually add granulated sugar, beating well.
- In a separate bowl, whisk together 1/4 cup flour, baking powder, and 1/4 teaspoon salt. Add to egg mixture and mix well.
- Stir in drained crushed pineapple.
- Pour filling over prebaked crust.
- Bake for 25-30 minutes, or until golden brown.
- Let cool completely before cutting into bars.
Notes
For a more intense pineapple flavor, add 1/2 teaspoon of pineapple extract to the filling. Dust with powdered sugar before serving, if desired.