
The aroma of simmering peaches, sugar, and a hint of lemon that fills the kitchen… it just screams “summer” to me. It’s the kind of scent that makes you want to throw open the windows, let the sunshine in, and bake a batch of southern peach bread to slather with your fresh jam.
This peach jam recipe is more than just a condiment; it’s a memory. It’s the taste of summer captured in a jar. My kids love it on everything from toast to waffles, and even stirred into their yogurt. The best part? It’s surprisingly easy to make, even if you’re a beginner like I was all those years ago. Don’t let the idea of canning intimidate you. I promise, once you get the hang of it, you’ll be hooked!
One of my biggest “aha” moments came when I realized the importance of using perfectly ripe peaches. Not too hard, not too soft, but just right. It makes all the difference in the flavor and texture of the final homemade peach jam. And trust me, once you try this peach jam recipe, you’ll never go back to store-bought again! Let’s get started, shall we?
Ingredients
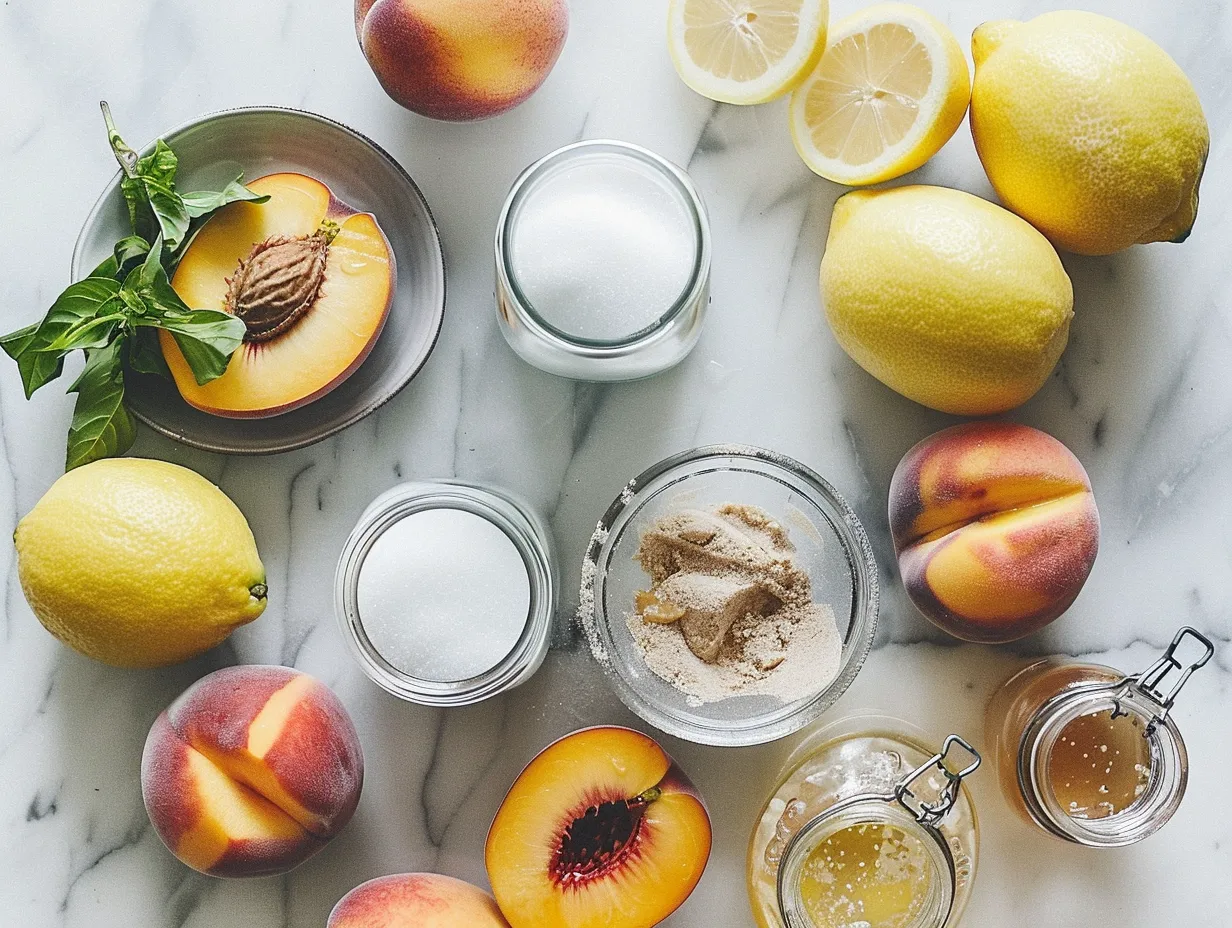
- 6 cups peeled and chopped ripe peaches (about 3 pounds) – I always try to find freestone peaches for my peach jam recipe; they are so much easier to pit and chop!
- 4 ½ cups granulated sugar – I know it sounds like a lot, but it’s necessary for the jam to set properly and to act as a preservative.
- ¼ cup lemon juice (freshly squeezed is best!) – The lemon juice not only adds a bright flavor but also helps with the setting process.
- 1 teaspoon butter or margarine – This might sound strange, but a little bit of butter helps to reduce foaming while the jam is cooking, making the whole process a lot less messy.
- Pinch of salt – Just a tiny pinch to bring out the sweetness of the peaches.
For making this amazing peach jam recipe, I always recommend using fresh, ripe peaches for the best flavor and texture. I prefer using freestone peaches, as they are much easier to pit and chop. Freestone peaches are fantastic because the flesh separates easily from the pit, making them ideal for jam-making. Look for peaches that give slightly to the touch and have a fragrant aroma. Avoid peaches that are too hard or have bruises.
You can usually find good peaches at your local farmer’s market or grocery store during peach season (typically late spring to late summer). Farmer’s markets are great for finding locally grown, perfectly ripe peaches. Plus, you’re supporting local farmers! Alternatively, most grocery stores carry a variety of peaches during the season.
When making peach jam recipe, you can find pectin at most grocery stores, usually in the baking aisle near the canning supplies. I always use a low-sugar pectin so I can control the sweetness of my jam a bit more. Pectin is a natural substance found in fruits that helps jam to thicken. Using a low-sugar pectin allows you to reduce the amount of sugar in your jam without compromising its set.
Here’s a peach jam recipe trick I learned from my mom: If your peaches aren’t quite ripe enough, you can ripen them by placing them in a paper bag with a banana or apple for a day or two. The ethylene gas released by these fruits will help speed up the ripening process. This works great for making fresh peach jam anytime! The key is to check the peaches daily to ensure they don’t become overripe.
As for cost-saving tips for peach jam recipe ingredients, buying peaches in bulk when they are in season is always a good idea. You can freeze them for later use or make a big batch of jam and give it away as gifts! Freezing peaches is simple: wash, peel, and slice them, then lay them out on a baking sheet to freeze individually before transferring them to a freezer bag. This prevents them from clumping together.
To store leftover peach jam recipe ingredients like sugar and pectin, just keep them in airtight containers in a cool, dry place. If you have any leftover lemon juice, you can freeze it in ice cube trays and use it later in other recipes. Freezing lemon juice in ice cube trays is a convenient way to preserve it for future use in recipes, dressings, or beverages.
How to Make – Step-by-Step
Alright, let’s get down to the nitty-gritty of how to make this delicious homemade peach jam. Don’t worry, I’ll walk you through every step of the way. Making jam can seem daunting, but with a little patience and attention to detail, you’ll be rewarded with a flavorful homemade treat.
- Prepare Your Peaches: First things first, wash your peaches thoroughly. Then, peel, pit, and chop them into small, even pieces. This will ensure they cook evenly and create a nice, smooth jam. I learned the hard way with peach jam recipe that unevenly chopped peaches can result in a chunky jam, which isn’t always what you want! Using a sharp knife makes peeling and chopping easier. For peeling, you can also blanch the peaches in boiling water for 30 seconds, then transfer them to an ice bath. The skins will slip off easily.
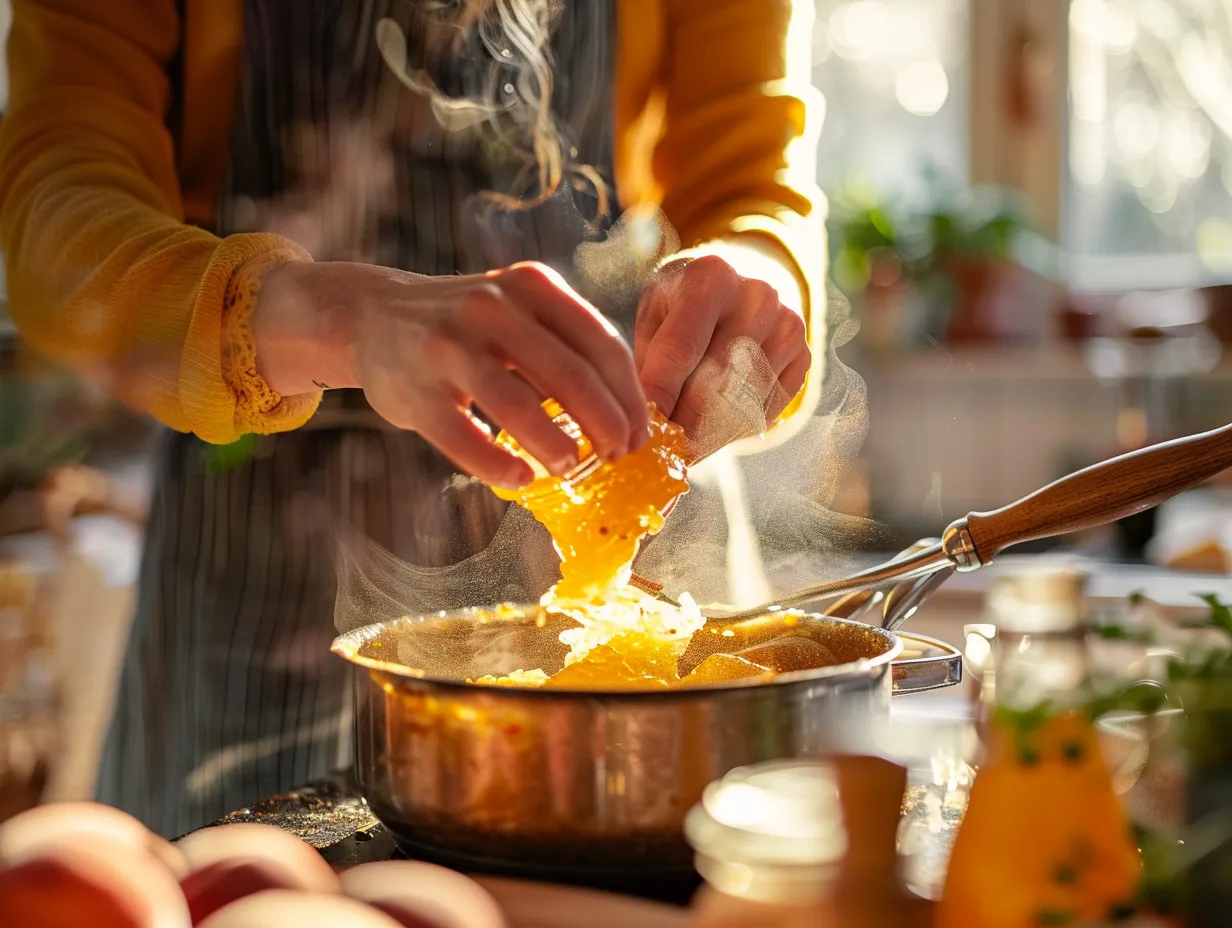
- Combine Ingredients: In a large, heavy-bottomed pot (this is important to prevent scorching!), combine the chopped peaches, sugar, lemon juice, butter, and salt. Stir everything together until well combined. A heavy-bottomed pot distributes heat evenly, preventing the jam from sticking and burning. Make sure all the ingredients are well incorporated before you start cooking.
- Cook the Mixture: Place the pot over medium-high heat and bring the mixture to a full rolling boil, stirring constantly. A “full rolling boil” means that the jam continues to boil even when you’re stirring it. This is crucial for the jam to set properly. Keep a close eye on the mixture, as it can quickly boil over.
- Test for Setting: This is where things can get a little tricky, but don’t worry, I’ll share my foolproof method. Place a small plate in the freezer before you start cooking the jam. Once the jam has been boiling for about 10-15 minutes, remove the plate from the freezer and drop a small spoonful of jam onto it. Let it sit for about 30 seconds, then gently push it with your finger. If the jam wrinkles and forms a skin, it’s ready! If not, continue cooking and test again every few minutes until it reaches the desired consistency. This is the most crucial part of making easy peach jam recipe! This is known as the “wrinkle test” and is a reliable way to determine if your jam has reached the setting point.
- Skim off Foam: Once the jam has reached the setting point, remove it from the heat and skim off any foam that has formed on the surface. This will help to create a clearer, more visually appealing jam. Use a spoon to gently skim the foam from the top of the jam.
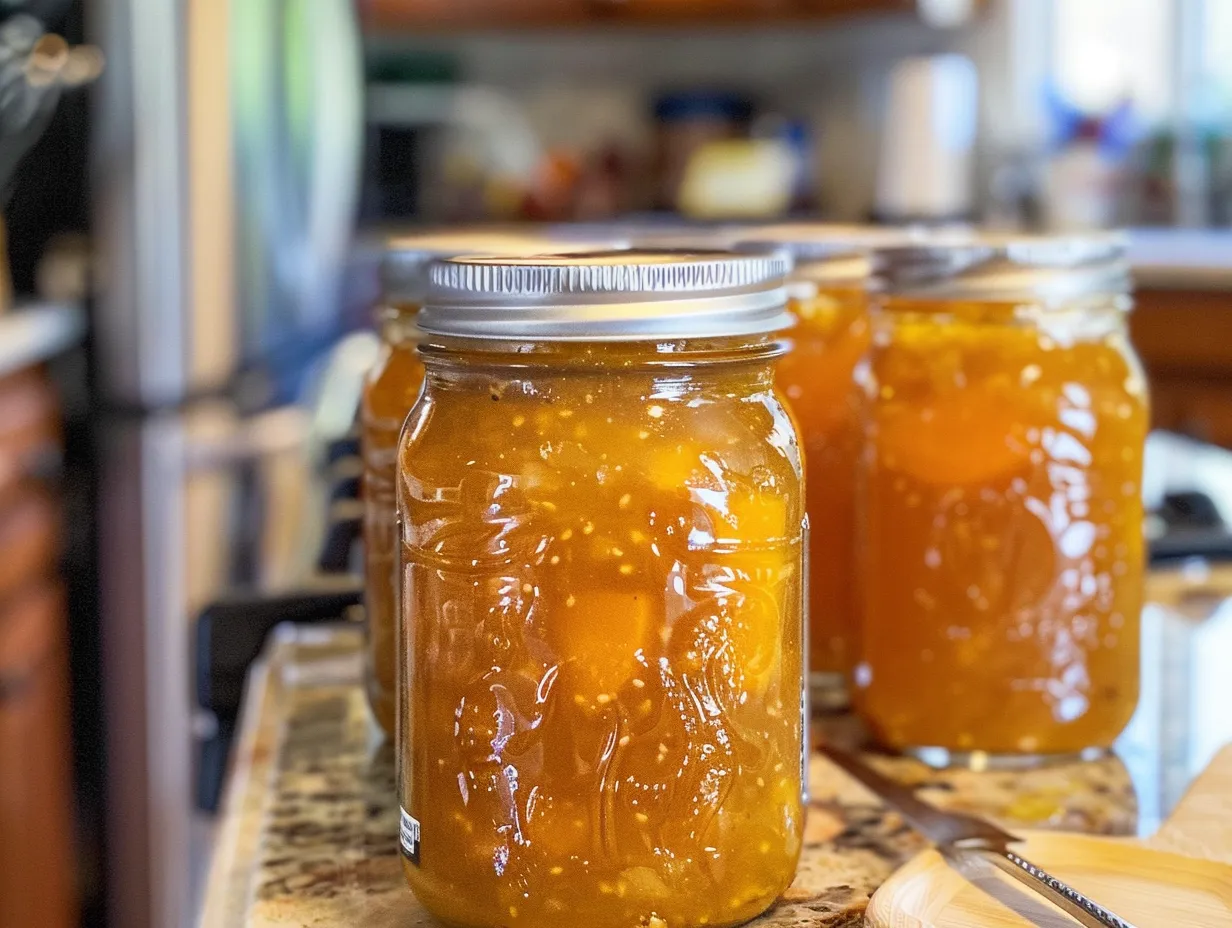
- Can the Jam (Optional): If you want to preserve your jam for longer storage, you can can it using the boiling water bath method. Here’s a quick rundown:
- Prepare your jars and lids according to the manufacturer’s instructions. Sterilizing the jars and lids is essential to prevent contamination.
- Ladle the hot jam into the sterilized jars, leaving ¼ inch headspace. Headspace is the space between the top of the jam and the lid.
- Remove any air bubbles by gently tapping the jars on the counter or using a bubble remover tool. Air bubbles can interfere with the sealing process.
- Wipe the rims of the jars with a clean, damp cloth. This ensures a good seal.
- Place the lids on the jars and screw on the bands until fingertip tight. Don’t overtighten the bands, as this can prevent the jars from sealing properly.
- Process the jars in a boiling water bath for 10 minutes (adjust for altitude). The boiling water bath creates a vacuum seal that preserves the jam.
- Remove the jars from the canner and let them cool completely on a towel-lined surface. As the jars cool, you should hear a “pop” sound, which indicates that they have sealed properly. The “pop” is the sound of the lid inverting as the jar cools and creates a vacuum seal.
- Cool and Store: If you’re not canning the jam, let it cool completely before transferring it to airtight containers. Store in the refrigerator for up to 2-3 weeks. Properly cooled jam will have a thicker consistency.
In my kitchen, peach jam recipe usually takes about 30-40 minutes from start to finish, depending on the ripeness of the peaches and the heat of your stove. While the peach jam recipe is cooking, I usually tidy up the kitchen or prep other ingredients for dinner. Your peach jam recipe should smell like sweet, ripe peaches with a hint of lemon.
Here’s a family-tested peach jam recipe shortcut: If you’re short on time, you can use frozen peaches instead of fresh. Just make sure to thaw them completely and drain off any excess liquid before using them in the recipe. It’s still a great homemade peach jam!
If you want to use no pectin peach jam, cook it for a longer period of time to allow the natural pectin in the peaches to thicken the jam. I often double or triple the batch of easy peach jam recipe because it’s a family favorite!
Serving Suggestions
Okay, so you’ve made this beautiful batch of peach jam, now what? Well, the possibilities are endless!
My family enjoys this peach jam recipe when I spread it on toast, biscuits, or scones for breakfast. It’s also amazing on pancakes or waffles! The kids love our peach jam recipe when I use it as a filling for thumbprint cookies or as a topping for ice cream. So many options when you have fresh peach jam around!
Here are my go-to side dishes that pair perfectly with peach jam recipe:
- Cream Cheese: A classic combination! The tangy cream cheese complements the sweetness of the jam beautifully.
- Peanut Butter: Another crowd-pleaser, especially with kids.
- Yogurt: Stir a spoonful of peach jam into plain yogurt for a quick and easy breakfast or snack.
- Grilled Cheese: Trust me on this one! A grilled cheese sandwich with a smear of peach jam is surprisingly delicious.
This peach jam recipe is perfect for summer picnics, brunch gatherings, or as a homemade gift for friends and family. I especially love making a batch around the holidays to give as presents.
Here are a few peach jam recipe presentation tips I’ve discovered:
- Use pretty jars: Presentation matters! Use decorative jars with cute labels for a more polished look.
- Tie a ribbon around the jar: Add a personal touch with a colorful ribbon or twine.
- Include a recipe card: Share your favorite ways to use the jam with a handwritten recipe card.
If you have extra peach jam recipe, you can use it to make a glaze for grilled chicken or pork, or stir it into your favorite vinaigrette for a sweet and tangy salad dressing. Peach jam adds a delightful sweetness and fruity flavor to savory dishes.
As for seasonal peach jam recipe variations, try adding a pinch of cinnamon or nutmeg for a warm, cozy flavor in the fall. In the summer, add a few sprigs of fresh basil or mint for a refreshing twist. These additions can elevate your peach jam to new heights.
My friends always ask for this peach jam recipe recipe whenever I make it for them. They love the homemade taste and the fact that it’s made with fresh, natural ingredients. Try this peach crumble bars recipe with your fresh peach jam.
Frequently Asked Questions
Okay, let’s tackle some of the most common questions I get about making peach jam recipe.
Q: My jam didn’t set. What did I do wrong?
A: Oh honey, we’ve all been there! The most common reason for jam not setting is not cooking it long enough. Make sure you’re using a full rolling boil and testing the setting point frequently. You know what I do when my peach jam recipe doesn’t set? I just cook it a bit longer, testing every few minutes until it reaches the desired consistency. Sometimes, the natural pectin levels in the peaches can vary, so it might take a little longer to set.
Q: Can I use frozen peaches for this recipe?
A: Absolutely! Frozen peaches work just fine. Just make sure to thaw them completely and drain off any excess liquid before using them in the recipe. I’ve done this many times when peaches aren’t in season, and the homemade peach jam still turns out great.
Q: Do I really need to use lemon juice?
A: Yes, the lemon juice is important! It not only adds a bright flavor but also helps with the setting process. The acidity in the lemon juice helps to activate the pectin in the peaches, which is essential for thickening the jam.
Q: Can I reduce the amount of sugar in this recipe?
A: You can, but keep in mind that sugar plays a crucial role in preserving the jam. If you reduce the sugar too much, the jam might not set properly, and it might not last as long. If you want to reduce the sugar, I recommend using a low-sugar pectin and following the instructions on the package. This allows you to control the sweetness of your easy peach jam recipe while still ensuring that it sets properly.
Q: How long does homemade peach jam last?
A: If you can it properly using the boiling water bath method, the jam should last for at least a year. Uncanned jam stored in the refrigerator will last for about 2-3 weeks.
Q: Can I use different types of peaches for this recipe?
A: Yes, you can use any type of peach you like! I prefer freestone peaches because they’re easier to pit, but clingstone peaches will work just as well. Just keep in mind that the flavor and texture of the jam might vary depending on the type of peach you use.
Q: My jam is too sweet. What can I do?
A: If your fresh peach jam is too sweet, you can try adding a little more lemon juice to balance out the flavor. You can also add a pinch of salt, which will help to reduce the sweetness.
Final Thoughts and Pro Tips
This peach jam recipe is more than just a recipe to me; it’s a connection to my family and to summers spent picking peaches at our local orchard. It’s a taste of home, and I hope it becomes the same for you.
My peach jam recipe Pro Tips:
- Use a candy thermometer: For even more precise setting, use a candy thermometer to ensure your jam reaches 220°F (104°C).
- Warm the jars: Warming the jars before filling them with hot jam helps to prevent them from cracking.
- Don’t overfill the jars: Leaving ¼ inch headspace is crucial for proper sealing.
Some peach jam recipe variations I’ve tried with my family include adding a splash of bourbon for a grown-up twist, or a pinch of chili flakes for a sweet and spicy kick. My husband loves the bourbon version, while my kids prefer the classic, no-frills peach jam. You could also try adding vanilla extract for an extra layer of flavor.
I encourage you to make this peach jam recipe your own! Experiment with different spices, fruits, or extracts to create a unique flavor that your family will love.
I truly hope you enjoy making this peach jam recipe as much as I do. May your kitchen be filled with the sweet scent of peaches, and may your jars be filled with golden goodness! And remember to check out the National Center for Home Food Preservation – Peach Jam for all the best peach jam making guidance. I know you’ll love Complete Guide to Home Canning for extra tips and tricks. Happy jam-making!
PrintEasy Peach Jam Recipe

Learn how to make delicious peach jam with these 5 simple steps! This easy recipe captures the sweet taste of summer.
- Prep Time: 20 minutes
- Cook Time: 30 minutes
- Total Time: 50 minutes
- Yield: 6 half-pint jars
- Category: Jam & Jelly
- Method: Boiling
- Cuisine: American
Ingredients
- 4 cups peeled and chopped peaches
- 4 cups granulated sugar
- 1/4 cup lemon juice
- 1 box powdered pectin
Instructions
- Prepare the peaches by washing, peeling, and chopping them into small pieces.
- In a large pot, combine the peaches, sugar, and lemon juice.
- Bring the mixture to a rolling boil, stirring constantly.
- Add the pectin and continue to boil hard for 1 minute, stirring constantly.
- Remove from heat and ladle into sterilized jars, leaving 1/4 inch headspace. Process in a boiling water bath for 10 minutes.
Notes
For a smoother jam, use a potato masher to crush the peaches slightly before cooking. Adjust sugar to taste based on the sweetness of your peaches.