
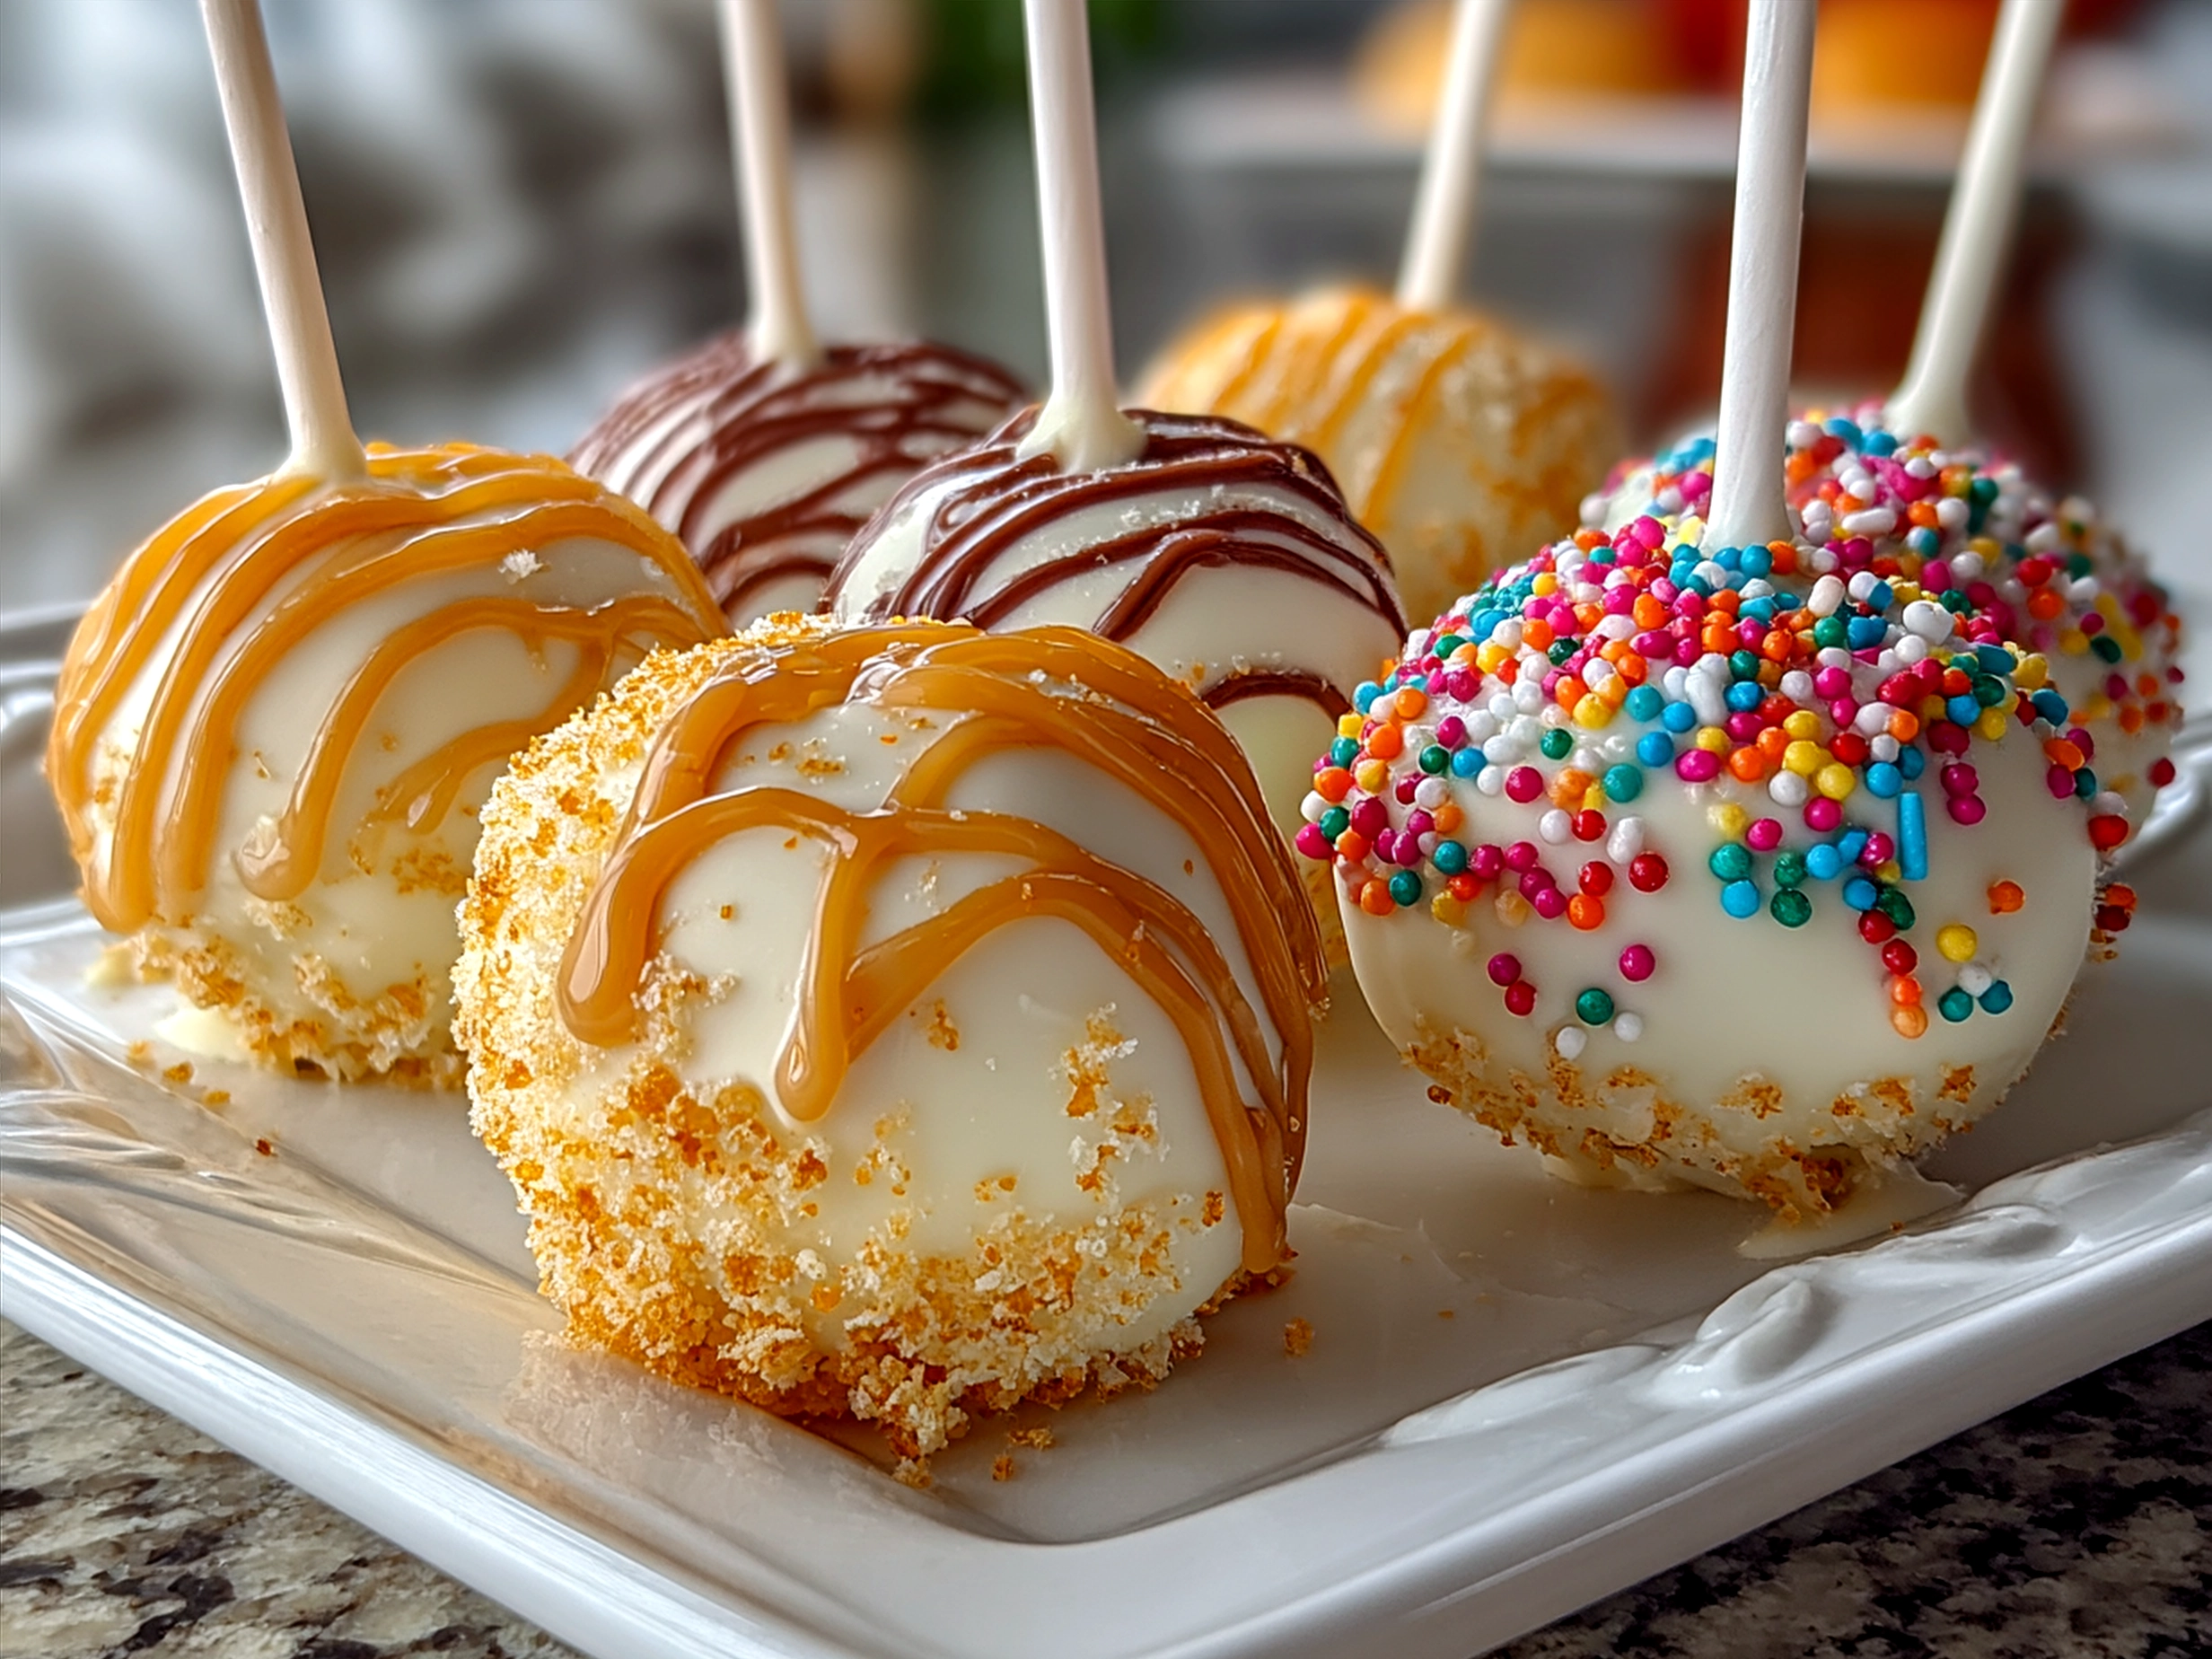
There’s something about Easter Egg Cake Pops that instantly takes me back to those long-ago spring afternoons filled with sunshine, kids’ laughter, and the sweet smell of chocolate melting in the air. I still remember the first time I made Easter Egg Cake Pops—honestly, it was a bit of a kitchen experiment that turned into a beloved family tradition. I was scrambling to come up with a fun spring dessert idea that would be both easy and festive for a last-minute holiday party snack, and boy did these little decorated cake balls steal the show!
Making Easter Egg Cake Pops has always felt like a delightful challenge. Early on, I struggled a bit to get the cake crumb mixture just right, and those first attempts at dipping felt clumsy at best. But with a few kitchen misadventures, I figured out the magic balance of cake to frosting that keeps the pops moist and sturdy. These cake pops quickly became a go-to Easter treat, especially because the kids can help decorate them—making them almost as fun to create as they are to devour. Plus, they’re perfect for busy families since the prep fits neatly around the usual morning chaos.
If you want to surprise everyone with a spring dessert that’s both impressive and doable, Easter Egg Cake Pops are definitely worth trying. They’re cute little bites of sweetness, perfect for holiday party snacks, and there’s so much room to get creative with colors and decorations. I’ve even linked a couple of my other favorite seasonal recipes here like this Easter Poke Cake and these Easter No-Bake Mini Cheesecakes that pair beautifully with your Easter table spread. Trust me, once you try these Easter Egg Cake Pops, you’ll want to make them every spring!
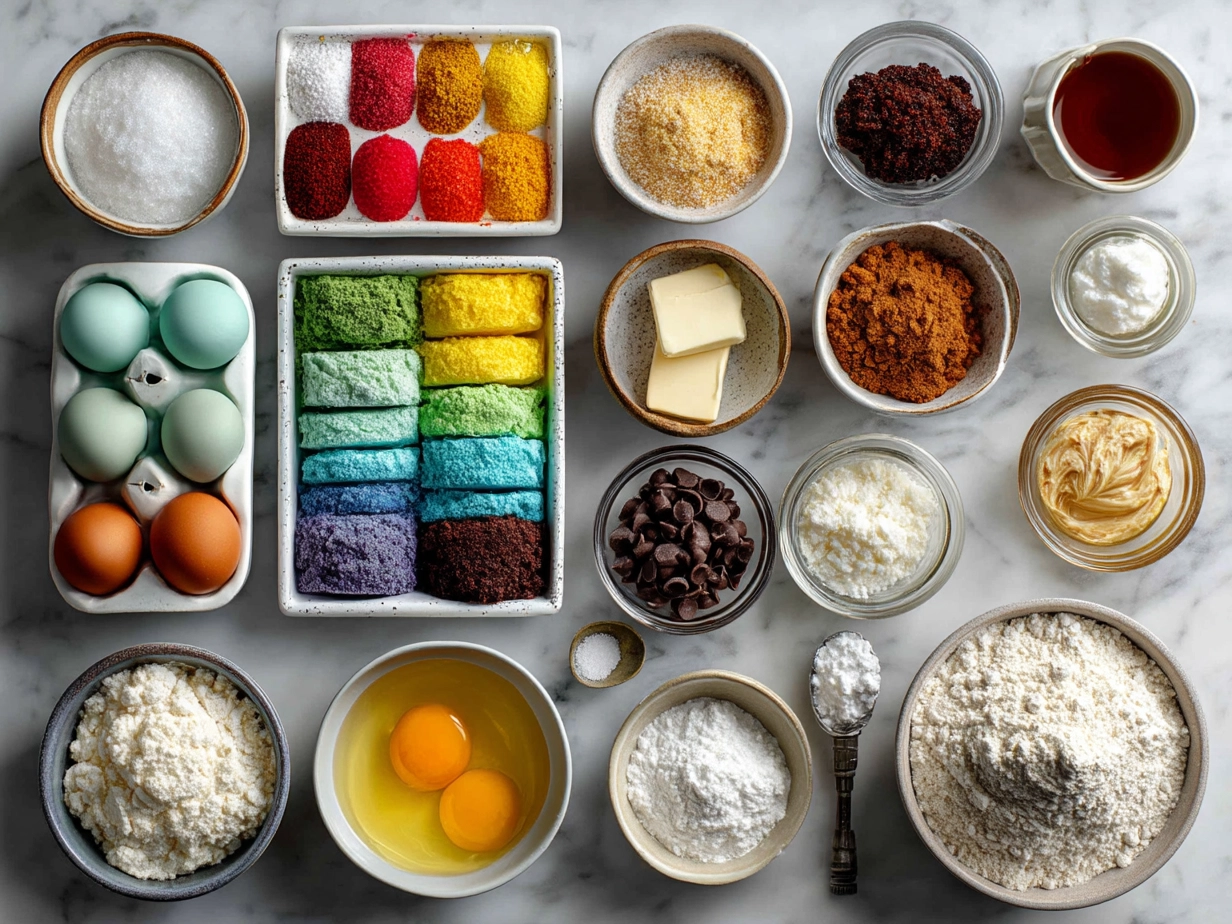
Ingredients:
1 box of vanilla or white cake mix (plus ingredients called for on the box) I always choose a boxed mix because it keeps things quick and consistent when making Easter Egg Cake Pops. For those who prefer homemade cake, a simple vanilla cake recipe works beautifully here.
1/2 cup cream cheese frosting (store-bought or homemade) This frosting holds the cake crumbs together perfectly—don’t skimp on quality here for your Easter Egg Cake Pops!
12 oz candy melts (pastel colors like pink, yellow, and blue) I find these at my local craft store or the baking aisle of the supermarket. Candy melts are a lifesaver for smooth, vibrant decorated cake balls.
Sprinkles and edible decorations (optional but fun for decorating Easter Egg Cake Pops) Keep an eye out for mini nonpareils or pastel sugar crystals for that final festive touch.
Lollipop sticks (about 12 to 15) A must-have when making Easter Egg Cake Pops; these give them the perfect shape and make them easy to serve.
Here’s a quick tip I learned the hard way from my mom: always sift your cake crumbs before mixing with frosting to get rid of any big lumps—this helps your Easter Egg Cake Pops stay smooth and even. And if you want to save time, you can bake the cake in a 9×13 pan the night before and crumble it the next day, which works wonderfully when you’re making these Easter treats on a busy schedule.
For cost savings, you can bulk-buy candy melts around Easter at discounted prices or substitute chocolate chips, but candy melts ensure your cake pops get that perfectly smooth candy coating for decorated cake balls. If you have leftover frosting or cake crumbs, I store them in airtight containers in the fridge to avoid drying out—both can still be used for quick snacks or mini treat experiments with the kids.
And if you want to mix things up while still keeping the Easter Egg Cake Pops vibe, give this Easter Pineapple Rum Cake a peek for a tropical twist!
How to Make – Step-by-Step:
1. Bake the cake according to the box instructions or your favorite homemade recipe. Let it cool completely—this is key since warm cake makes the Easter Egg Cake Pops mix soggy.
2. Crumble the cake using your hands or a food processor until you have fine crumbs. It’s essential for a smooth texture when making Easter Egg Cake Pops.
3. Mix the frosting into the crumbs gradually. Start with about half the container, then add more if needed until the mixture resembles dough and holds together when pressed. Don’t overdo the frosting; I learned the hard way with Easter Egg Cake Pops that too much frosting makes them too soft and hard to shape.
4. Shape the pops into egg-sized ovals (or balls if you want) and place them on a parchment-lined baking sheet. This step is so therapeutic! Don’t worry if your Easter Egg Cake Pops aren’t perfect – they can be gently reshaped.
5. Insert a lollipop stick into each cake pop and freeze them for about 15 minutes. This helps firm them up, making them easier to dip.
6. While the pops are chilling, melt the candy melts in a microwave-safe bowl. Heat in 30-second bursts, stirring in between, until smooth and creamy—a luscious, shiny coating perfect for your Easter Egg Cake Pops.
7. Dip each cake pop into the melted candy, turning to coat thoroughly. Tap off excess coating to avoid drips. I usually hold them over the bowl and gently turn while dipping.
8. Immediately decorate with sprinkles or edible decorations before the candy sets. This is where the real fun begins—as kids get involved, the Easter Egg Cake Pops become little works of edible art.
9. Place the finished pops in a styrofoam block or a cake pop stand to dry completely. If you don’t have these, a shallow glass filled with sugar works just fine.
10. Your Easter Egg Cake Pops should smell sweet and inviting with a subtle hint of vanilla from the candy melts – a sure sign they’re ready to enjoy!
It generally takes me about an hour from start to finish to make Easter Egg Cake Pops, but that includes chatting with my kids and sipping a little coffee — multitasking essential in any busy kitchen. While they’re chilling or drying, it’s the perfect time to clean up or prep other holiday party snacks to round out your Easter spread. For extra tips on candy coating and decorating cake balls, this external tutorial has been a lifesaver for me.
If you want a fun twist, try mixing different cake flavors or frosting colors to make rainbow Easter Egg Cake Pops—guaranteed smiles!
Serving:
There’s nothing quite like seeing the kids’ faces light up when I bring out a platter of Easter Egg Cake Pops at our family gatherings. The sweet little decorated cake balls are always a hit, especially when paired with simple sides like fresh fruit or a cup of tea. I find that light, fruity options balance out the sweetness perfectly.
I usually make these Easter Egg Cake Pops for spring festivities because they’re an adorable alternative to traditional Easter candy. These pops are perfect handheld treats when you don’t want crumbs everywhere—making them excellent holiday party snacks for all ages.
Presentation-wise, I’ve learned layering pastel-colored Easter Egg Cake Pops on a cake stand or arranging them in a mason jar filled with jelly beans makes an irresistible centerpiece. If you have extra pops left over, they store nicely in an airtight container in the fridge for up to a week, or frozen if you want to save them longer. And don’t be shy about reheating for a few seconds in the microwave to soften the coating just a touch.
Seasonally, my family loves to swap the frosting for chocolate ganache or add coconut flakes on top for texture when making Easter Egg Cake Pops. Friends often ask for this recipe during potlucks and holiday parties because the festive look and light bite-sized portions fit any occasion. If you want to see more about pairing and presentation of these decorated cake balls, this spring dessert ideas blog post shares lovely inspiration.
FAQs:
Q1: How far ahead can I make my Easter Egg Cake Pops?
You can actually make them a day ahead! I usually prepare them the day before any holiday party snacks event and keep them chilled in a covered container. They’ll stay fresh and tasty—just bring them out 30 minutes before serving.
Q2: What if my cake pops are too crumbly or fall apart?
This was my biggest headache early on. You might need to add a bit more frosting—start with a tablespoon at a time and mix thoroughly. You want the mixture to hold together without being paste-y. Using cream cheese frosting always helped mine stick better.
Q3: Can I use other coatings besides candy melts?
Absolutely! Melted chocolate chips or white chocolate work well too for Easter Egg Cake Pops. Just be cautious about tempering or chilling times so the coating doesn’t crack or get too soft.
Q4: How do I avoid cracking when dipping Easter Egg Cake Pops?
The freezing step is crucial here. Chilling the cake pops before dipping keeps them firm and helps prevent cracking. Also, don’t dip in candy melts that are too hot—lukewarm is best.
Q5: Any tips for decorating my Easter Egg Cake Pops?
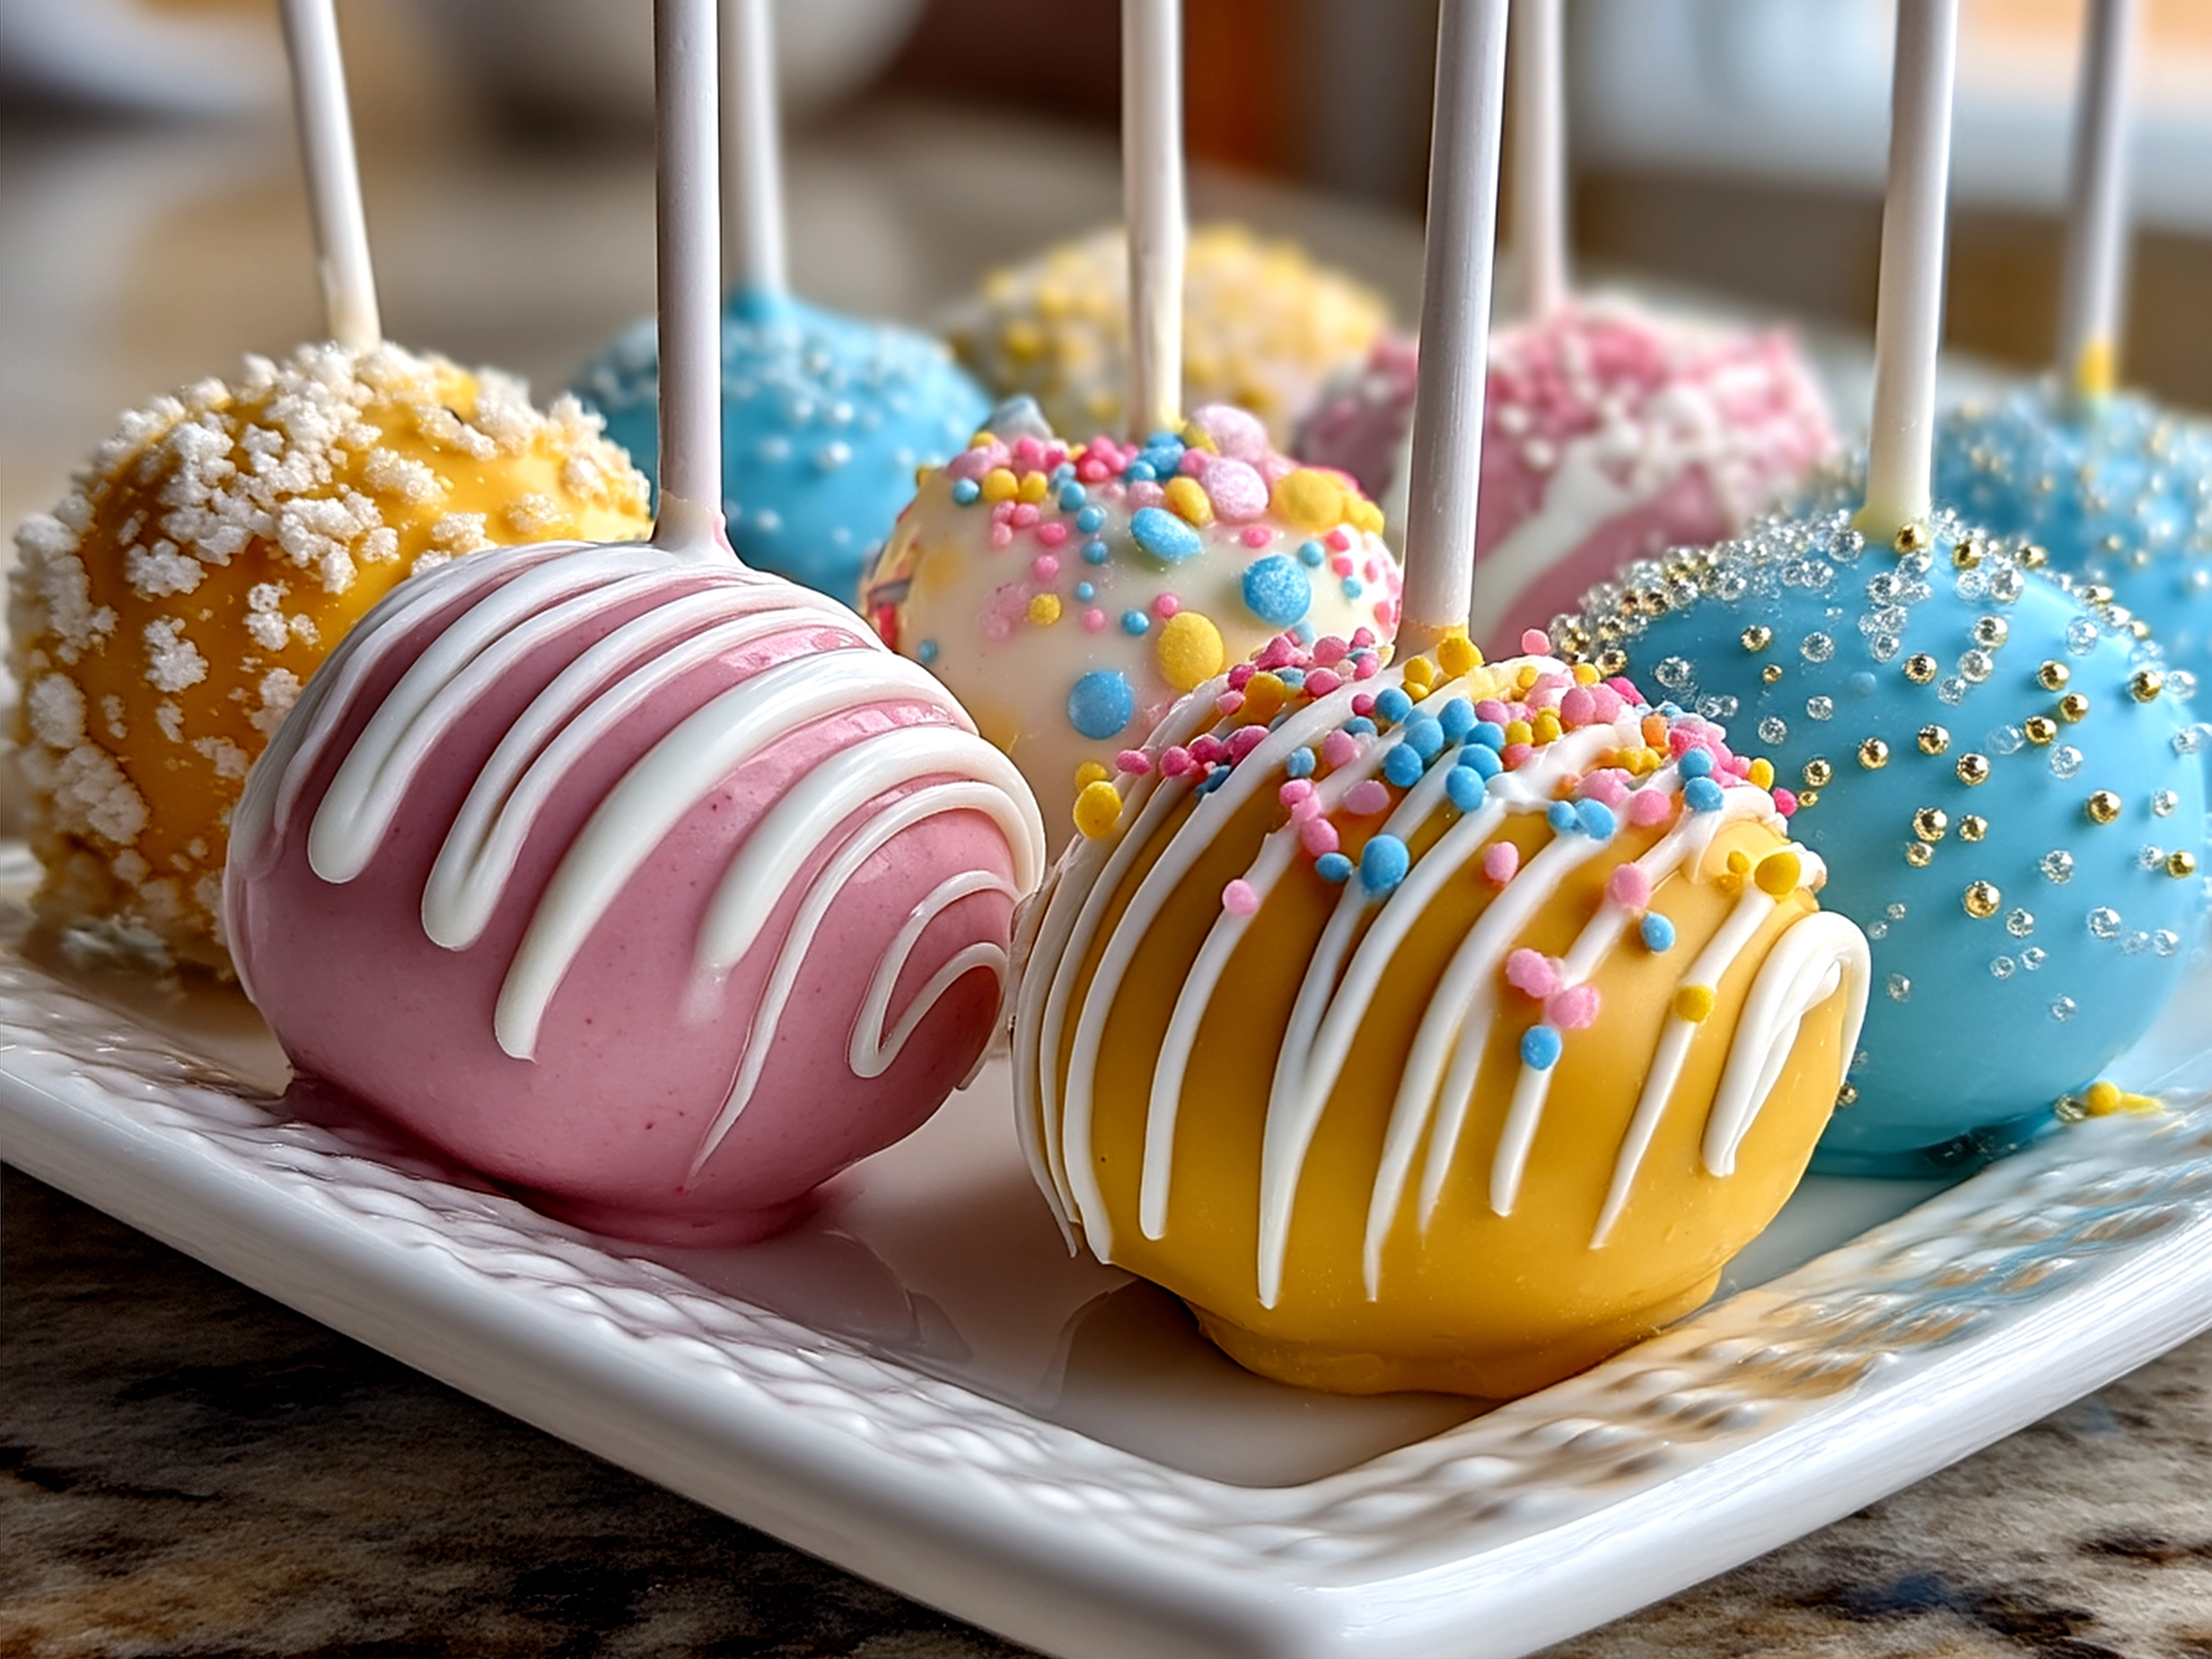
Yes! Use thin squeeze bottles for drizzling contrasting colors, and sprinkle toppings right after dipping while the coating is wet. My family loves using mini pastel candies and edible pearls for extra sparkle.
Q6: Can I make these gluten-free or dairy-free?
You can! I’ve swapped in gluten-free cake mix and dairy-free frosting for alternative Easter Egg Cake Pops versions. Expect slight texture differences but still delicious results.
Q7: How should I store leftovers?
Store your Easter Egg Cake Pops in an airtight container in the fridge for up to a week. If you need longer storage, freezing works well—just thaw them at room temperature before serving. If you want more troubleshooting tips or creative frosting ideas, this cake pop troubleshooting guide has been a great resource for me.
My Final Thoughts:
These Easter Egg Cake Pops really capture the joy and creativity that Easter brings each year. The recipe has come a long way since my first batch, and it’s become a favorite way my family celebrates the season. There’s just something magical about biting into these perfectly sweet decorated cake balls that brighten up any holiday party snacks table.
My Easter Egg Cake Pops Pro Tips:
- Use cream cheese frosting to help bind the cake crumbs perfectly.
- Freeze your shaped pops before dipping to keep everything firm and neat.
- Experiment with pastel-colored candy melts and sprinkles for beautiful, festive Easter treats.
I’ve tried variations like chocolate cake with vanilla frosting, carrot cake with cream cheese coating, and even strawberry-flavored cake pops to make my Easter Egg Cake Pops extra special. My kids love the colorful classic vanilla, while my husband’s favorite is the rich chocolate-coated option. It’s a recipe adaptable to everyone’s tastes—ideal for mixing things up at family gatherings.
If you want to try related spring dessert ideas, check out my other favorite recipes like Easter Pineapple Rum Cake or this fun Easter No-Bake Mini Cheesecakes for a full festive spread.
So go ahead, roll up your sleeves, and enjoy the sweet process of making these charming Easter Egg Cake Pops with your loved ones. I promise, all the little mishaps and laughs will become part of the fond memories you create around the kitchen table. Happy baking, and here’s to many more joyful, yummy spring dessert ideas!
External Links Used:
Easter Egg Cake Pops

Celebrate Easter with these colorful and festive Easter Egg Cake Pops, perfect for parties or as delightful treats. Easy to make and decorated to resemble charming Easter eggs.
- Prep Time: 20 minutes
- Cook Time: 0 minutes
- Total Time: 80 minutes
- Yield: 15 servings
- Category: Dessert
- Method: No-Cook
- Cuisine: American
Ingredients
- 2 cups crumbled vanilla cake
- 1/2 cup cream cheese frosting
- 1 cup white chocolate melts
- Food coloring (various colors)
- Sprinkles and edible decorations
- 15-20 lollipop sticks
- Wax paper for drying
Instructions
- In a large bowl, mix the crumbled cake with cream cheese frosting until well combined and moldable.
- Shape the mixture into egg-shaped balls about 1.5 inches long and place them on a wax paper-lined tray.
- Insert a lollipop stick into each cake egg and refrigerate for at least 1 hour to firm up.
- Melt the white chocolate melts in a microwave-safe bowl, stirring every 30 seconds until smooth.
- Separate the melted chocolate into small bowls and tint each with different food coloring as desired.
- Dip each cake pop into the colored chocolate, gently tapping off the excess coating.
- Decorate with sprinkles and edible decorations while the coating is still wet.
- Stand the cake pops upright on wax paper until the coating is set and firm.
Notes
For extra fun, try using different patterns and colors for each cake pop, and store them in an airtight container at room temperature for up to 3 days.