
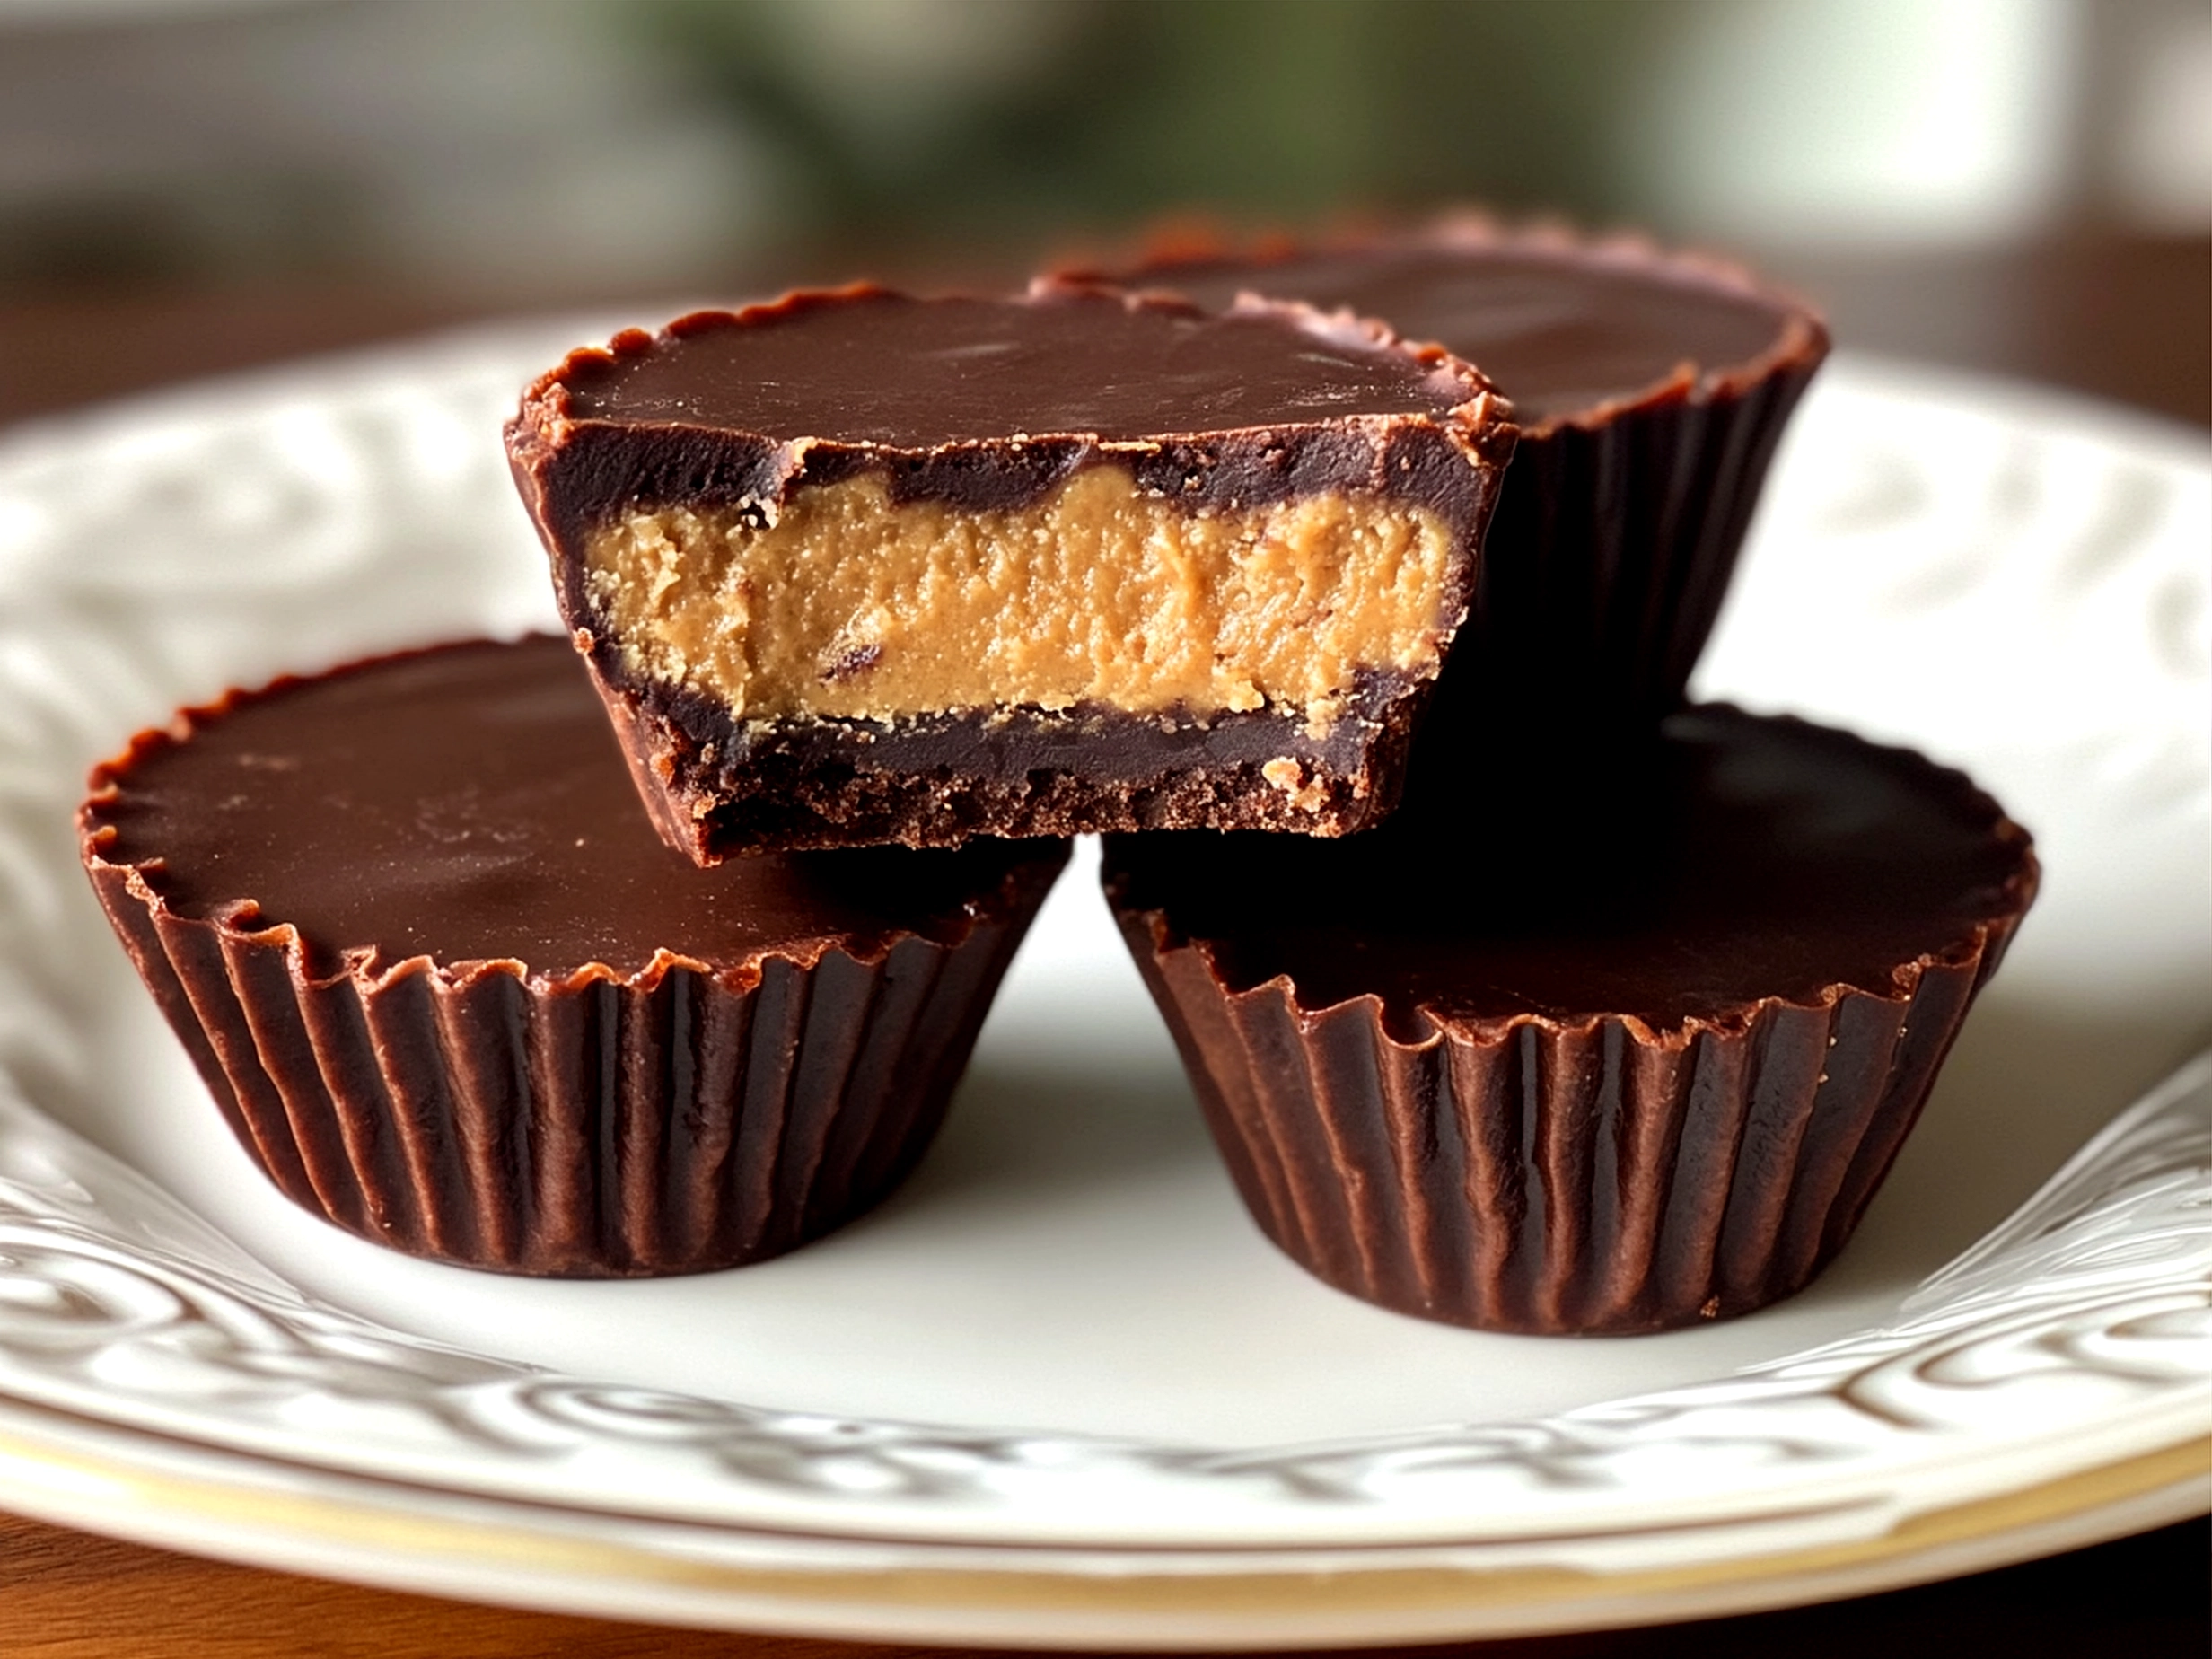
Whenever Easter rolls around, one of my fondest memories is whipping up a batch of Easter Bunny Peanut Butter Cups with the kids clustered around the kitchen island, eager to get messy. There’s something about the way the rich, melty chocolate glides over the creamy peanut butter filling that just feels like the perfect cozy hug in sweet form. This recipe didn’t start out as a flawless masterpiece—I actually stumbled quite a bit the first time I tried making these festive bunny shaped sweets. But after some trial and error (read: chocolate everywhere), this became our go-to seasonal holiday dessert that brings smiles year after year.
I remember the very first time I attempted these homemade peanut butter cups. I was aiming for that classic peanut butter chocolate treat, but instead, I ended up with a gooey mess because I hadn’t let the chocolate firm up properly between layers. Learning that little detail made all the difference, and that’s when the magic of Easter Bunny Peanut Butter Cups truly clicked in my kitchen. The kids loved helping me press in the bunny molds, and watching those little shapes come to life made it feel extra special—and a whole lot less like another hectic holiday task.
Life is crazy with school events, work, and daily hustle, so having a simple, yet satisfying Easter candy recipe like this one always feels like a win. This recipe fits right into our busy family schedule because it’s quick and straightforward, yet festive enough to bring the seasonal spirit indoors. If you’ve ever tried making festive bunny shaped sweets yourself, you know these homemade peanut butter cups are a delightful treat that tastes better when shared. And if you haven’t yet, well, this is your sign to grab that chocolate and get started on your own batch of Easter Bunny Peanut Butter Cups. Trust me, you’ll wonder how you ever did Easter without them!
By the way, if you’re curious about similar peanut butter chocolate treats, I’ve found a fantastic white chocolate peanut butter cups recipe that’s a nice variation on the classic. It’s a crowd-pleaser that’s just as fun to make (and eat). You can check it out and maybe add it to your holiday dessert rotation. Now, let’s get into the ingredients—you’ll want to have everything ready before you dive into making your own Easter Bunny Peanut Butter Cups!
Ingredients:
- 1 cup creamy peanut butter — I always go for the natural kind with just peanuts and a pinch of salt for that authentic taste in my Easter Bunny Peanut Butter Cups.
- 1/4 cup unsalted butter, softened — This adds richness and smoothness to the filling.
- 1/4 cup powdered sugar — It sweetens without graininess, which is key for these homemade peanut butter cups.
- 1 teaspoon vanilla extract — A little vanilla brings out all the flavors beautifully.
- 2 cups milk chocolate chips — This is the star of your peanut butter chocolate treats. I always use good-quality chips that melt smoothly.
- Festive bunny-shaped silicone molds — For those adorable bunny shapes that make these Easter Bunny Peanut Butter Cups stand out.
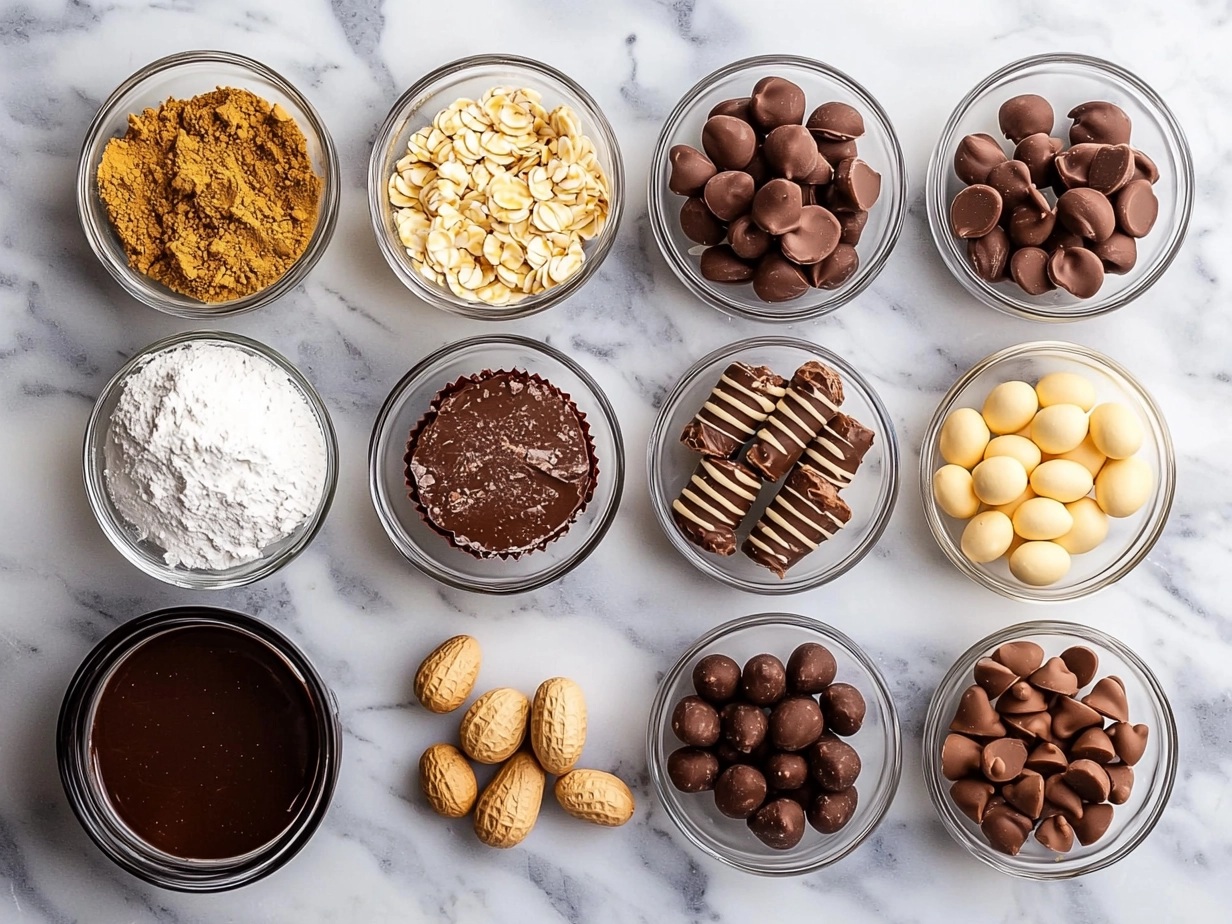
When I shop for ingredients to make my Easter Bunny Peanut Butter Cups, I like visiting my local grocery store’s baking aisle because they often carry seasonal peanut butter options tailored for candy making. Fun little tip: you can snag bulk powdered sugar at a better price if you shop online or at warehouse stores—perfect when you’re making multiple batches of these seasonal holiday desserts.
A little kitchen wisdom I picked up from my mom is to always soften the butter and peanut butter slightly before mixing. Trust me, it makes the whole filling come together without any lumps—this is a must for smooth, luscious Easter Bunny Peanut Butter Cups. Saving time is also essential for busy families; prepping ingredients the night before can speed things up on Easter morning. Leftover peanut butter cups ingredients like powdered sugar and chocolate chips can be stored in airtight containers for weeks if your baking adventures don’t end on the first round!
If you want to explore alternative fillings or get inspiration for other peanut butter chocolate treats, this copycat Disneyland peanut butter bars recipe is a great find—it’s rich, creamy, and also quite easy to make. You can check it out right here for another delicious twist on homemade peanut butter cups perfect for the Easter season.
How to Make – Step-by-Step:
- Prep your molds and ingredients: Begin by placing your festive bunny-shaped silicone molds on a baking sheet for easy transfer. Melting chocolate is always the first step with Easter Bunny Peanut Butter Cups, so I usually get it going while prepping the filling. I use a microwave-safe bowl and melt the milk chocolate chips in 30-second bursts, stirring between each to avoid burning.
- Create the peanut butter filling: In a bowl, combine the softened peanut butter, softened butter, powdered sugar, and vanilla extract. Mix until the filling is smooth and creamy—you want it luscious but firm enough to hold its shape inside the chocolate shell. Pro tip: if your mixture feels too soft, pop it in the fridge for 10-15 minutes.
- Layer the chocolate: Spoon a small amount of melted chocolate into the bottom of each bunny mold, just enough to create a thin base layer. Don’t worry if it looks uneven—that’s perfectly normal with homemade peanut butter cups!
- Add the peanut butter filling: Using a small spoon or your hands, gently press a dollop of peanut butter mixture onto the chocolate base in each mold. Be careful not to overfill because you still need room for the chocolate top layer.
- Seal with chocolate: Pour another layer of melted chocolate over the peanut butter filling, ensuring all edges are sealed. This step is where you want to be patient; smoothing the tops with the back of a spoon helps give them a polished look.
- Chill to set: Place the baking sheet with your molds into the fridge for about 30-45 minutes. Your Easter Bunny Peanut Butter Cups should firm up nicely—it’s when you’ll start smelling that irresistible combination of chocolate and peanut butter filling.
- Pop out and enjoy: Once set, carefully remove the bunny-shaped sweets from the molds. Don’t be discouraged if your edges aren’t perfectly smooth—these homemade peanut butter cups have a charming homemade look!
In my kitchen, making Easter Bunny Peanut Butter Cups usually takes about an hour from start to finish, but that includes chilling time when I like to tidy up or even sneak a taste of the leftover chocolate. If you want to get even fancier, adding a sprinkle of sea salt on top before chilling is a little trick I learned that really brightens up the peanut butter chocolate treats. And if you’re curious about troubleshooting the melting process or want to perfect your chocolate tempering technique, this peanut butter cream cold brew recipe blog post shares some helpful insights right here.
Serving:
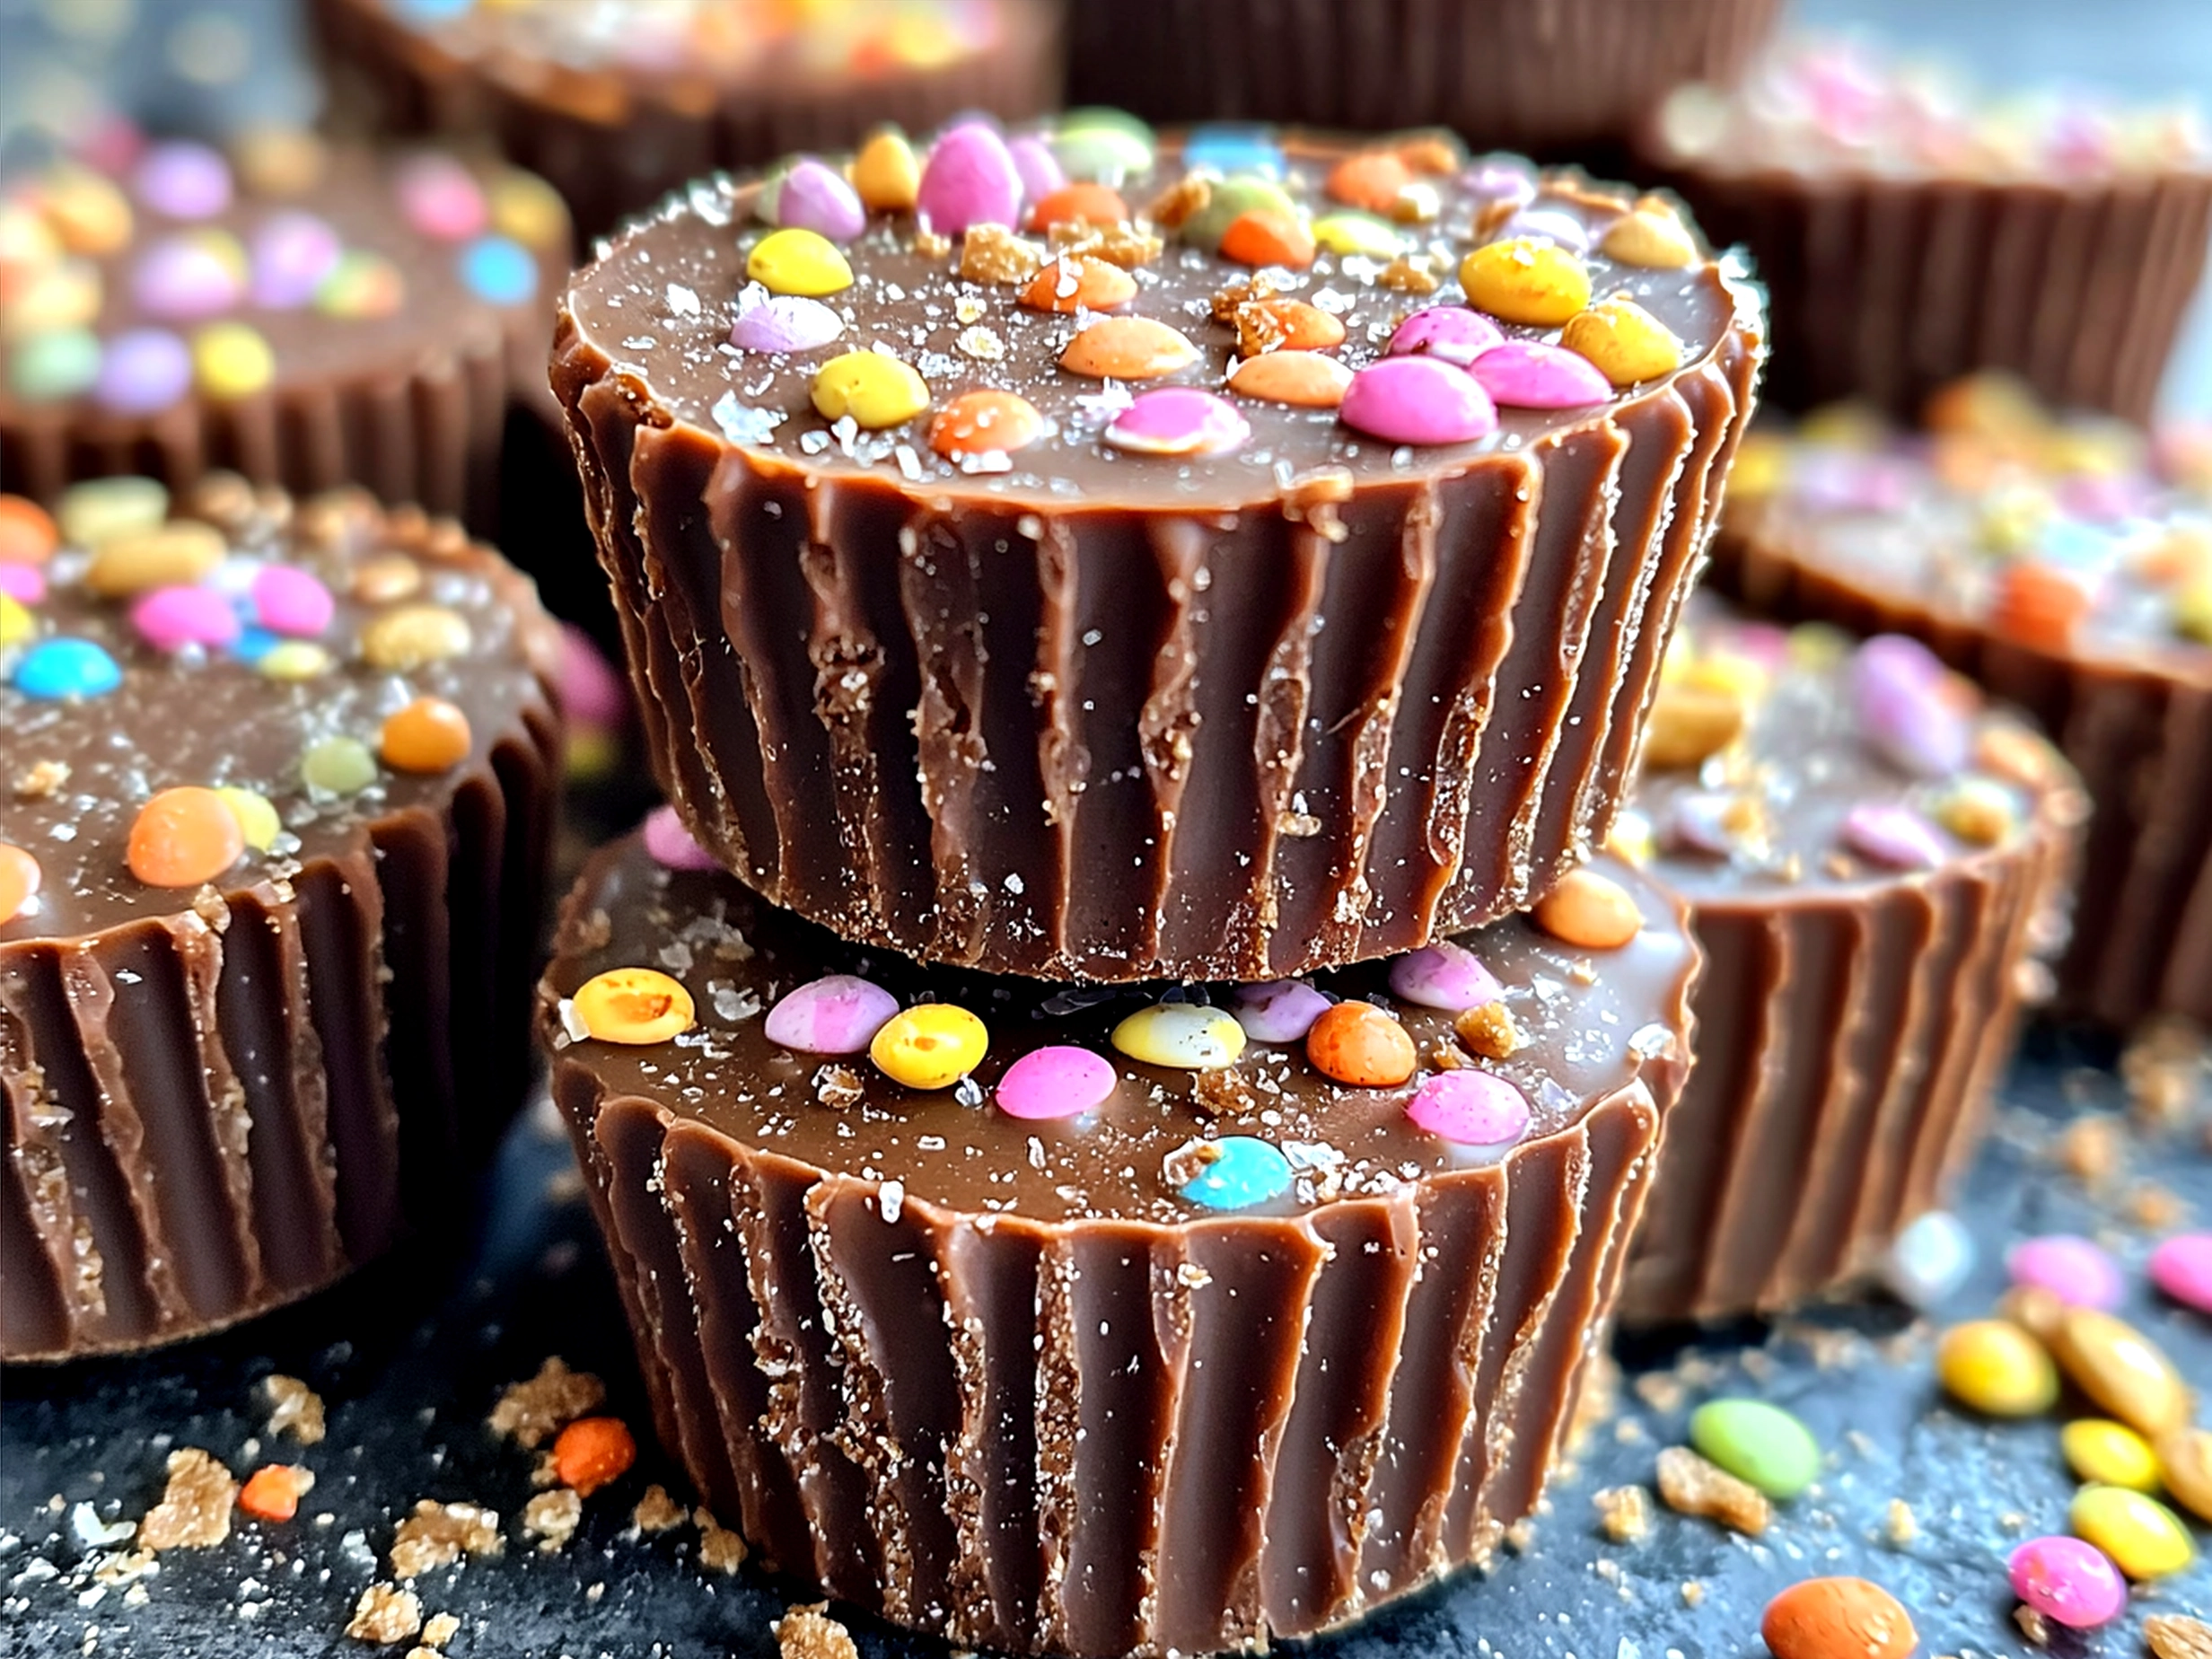
I love how my family lights up with excitement when I bring out a plate of freshly made Easter Bunny Peanut Butter Cups. The kids always say it’s like their chocolate dream come true! We usually pair these festive bunny shaped sweets with simple, homemade fruit smoothies during our Easter brunch—because the refreshing tang complements the rich peanut butter chocolate treats perfectly.
This Easter Bunny Peanut Butter Cups recipe is a staple for our seasonal holiday desserts, especially for Easter egg hunts and family gatherings. It’s easy to make a big batch, and the bunny shape makes them feel special enough for gift boxes too. When presenting these sweets, I’ve discovered that wrapping them in pastel-colored cellophane with a cute ribbon adds a lovely homemade touch that family and friends appreciate.
Got leftover Easter Bunny Peanut Butter Cups? No problem! They’re wonderful chopped up and sprinkled over ice cream or mixed into your morning yogurt for a little indulgence. I’ve also tried a few seasonal variations, like swapping out the milk chocolate for dark chocolate or adding crushed mini marshmallows into the filling—a little twist the kids enjoyed immensely.
One of my favorite moments is watching guests’ faces when I share these Easter Bunny Peanut Butter Cups. They always ask for the recipe and sometimes joke about sneaking an extra or two when they think no one’s looking! If you want to impress your guests with similar festive treats, you might also want to try this white chocolate peanut butter cups recipe for a visually stunning presentation.
FAQs:
1. Can I use crunchy peanut butter instead of creamy in the Easter Bunny Peanut Butter Cups?
You absolutely can! I’ve tried both. Crunchy gives a delightful texture contrast, but creamy peanut butter creates that classic smoothness, which my family prefers for these homemade peanut butter cups. Just know the crunchy ones might need a bit longer chilling to set well.
2. How long can I store Easter Bunny Peanut Butter Cups?
They stay fresh for up to two weeks in an airtight container in the fridge. You’ll want to keep them chilled; otherwise, the chocolate softens and the festive bunny shaped sweets lose their shape quickly.
3. My chocolate wasn’t melting smoothly—what am I doing wrong?
This is a common hiccup! Make sure you melt the chocolate slowly in short intervals; microwaving too quickly can cause it to seize. Stir often, and if the chocolate thickens, add a small splash of neutral oil. I wrote a little more about chocolate melting tips when making peanut butter chocolate treats you might find handy here.
4. Can I make Easter Bunny Peanut Butter Cups without the bunny molds?
Definitely! I’ve made them in regular cupcake liners or even mini muffin tins. You miss out on the cute bunny shapes, but the flavor is just as amazing. Plus, it’s a great option if you’re short on time or supplies.
5. Is there a way to make the peanut butter filling less sweet?
For sure! Just cut back the powdered sugar slightly and add a pinch more salt to balance the flavors. You can also experiment with natural peanut butter brands that aren’t sweetened.
6. What if I want to make Easter Bunny Peanut Butter Cups vegan or dairy-free?
Swap out the butter for coconut oil or a vegan butter substitute, and choose dairy-free chocolate chips. The texture might vary slightly, but the festive bunny shaped sweets still delight my vegan friends when I make these adjustments.
7. Can I add mix-ins to the filling—like nuts or candies?
I’ve added chopped peanuts and mini chocolate chips for extra crunch and flavor. Just be cautious not to overload the filling, or it can get hard to seal with the top chocolate layer. You can find more fun variations on homemade peanut butter cups in this copycat Disneyland peanut butter bars recipe, which is a crowd-pleaser here.
My Final Thoughts:
This Easter Bunny Peanut Butter Cups recipe warms my heart every time I make it. It’s not just candy—it’s family, memories, and a little holiday magic captured in every sweet bite. The fun of shaping festive bunny shaped sweets and sharing them makes Easter feel extra special in our busy household.
My Easter Bunny Peanut Butter Cups Pro Tips:
- Always let the chocolate layers firm up in the fridge between steps to avoid mixing.
- Use good quality chocolate for the best melting and flavor results—trust me, it’s worth the extra.
- Don’t rush the chilling process! Patience leads to perfect, snappable homemade peanut butter cups.
Some of my favorite variations include swapping milk chocolate for a white chocolate version, adding a dash of cinnamon in the filling for a cozy twist, and even dark chocolate and sea salt bunnies for the more adventurous palates. The kids adore the classic milk chocolate bunny shape, while the adults lean toward the rich dark chocolate variety—I’m just happy everyone’s happy!
I hope you enjoy making your own Easter Bunny Peanut Butter Cups as much as I do sharing this recipe. It’s an inviting way to gather the family, create sweet memories, and enjoy a seasonal holiday dessert everyone looks forward to. If you want other peanut butter chocolate treats ideas, this peanut butter cream cold brew recipe is a fun, creamy beverage to enjoy alongside.
Remember, the best part about making Easter Bunny Peanut Butter Cups is that no one’s judging your imperfect edges or the extra chocolate you sneak off the spoon. Have fun! I’m rooting for you to create some sweet traditions that will last well beyond this season.
Happy baking!
For those interested in store-bought options that celebrate the festive spirit, you might like Hershey’s Reese’s Peanut Butter Cup Rabbit Easter Bunny Orange 16, REESE’S Easter Milk Chocolate Miniatures Peanut Butter Cups, or the REESE’S BUNNY Milk Chocolate Peanut Butter Easter Candy Gift. These sweet treats make great additions to your holiday celebrations alongside your homemade Easter Bunny Peanut Butter Cups.
Easter Bunny Peanut Butter Cups
Delightfully creamy and festive, these Easter Bunny Peanut Butter Cups combine rich chocolate and smooth peanut butter for a perfect seasonal treat.
- Prep Time: 15 minutes
- Cook Time: 5 minutes
- Total Time: 45 minutes
- Yield: 24 servings
- Category: Dessert
- Method: No-Cook
- Cuisine: American
Ingredients
- 1 cup creamy peanut butter
- 1/4 cup unsalted butter, softened
- 1/4 cup powdered sugar
- 1/2 teaspoon vanilla extract
- 2 cups semi-sweet chocolate chips
- 1 tablespoon coconut oil
- Edible candy eyes (optional, for bunny decoration)
- Mini marshmallows or white chocolate chips (optional, for bunny tails)
Instructions
- Line a mini muffin tin with paper liners.
- In a bowl, mix peanut butter, softened butter, powdered sugar, and vanilla extract until smooth.
- Melt chocolate chips and coconut oil together in a microwave-safe bowl in 30-second intervals, stirring until smooth.
- Pour a small layer of melted chocolate into each liner, spreading evenly, then refrigerate for 10 minutes to set.
- Add a dollop of the peanut butter mixture on top of the set chocolate layer, flattening gently.
- Cover peanut butter layer with another layer of melted chocolate.
- Refrigerate the cups for at least 30 minutes until fully hardened.
- Optionally, decorate with edible candy eyes and mini marshmallows to create bunny faces and tails.
- Keep refrigerated until serving.
Notes
For a festive touch, sprinkle with pastel-colored sugar or use white chocolate for the top layer to mimic a fluffy bunny appearance.