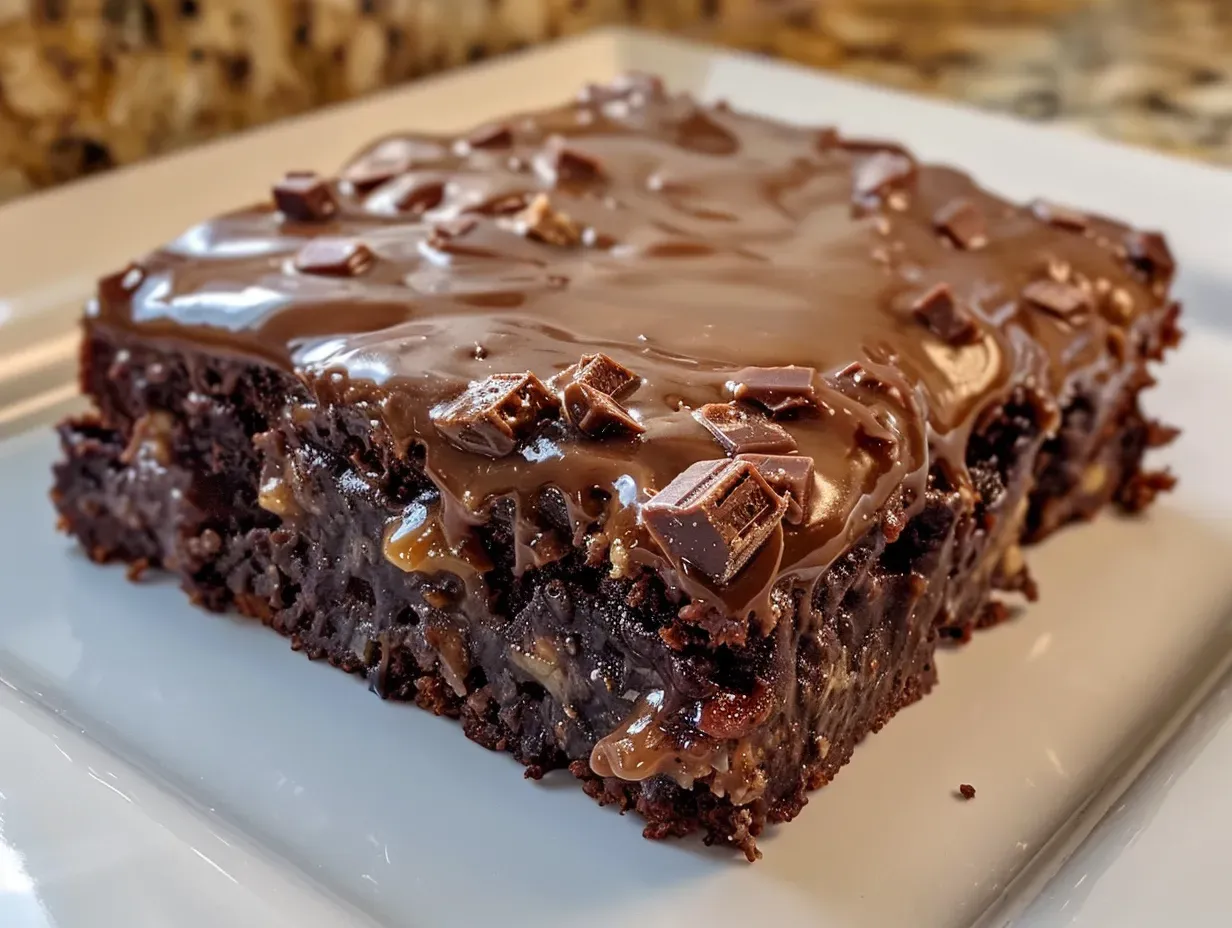
The magic really started when I accidentally grabbed sweetened condensed milk instead of evaporated milk. I almost tossed the whole thing, thinking I’d ruined it! But, being the resourceful cook that I am (or at least try to be!), I decided to roll with it. And oh my goodness, that mistake turned this into the most decadent, gooey chocolate caramel cake you could ever imagine! Now, it’s the only way I make it! It’s what makes it a truly gooey chocolate caramel cake!
Honestly, this easy chocolate caramel cake recipe has saved me so many times when I needed a last-minute dessert for a potluck or a treat for the kids after a long week. There’s just something so comforting about a warm slice of chocolate caramel dump cake with a scoop of vanilla ice cream. It’s the perfect quick and easy chocolate caramel dessert recipe to throw together. Trust me, once you try this chocolate caramel dump cake, you’ll understand why it’s a family favorite. It’s the easiest dessert ever! And who doesn’t love an easy chocolate caramel cake?
Ingredients for Chocolate Caramel Dump Cake
Alright, let’s talk ingredients. This is where the “dump” part of the chocolate caramel dump cake really shines because you probably have most of these in your pantry already. This recipe is so versatile, too. You can substitute some of the ingredients to match whatever you have on hand, and it always turns out delicious!
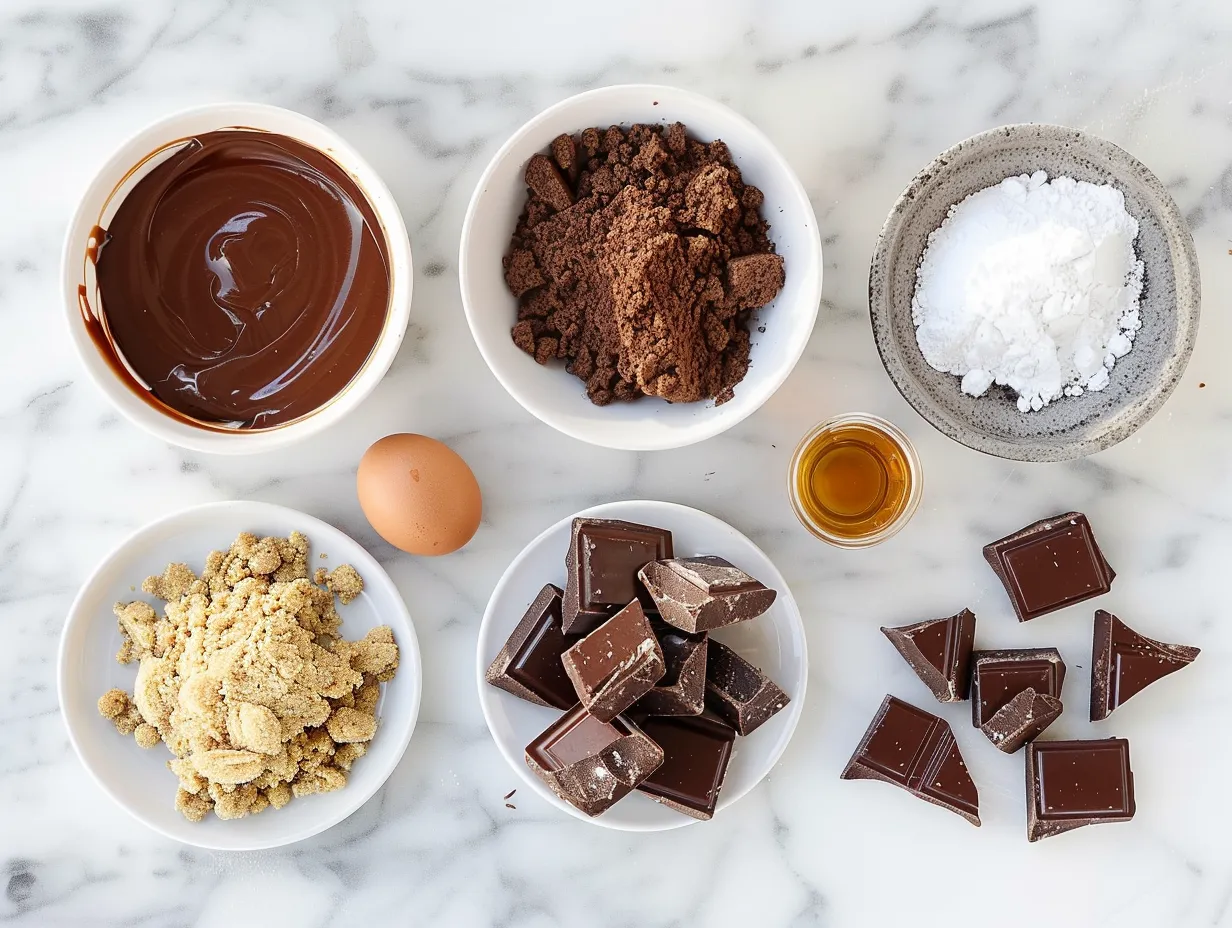
- 1 box (15.25 oz) chocolate cake mix: I always use a devil’s food cake mix for my chocolate caramel dump cake because it gives it that extra rich, chocolatey flavor. But a regular chocolate cake mix works great too!
- 1 can (14 oz) sweetened condensed milk: THIS is the secret ingredient! Don’t skip this! This is what makes our chocolate caramel dump cake extra gooey and delicious.
- 1 jar (12 oz) caramel sauce: I prefer a thicker caramel sauce for this recipe. The runnier stuff tends to disappear a bit in the baking process. When making chocolate caramel dump cake, you can usually find this in the ice cream topping aisle.
- 1 cup (2 sticks) unsalted butter, melted: Make sure it’s unsalted! The caramel is already sweet, and you don’t want your cake to be too salty.
- 1 cup chopped pecans or walnuts (optional): I love adding nuts for a little crunch, but it’s totally up to you. I learned a trick from my mom: toast the nuts slightly before adding them to the cake. It really brings out the flavor! It also helps to emphasize the caramel notes in the chocolate caramel dessert recipe.
Shopping Tips:
- Cake Mix: Stock up when they’re on sale!
- Sweetened Condensed Milk: Check the baking aisle or sometimes the international foods aisle.
- Caramel Sauce: Splurge on a good quality caramel sauce – it makes a difference.
- Nuts: Buy them in bulk and store them in the freezer to keep them fresh.
Storage Tips:
- Keep leftover ingredients in airtight containers in a cool, dark place.
- Nuts are best stored in the freezer to prevent them from going rancid.
How to Make Chocolate Caramel Dump Cake – Step-by-Step
Okay, here comes the easy part. Seriously, this chocolate caramel dump cake is so simple, even my kids can help make it (and trust me, that’s saying something!). I learned the hard way with chocolate caramel dump cake that following the steps in order is important – otherwise, you might end up with a cake that’s a little… well, let’s just say not quite as perfect.
- Preheat your oven to 350°F (175°C). Grease a 9×13 inch baking pan. I like to use baking spray with flour already in it – it saves a step and prevents the cake from sticking.
- Pour the chocolate cake mix into the prepared pan. Spread it out evenly. Don’t worry about making it perfect; it’s a dump cake, after all! This is truly the easiest chocolate caramel cake mix recipe.
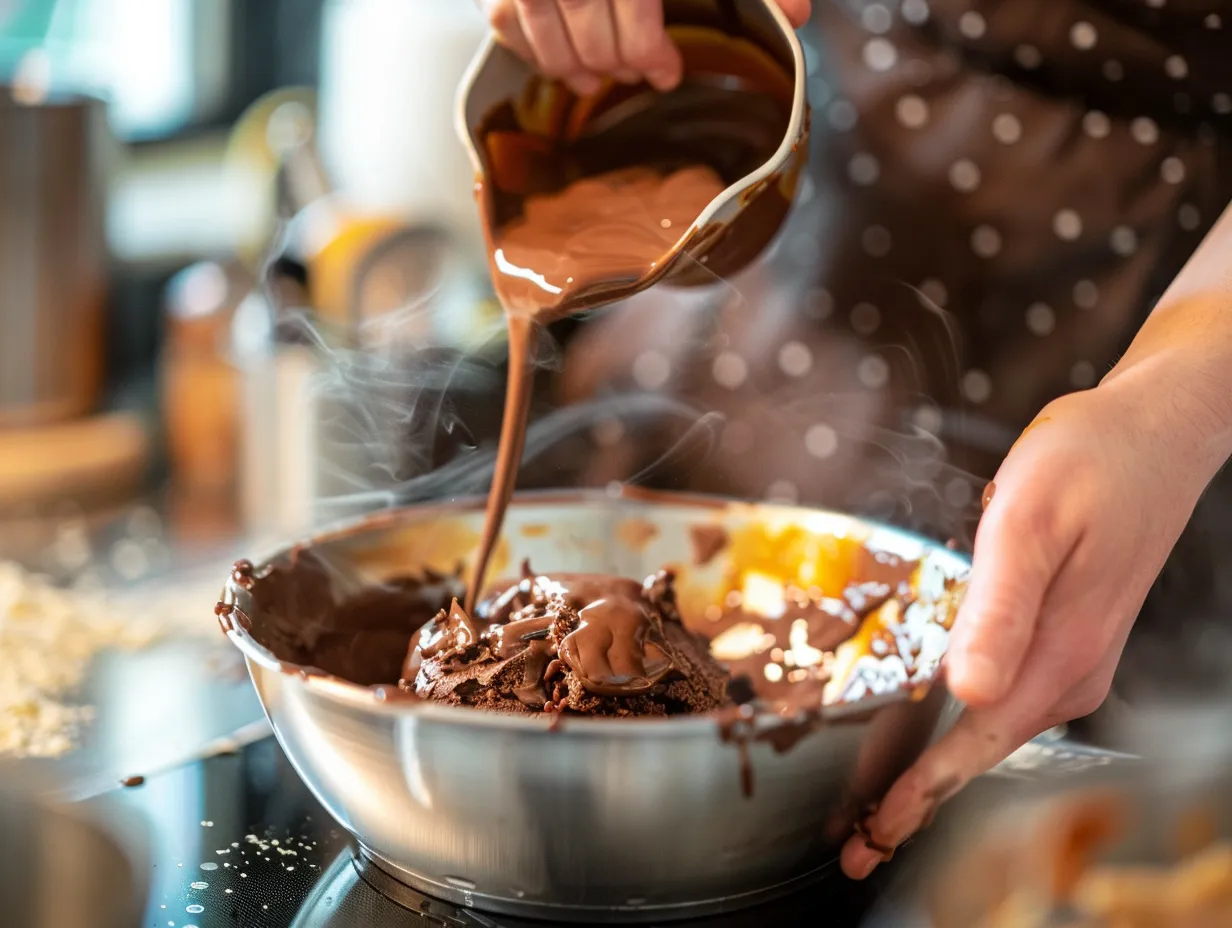
- Pour the sweetened condensed milk evenly over the cake mix. Try to cover as much of the dry cake mix as possible. This is what makes it so gooey and delicious!
- Drizzle the caramel sauce over the sweetened condensed milk. Again, try to distribute it evenly. Don’t be shy – the more caramel, the better! This is what turns the cake into a truly gooey chocolate caramel cake.
- Sprinkle the chopped nuts (if using) over the caramel sauce. I like to press them down slightly into the caramel so they don’t burn during baking.
- Pour the melted butter evenly over the entire surface of the cake. This is important! The butter helps to bind everything together and creates that crispy, golden crust.
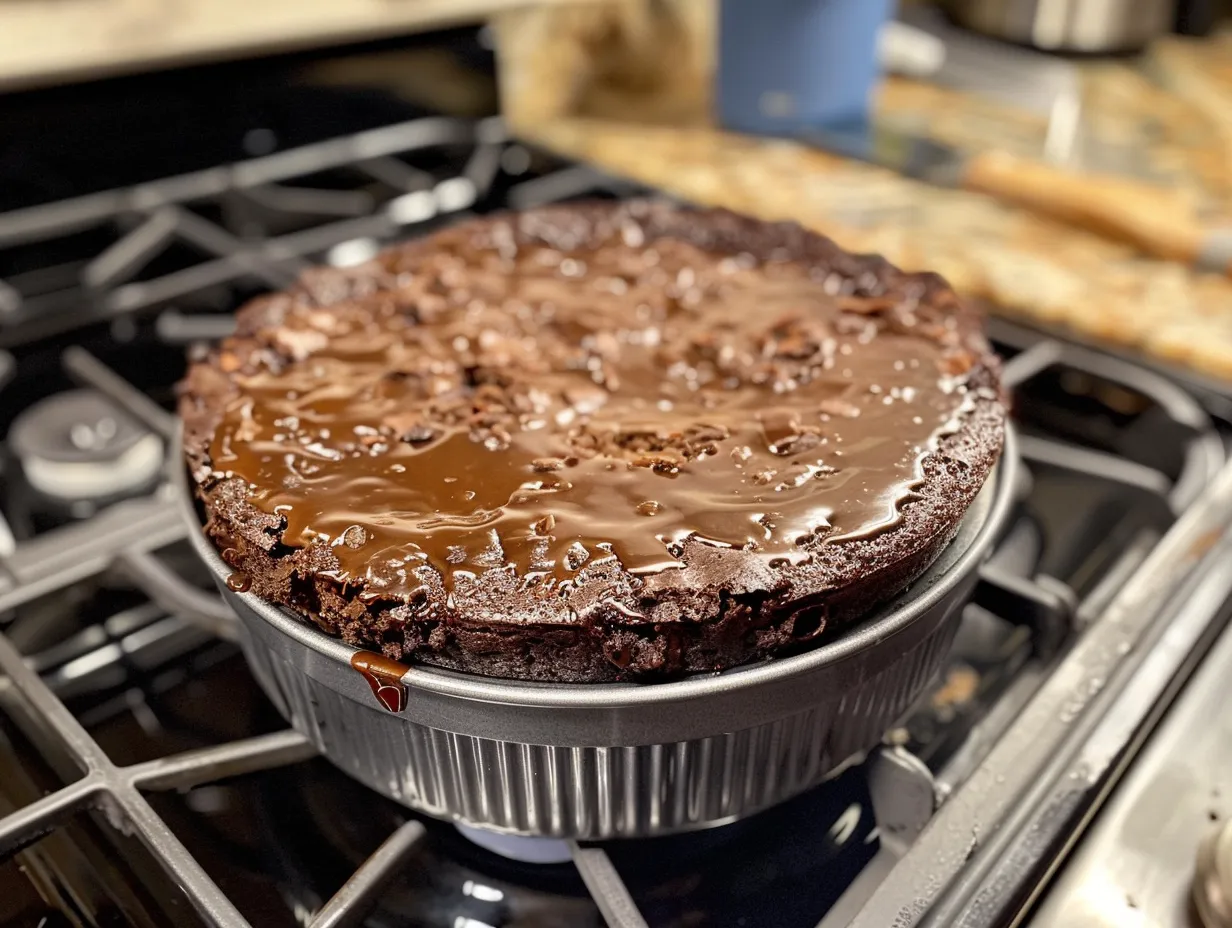
- Bake for 35-40 minutes, or until the top is golden brown and the caramel is bubbly. In my kitchen, chocolate caramel dump cake usually takes about 38 minutes, but every oven is different. Keep an eye on it!
- Let the cake cool completely before serving. This is the hardest part! I know it’s tempting to dig in right away, but trust me, it’s worth the wait. The chocolate caramel dump cake needs time to set up properly.
My Chocolate Caramel Dump Cake Tips:
- Don’t overbake the cake! It should still be slightly gooey in the center.
- If the top starts to brown too quickly, tent it with foil.
- Let the cake cool completely before cutting. It will be easier to slice and hold its shape better.
While the chocolate caramel dump cake is cooking, I usually tidy up the kitchen or catch up on a book. But honestly, most of the time, I’m just hovering by the oven, inhaling the amazing aroma of chocolate and caramel! Your chocolate caramel dump cake should smell like a sweet, warm hug.
Serving Your Chocolate Caramel Dump Cake
Okay, the cake is baked, cooled (mostly!), and ready to serve. Now comes the fun part! My family enjoys this chocolate caramel dump cake when I top it with a scoop of vanilla ice cream and a drizzle of extra caramel sauce. It’s the perfect combination of warm, gooey, and cold creamy.
Side Dish Ideas:
- Vanilla ice cream: A classic pairing that never fails.
- Whipped cream: Light and fluffy, it complements the richness of the cake perfectly.
- Fresh berries: The acidity of the berries cuts through the sweetness of the cake.
- A sprinkle of sea salt: Sounds weird, but trust me, it enhances the caramel flavor.
This chocolate caramel dump cake is perfect for potlucks, birthday parties, or just a cozy night in. I’ve even made it for Thanksgiving! I like to add a little cinnamon to the cake mix for a festive twist.
Leftover Ideas:
- Store leftover chocolate caramel dump cake in an airtight container in the refrigerator for up to 3 days.
- Reheat individual slices in the microwave for a warm, gooey treat.
- Crumble leftover cake over ice cream or yogurt for a delicious topping.
Seasonal Variations:
- Fall: Add a teaspoon of cinnamon and a pinch of nutmeg to the cake mix.
- Winter: Mix in some chopped peppermint candies after baking.
- Spring: Top with fresh strawberries and a dollop of whipped cream.
- Summer: Serve with a scoop of raspberry sorbet.
My friends always ask for this chocolate caramel dump cake recipe, and I’m always happy to share it. It’s just so easy and delicious, and it’s always a crowd-pleaser.
Chocolate Caramel Dump Cake FAQs
Alright, let’s tackle some of those burning questions you might have about making this chocolate caramel dump cake. I’ve been there, made the mistakes, and learned from them (usually the hard way!), so let me share some of my hard-earned wisdom.
Q: My cake is dry. What did I do wrong?
A: Oh honey, we’ve all been there. It’s usually because you overbaked it. Remember, the chocolate caramel dump cake should still be slightly gooey in the center. You know what I do when my chocolate caramel dump cake starts to look a little too brown on top? I tent it with foil. This helps to prevent it from drying out. Also, make sure you’re using enough butter. It’s what helps to keep the cake moist.
Q: Can I use a different type of cake mix?
A: Absolutely! That’s the beauty of this chocolate caramel dump cake recipe – it’s so versatile. I’ve used yellow cake mix, white cake mix, and even red velvet cake mix. They all work great. Just adjust the baking time as needed. My family loves the yellow cake mix version!
Q: Can I use sugar-free caramel sauce?
A: You can try, but I haven’t had much luck with it. The sugar-free caramel sauce tends to be thinner and doesn’t caramelize as well. It might still taste good, but it won’t have that same gooey texture.
Q: Can I make this in a different size pan?
A: You can, but you’ll need to adjust the baking time accordingly. If you use a smaller pan, the cake will be thicker and will take longer to bake. If you use a larger pan, the cake will be thinner and will bake faster.
Q: My caramel sank to the bottom of the cake. What happened?
A: This usually happens when the butter isn’t distributed evenly enough. Make sure you’re pouring the melted butter over the entire surface of the cake, and try to cover all of the dry cake mix. It’s important to cover the cake mix to get the chocolate caramel dessert recipe working just right.
Q: Can I add other toppings?
A: Absolutely! Get creative! I’ve added chocolate chips, shredded coconut, and even chopped candy bars. My kids love it when I add mini marshmallows. You can even add a layer of cream cheese filling to make an even more decadent dessert.
Q: Can I make this ahead of time?
A: Yes, you can! In fact, I think it tastes even better the next day after the flavors have had time to meld together. Just store it in an airtight container in the refrigerator.
My Final Thoughts on Chocolate Caramel Dump Cake
This chocolate caramel dump cake isn’t just a recipe; it’s a memory maker. It’s the dessert I turn to when I need a little comfort, a little sweetness, and a whole lot of ease. It’s the perfect dessert to share with family and friends, and it’s always a hit. I love that it’s so simple to make, but it tastes like you spent hours in the kitchen.
My Chocolate Caramel Dump Cake Pro Tips:
- Don’t be afraid to experiment with different cake mixes and toppings. That’s how you create your own signature version.
- Use good quality ingredients. It really does make a difference in the taste and texture of the cake.
- Let the cake cool completely before serving. It’s worth the wait!
Chocolate Caramel Dump Cake Variations:
- Peanut Butter Chocolate Caramel Dump Cake: Add a cup of peanut butter chips to the cake mix and drizzle with peanut butter sauce.
- Coconut Chocolate Caramel Dump Cake: Add a cup of shredded coconut to the cake mix and drizzle with coconut cream.
- Spiced Chocolate Caramel Dump Cake: Add a teaspoon of cinnamon, a pinch of nutmeg, and a quarter teaspoon of cloves to the cake mix.
My son loves the peanut butter version, and my daughter is all about the coconut. I personally love the spiced version, especially during the holidays.
I hope you try this chocolate caramel dump cake recipe and make it your own. Don’t be afraid to get creative and have fun with it! I promise, you won’t be disappointed. Let me know how it turns out! It’s one of the best versions of easy chocolate caramel cake you can make!
I hope you enjoy this journey of chocolate caramel goodness. Now go on, bake that cake, and spread some sweetness in the world!
PrintEasy Chocolate Caramel Dump Cake: 8 Amazing Steps
This Easy Chocolate Caramel Dump Cake is so easy to make and so delicious! With only a few ingredients and steps, you can have a decadent dessert ready in no time.
- Prep Time: 5
- Cook Time: 35
- Total Time: 40
- Yield: 12 servings
- Category: Dessert
- Method: Baking
- Cuisine: American
Ingredients
- 1 box chocolate cake mix
- 1 (14 ounce) can sweetened condensed milk
- 1 (12 ounce) jar caramel topping
- 1 cup chopped pecans or walnuts (optional)
- 1/2 cup butter, melted
Instructions
- Preheat oven to 350 degrees F (175 degrees C).
- Pour sweetened condensed milk into the bottom of a 9×13 inch baking dish.
- Sprinkle chocolate cake mix evenly over the sweetened condensed milk.
- Drizzle caramel topping over the cake mix.
- Sprinkle with chopped nuts, if desired.
- Pour melted butter evenly over the top.
- Bake for 30-35 minutes, or until golden brown and bubbly.
- Let cool slightly before serving.
Notes
Serve warm with a scoop of vanilla ice cream for an extra special treat.