
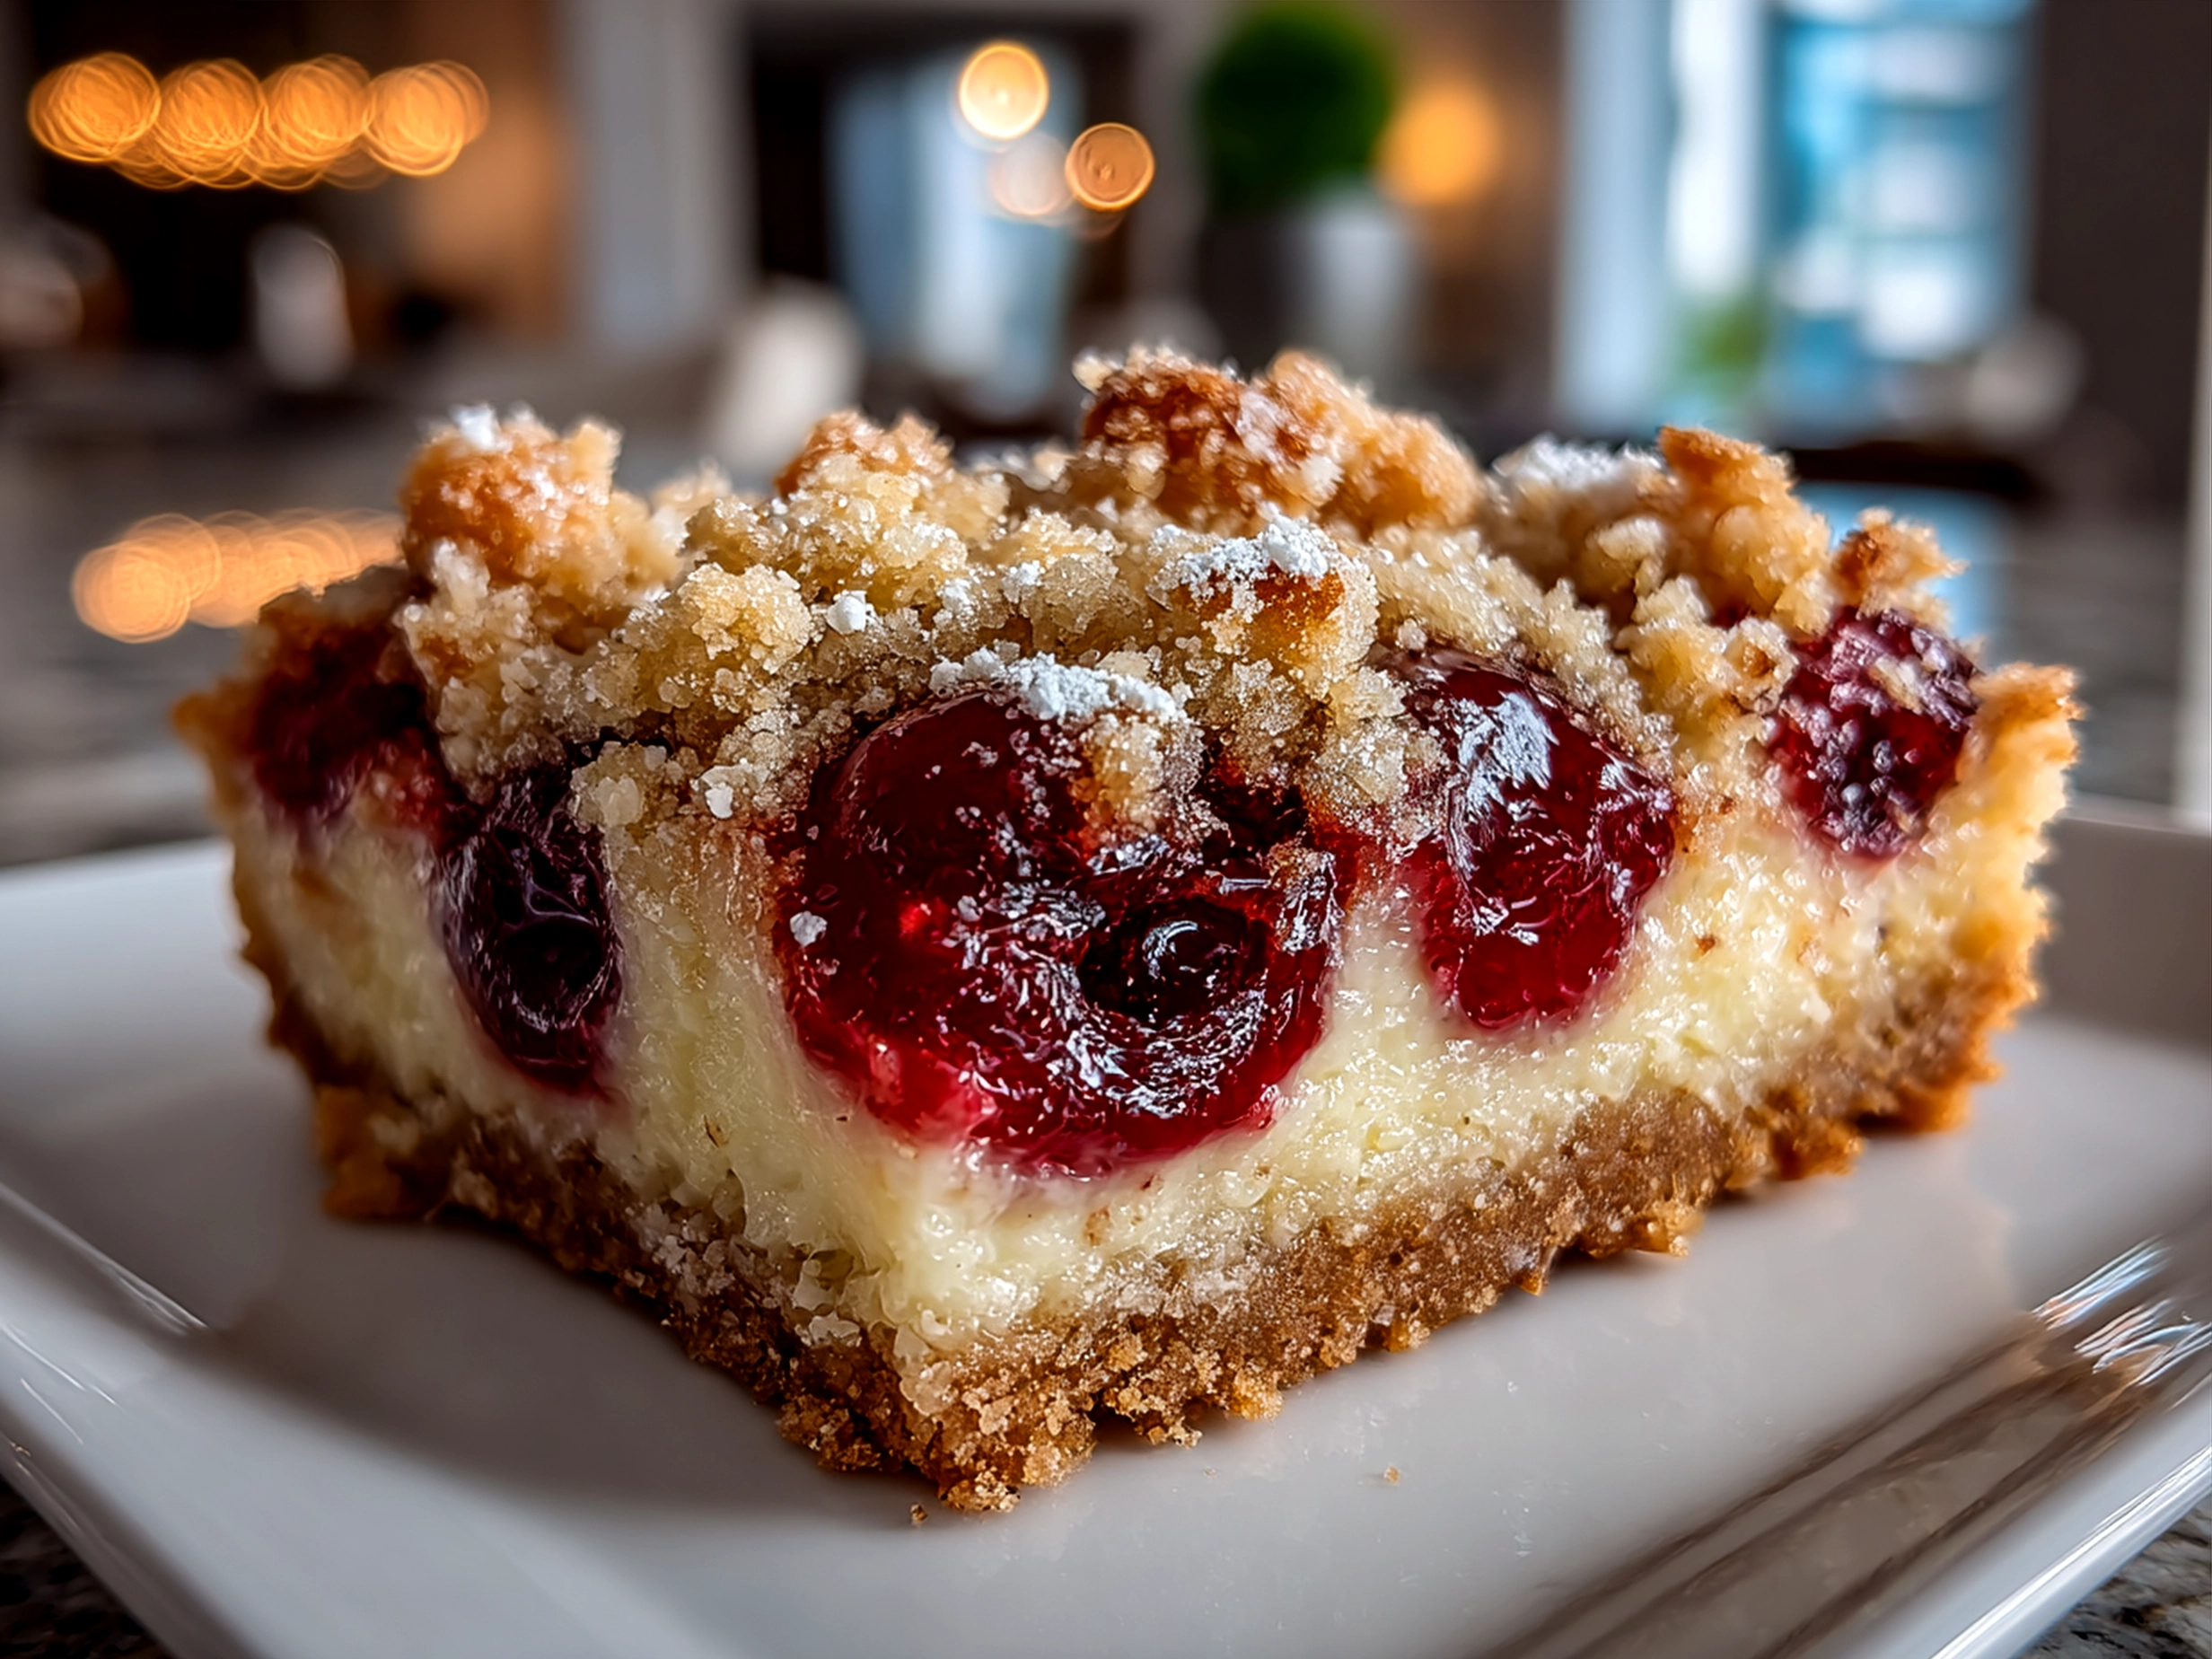
There’s something about Cherry Crumble Bars that instantly takes me back to those cozy afternoons in my kitchen, the air scented with cinnamon and sweet cherries bubbling on the stove. I still remember the first time I whipped up these cherry dessert bars—it wasn’t exactly smooth sailing at first, but those imperfect batches led me to perfecting a homemade cherry crumble that my whole family now adores. Amid juggling busy weekdays and family dinners, these easy cherry bars became my go-to treat that felt both special and doable. I wanted something that didn’t require hours of effort or fancy ingredients but still brought that warm fruit crumble bar feeling to the table—and Cherry Crumble Bars fit the bill beautifully.
The magic for me lies in the contrast: the crisp, buttery crumble topping meeting the tangy, bright cherry filling. It’s a crumble topping recipe that balances crumble and chew just right, creating a tender bar that’s great for lunchboxes, weekend brunch, or just winding down with a cup of coffee. I used to struggle with bars that were either too dry or overly soggy from juicy filling, but after tweaking the sugar and baking time, these bars hold their shape while bursting with that cherry flavor.
I love that Cherry Crumble Bars can easily be adapted depending on what’s in season or what I have in my pantry. For example, when I stumbled upon the peach variety in another favorite peach crumble bars recipe, it gave me ideas to try different fruit crumble bars with minimal effort. And if cherries happen to be out of season, there’s a fantastic easy plum crumble bars alternative that keeps the same cozy vibe but with a twist.
Honestly, sharing Cherry Crumble Bars with friends and family is one of those heartwarming kitchen rituals. They’re simple enough for me to toss together on a busy day and feel like I’m giving my people something homemade and thoughtful. If you’re new to this kind of fruit crumble bar, don’t fret! I’m here to walk you through the whole process, from picking ingredients to serving ideas. Let’s make Cherry Crumble Bars a treasured recipe in your kitchen too.
For a little inspiration, you might also love this raspberry crumble bars recipe that brings another berry twist to the crumble bar family. Ready to dig into making these Cherry Crumble Bars? Let’s get started!
Ingredients:
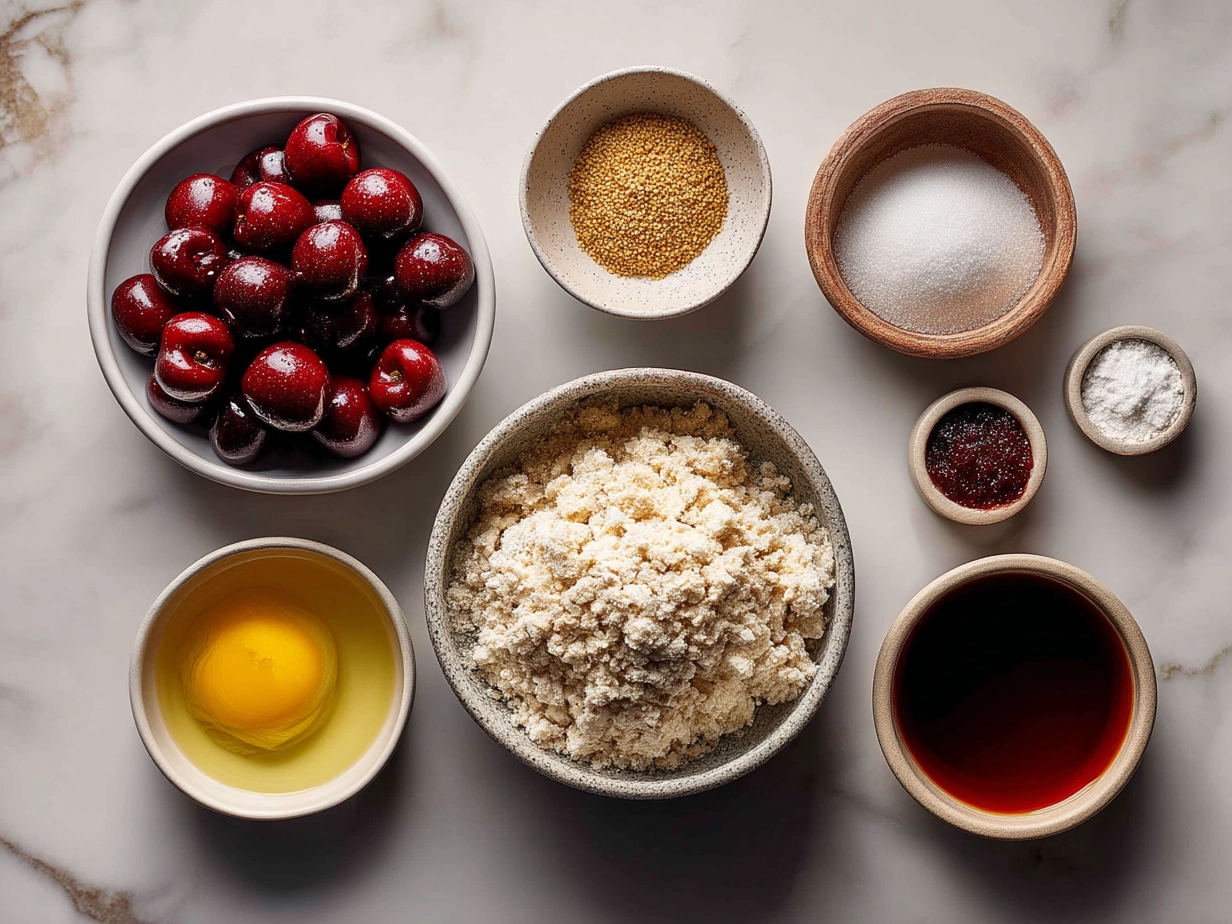
Here’s what I always have on hand when making Cherry Crumble Bars, and honestly, these ingredients are easy to find year-round in most grocery stores or farmers’ markets.
- 2 cups all-purpose flour – I prefer unbleached for better texture in my Cherry Crumble Bars.
- 1 cup granulated sugar – standard, but you can swap part for brown sugar for a deeper flavor in your crumble topping recipe.
- 1/2 teaspoon baking powder
- 1/4 teaspoon salt
- 1 cup (2 sticks) unsalted butter, cold and cubed – Butter is where the crumble magic happens. I never scrimp here.
- 1 (21 oz) can of cherry pie filling – This is my shortcut for easy cherry bars. When I’m feeling ambitious, I use fresh or frozen cherries with a homemade crumble filling.
- 1 teaspoon vanilla extract – Just a little note of warmth in the crumble crust.
Here’s a little tip I learned early on when making Cherry Crumble Bars: using cold butter cut into the dry ingredients gives you that flaky, rich crumble topping, so don’t soften your butter too much. For busy families, canned cherry pie filling is a lifesaver—it’s ready to go, and no need to fuss over cooking cherries down (though fresh always tastes fantastic). When cherries are at their peak in summer, fresh pits removed and tossed with a touch of sugar make excellent homemade cherry crumble filling that feels extra special.
You can save a little cash by buying butter in bulk or during sales and freezing it for when you want to make your batch of homemade cherry crumble bars. Leftover dry ingredients like flour and sugar store well in airtight containers, so you’re always ready to make more. For a fun twist, I sometimes swap cherries for other fruit in this fruit crumble bar base, like peaches, plums, or raspberries—check out these seasonal peach crumble bars and easy plum crumble bars if you want to try that!
For more info on picking the best cherries and tips on storing pie filling, this helpful external guide on Cherry Crumb Bars will come in handy. Trust me, these little ingredient choices build the foundation for perfect Cherry Crumble Bars every time.
How to Make – Step-by-Step:
Making Cherry Crumble Bars might look fancy, but really it’s as straightforward as whipping up any crumble and pressing it into a pan. I’ll walk you through exactly how I do it, step by step, so you don’t feel overwhelmed.
- Preheat your oven to 350°F (175°C). While that’s warming up, line a 9×9 inch pan with parchment paper—this makes lifting the bars out soooo much easier later.
- Mix the dry ingredients: In a large bowl, combine the flour, sugar, baking powder, and salt. This base will form the crumbly crust and topping.
- Cut in the cold butter: Using a pastry cutter or your fingers, work the cold butter into the flour mix until the mixture looks like coarse crumbs. Don’t over-mix here! You want some pea-sized bits of butter still visible; that’s your secret for a tender crumb.
- Press half the crumble mix into the pan: Use your fingers to firmly press it down to make a smooth base layer. This is the foundation for your homemade cherry crumble.
- Spread the cherry filling over the crust: Whether you’re using canned cherry pie filling or homemade, spread it evenly across the crust. I learned the hard way that piling too much on or too little makes a big difference in texture.
- Top with the remaining crumble mixture: Sprinkle evenly, but resist packing it down—you want that sprinkle effect on top to create a crumbly, textured finish.
- Bake for 40-45 minutes: Your kitchen will smell incredible as the cherry dessert bars bake. The topping should turn golden brown and the filling will be bubbling around the edges.
- Cool completely in the pan before slicing: This helps the bars set, so they don’t crumble apart when you cut them. Give yourself some patience here—it’s always tempting to dig in hot, but the results are worth waiting for.
If you want to jazz these bars up a bit, try adding a handful of chopped nuts to your crumble topping recipe for some crunch, or a sprinkle of lemon zest in the cherry filling to brighten the flavors.
I often bake these while tidying up the kitchen or setting the table for family dinner. The smell alone makes everyone eager, but the ease of the recipe lets me focus on other tasks without stress.
For extra help on crumble textures and baking tips, this external site with Cherry Pie Bars (From Scratch) is a great resource. And if you’re curious about other fruit crumble bar combos, this raspberry crumble bars recipe can give you some fresh baking ideas.
Serving:
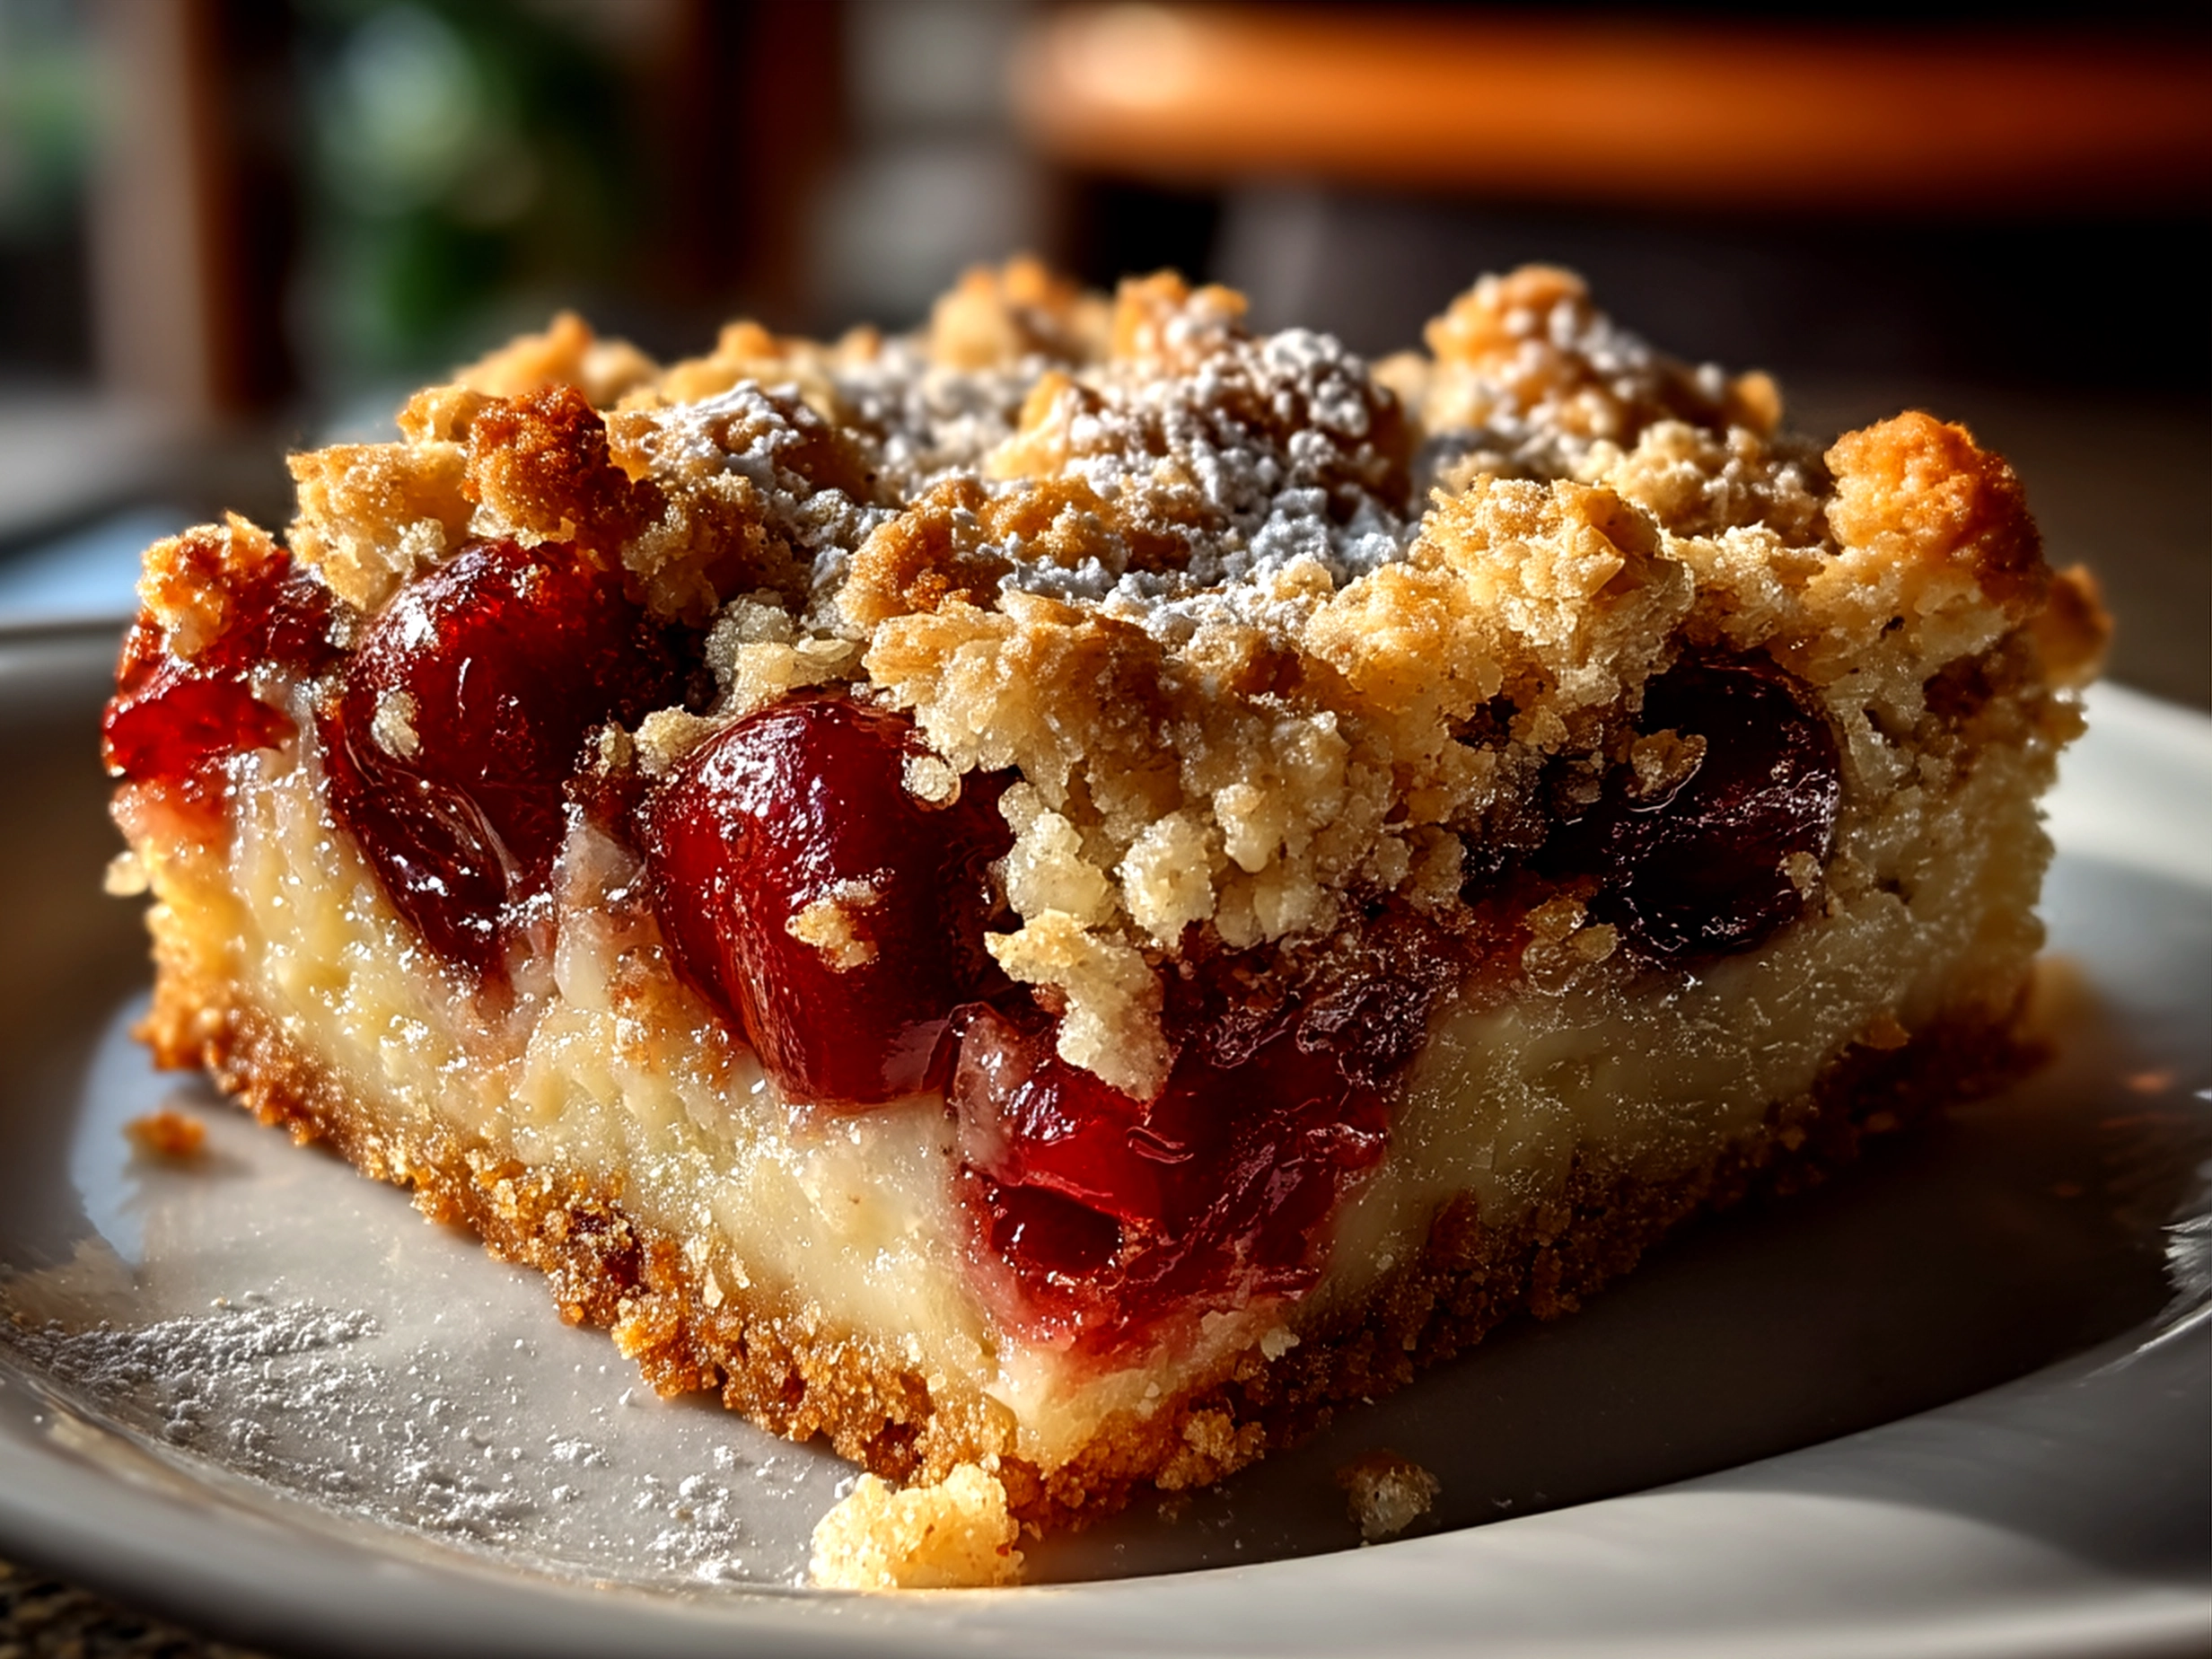
My family goes gaga over Cherry Crumble Bars anytime I make them, but there’s something about pairing them with just the right extras that make these bars truly shine. The kids especially love a scoop of vanilla ice cream or a dollop of whipped cream on the side—it’s like turning the easy cherry bars into a celebration.
For casual family dinners or picnics, I often serve these fruit crumble bars alongside a big pot of coffee or hot tea. They’re perfect as a handheld snack or dessert, making them so versatile.
Cherry Crumble Bars are a star at holiday gatherings, potlucks, and weekend brunches. When guests arrive, they always ask if I brought that cherry dessert bars they’ve heard about—this recipe never fails to impress without demanding hours in the kitchen. I’ve also found that drizzling a little honey or a dusting of powdered sugar on top right before serving gives a charming photo-worthy presentation.
If you find yourself with leftovers (and usually, you will!), these bars reheat beautifully in the microwave for 10-15 seconds or taste just as good chilled. Sometimes I crumble them over yogurt for a quick dessert or breakfast treat.
One seasonal variation I adore is swapping in a mix of cherry and local berries for a fruit crumble bar that’s bursting with summer flavors. If you’re curious about other versions, this peach crumble bars recipe offers a sweet alternative that’s just as delightful.
Your dinner guests will likely be asking for this recipe once they get a taste, so keep it handy—you might find these Cherry Crumble Bars becoming your signature dessert!
FAQs:
Q1: Can I use fresh cherries instead of canned for my Cherry Crumble Bars?
Absolutely! Fresh cherries are fantastic, especially in season. Just remember to pit them first and toss with a bit of sugar and cornstarch to help thicken the filling. This homemade cherry crumble gives the bars a fresher, less sweet taste compared to canned. I do this often when cherries are plentiful.
Q2: How do I prevent the crumble topping from getting soggy?
Great question! I learned the hard way that pressing the bottom crumble firmly and evenly is key, and sprinkling the top crumble loosely leaves those lovely crisp bits. Also, baking until golden brown and fully set helps. Don’t over-fill the bars with cherry pie filling either—less is more sometimes for that perfect fruit crumble bar balance.
Q3: Can I make Cherry Crumble Bars ahead of time?
Yes! These bars hold up well at room temperature for a day or two, or you can store them in the fridge for up to a week. I often bake them the day before a gathering; just bring them to room temp before serving. If you want to freeze, wrap tightly and thaw overnight in the fridge.
Q4: Any tips for cutting Cherry Crumble Bars cleanly?
I always recommend cooling the bars completely before slicing and using a sharp knife. Wiping the knife clean between cuts helps keep the cherry filling from sticking and smearing.
Q5: Can I make these gluten-free or vegan?
While the classic recipe is neither, I experimented with gluten-free flour blends and coconut oil instead of butter for a vegan twist. Texture changes a bit but still tasty! I recommend trying a small batch first. For gluten-free, adding xanthan gum helps with structure.
Q6: What other fruits work in this crumble topping recipe?
Almost any fruit works! Strawberries, raspberries, peaches—like in this peach crumble bars recipe—and plums from an easy plum crumble bars version all make great swaps. Just adjust sugar and thickener based on the fruit’s juiciness.
Q7: What’s a time-saving way to make this dessert?
Using canned cherry pie filling and a pre-mixed crumble topping recipe cuts baking prep time in half. I’ve also found baking these bars while prepping dinner cuts down on wasted minutes. You might like this raspberry crumble bars recipe if you want another fast, delicious option.
For other expert answers and tips on baking these cherry dessert bars, check out this helpful external Cherry Crumble Bars with a Shortbread Crust resource.
My Final Thoughts:
Cherry Crumble Bars hold such a warm place in my heart because they remind me of family gatherings, shared stories, and kitchen lessons learned. This recipe brings dependable comfort and joy without hassle—just the way I like to bake for my people. Over the years, I’ve adapted this homemade cherry crumble to suit different occasions: sometimes richer with a brown sugar crumble topping recipe, other times lighter with a sprinkle of oats in the crust for texture.
My Cherry Crumble Bars Pro Tips:
- Always use cold butter cut into the flour for a perfect crumble.
- Don’t skip chilling before slicing; it helps bars hold together beautifully.
- Adjust cherry filling sweetness depending on fresh or canned fruit for balance.
I’ve tried variations using different fruits, including a summer raspberry crumble bars with fresh berries and a fall-inspired easy plum crumble bars that’s divine with a hint of cinnamon. My kids favor the classic cherry, while my husband prefers when I mix in a bit of lemon zest or almond extract for a fun twist.
I hope you find joy making and sharing these Cherry Crumble Bars as much as I do. Cooking this simple fruit crumble bar can be a comforting ritual, creating sweet memories in your own kitchen. If you enjoy this recipe, don’t forget to explore related gems like the peach crumble bars recipe and easy plum crumble bars for more inspiration.
Go ahead, bake a batch, and savor every crumb. I’m cheering you on from my kitchen to yours!
Cherry Crumble Bars

Delight in these Cherry Crumble Bars featuring a buttery crumbly crust topped with a sweet and tangy cherry filling, perfect for a homemade dessert treat.
- Prep Time: 15 minutes
- Cook Time: 45 minutes
- Total Time: 60 minutes
- Yield: 16 bars
- Category: Dessert
- Method: Baked
- Cuisine: American
Ingredients
- 1 cup unsalted butter, softened
- 2/3 cup granulated sugar
- 2 cups all-purpose flour
- 1/2 teaspoon salt
- 1 teaspoon vanilla extract
- 2 cups fresh or frozen cherries, pitted
- 1/2 cup granulated sugar (for filling)
- 2 tablespoons cornstarch
- 1 tablespoon lemon juice
Instructions
- Preheat oven to 350°F (175°C). Line a 9×9 inch baking pan with parchment paper.
- In a mixing bowl, cream together the butter, 2/3 cup sugar, and vanilla extract until light and fluffy.
- Gradually add flour and salt, mixing until crumbly.
- Press about two-thirds of the dough evenly into the bottom of the prepared pan.
- In another bowl, combine cherries, 1/2 cup sugar, cornstarch, and lemon juice; mix well.
- Spread the cherry mixture evenly over the crust.
- Crumble the remaining dough over the cherry layer.
- Bake for 40-45 minutes or until the top is golden brown and filling is bubbly.
- Allow to cool completely before cutting into bars.
Notes
For an extra touch, sprinkle some sliced almonds on top before baking or serve with a scoop of vanilla ice cream.