You know, there’s something so incredibly comforting about a warm, cheesy dish that brings back memories of simpler times—that’s exactly how I feel every time I make this cheeseburger baked recipe. It’s been a staple in my kitchen for years, especially during those hectic weeknights when I need something quick, satisfying, and just downright cozy. The first time I stumbled upon an oven baked cheeseburger casserole, I was honestly skeptical—could a casserole really capture the magic of a cheeseburger? Spoiler alert: It absolutely can.
I remember the very first time I made this cheeseburger baked, the whole house smelled like a classic diner—the rich aroma of browned ground beef mingling with melted cheddar and a hint of toasted bread. It was like the essence of a cheeseburger smile-smacked right onto a dinner plate. That smell alone was enough to make the kids come running in from their homework sessions, and soon enough, the entire family gathered around the table, eager for seconds. It quickly earned itself a permanent spot in our weekly meal rotation, not just because it’s delicious, but because it fits so seamlessly into our busy life.
One of the things I love about this baked cheeseburger casserole with bread is how forgiving it is. I’ve been there before—trying to balance work, kids, and a million other things, and realizing I forgot to defrost meat or that I have no fresh buns around. This recipe lets you use pantry staples and frozen veggies; it’s totally adaptable. Plus, it’s a great “dump and bake” kind of meal. I learned that the hard way when I once forgot to pre-cook the beef properly and ended up with a soggy mess—lesson learned, my friend! Now, I always make sure the ground beef is nicely browned and drained before layering everything in the pan.
Because it’s oven baked, it crisps up beautifully on the edges—kind of like those amazing baked cheeseburger sliders I found over at Cooking for Keeps (if you love cheeseburger baked sliders, you might want to peek at her version here). And honestly, some of my best kitchen moments have been spent tweaking this cheeseburger bake recipe with little twists: adding jalapeños for a kick or swapping cheddar for pepper jack to surprise the taste buds.
If you love classic comfort food and need something that brings everyone to the table without hours of fuss, I can’t recommend this oven baked cheeseburger enough. Once you try this cheeseburger baked, it’ll likely become one of your go-tos too. And hey, if you want to mix it up, there’s also a great baked Texas trash cheese dip recipe on my site that pairs wonderfully for game nights or casual dinners. Trust me, friends, let’s dive into this cheeseburger baked adventure together—you’re going to love it!
Ingredients:
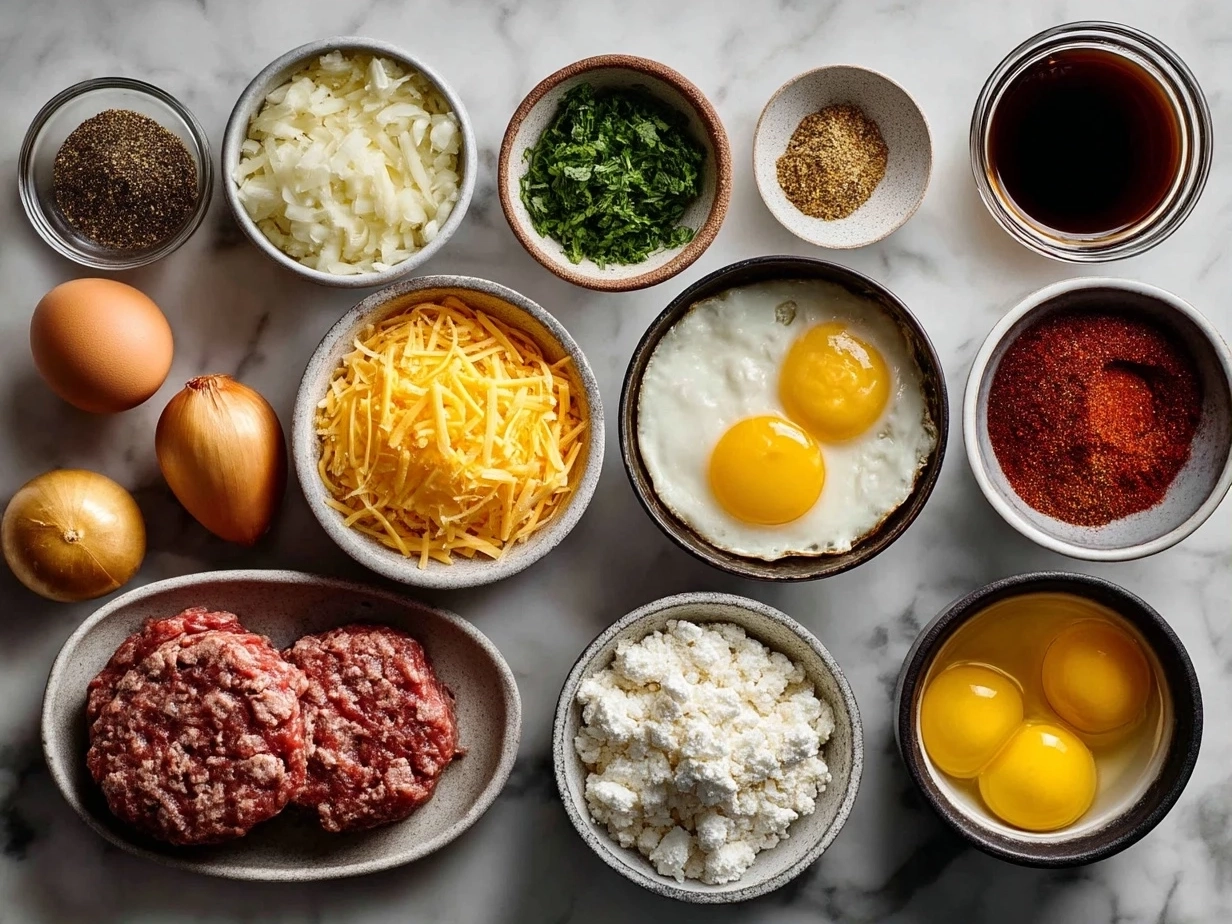
Here’s what you’ll need to whip up this cheesy, delicious, cheeseburger baked dish that’s become a family favorite in my house. I always use fresh ground beef with at least 15% fat content to keep the casserole juicy but not greasy—the balance is everything! When looking for cheese, sharp cheddar works like a charm for that bold, melty flavor. You can easily find all these ingredients at your local grocery store—if you shop the meat counter, they’ll often pre-package ground beef in convenient 1-pound portions which is perfect for this baked cheeseburger casserole.
- 1 pound ground beef (preferably 80/20, for juicy texture)
- 1 (10.5 oz) can cream of mushroom soup (for that creamy base that keeps it moist)
- 1 cup shredded sharp cheddar cheese
- 8 slices sandwich bread, crusts removed and cubed (this forms the base layer giving it that wonderful, soft yet slightly toasted texture, like a baked cheeseburger casserole with bread)
- 1 small onion, diced
- 1/2 cup pickles, chopped (adds that iconic cheeseburger zing)
- 1/2 cup ketchup
- 2 tablespoons yellow mustard
- 1 teaspoon garlic powder
- Salt and pepper, to taste
- Optional: 1/2 cup diced tomatoes or jalapeños for a little twist
Here’s a little secret I picked up from my mom when making cheeseburger baked meals: if you’re pressed for time, frozen diced onions work just fine. Keep a bag in the freezer—they thaw quickly and save so much prep time. Also, if you want to save on the cost of cheese, shredded block cheddar is often more affordable than pre-shredded, and it melts beautifully in the oven baked cheeseburger casserole.
Got some leftover bread cubes from dinner rolls? Toss them into this oven baked cheeseburger for a richer flavor. When storing leftover ingredients, keep your cheese wrapped tightly in the fridge to maintain freshness, and if you make extra pickles or ketchup mixture, store them in small airtight containers so they’re ready for the next batch. And hey, if you’re curious about how to make baked cheeseburger sliders with Hawaiian rolls, that’s another fun spin—perfect for parties or weekend lunches!
How to Make – Step-by-Step:
Ready to get your hands a little cheesy? Making cheeseburger baked is straightforward—think of it like combining your favorite cheeseburger flavors into a one-pan dinner. Don’t worry if your first attempt doesn’t look picture-perfect; mine sure didn’t, but the taste was what really mattered. Here’s how I usually go about making this oven baked cheeseburger in my kitchen:
- Preheat your oven to 350°F. While the oven heats, I usually grab a moment to tidy up so the clean-up later feels less overwhelming.
- In a large skillet, brown the ground beef with diced onions, breaking it apart as it cooks. I always make sure to drain excess fat—no one wants a greasy baked cheeseburger casserole!
- Add the garlic powder, salt, and pepper to the beef mixture. These little touches bring out the flavor and make the entire dish sing.
- In a separate bowl, mix together the cream of mushroom soup, ketchup, mustard, and pickles. This mix is the secret behind the signature cheeseburger baked flavor—the creamy, tangy base that ties it all together.
- Now, in a greased 9×13-inch baking dish, lay down the bread cubes evenly. I like to gently press them down to make sure the bread soaks up all those tasty juices.
- Pour half of your beef mixture over the bread, spreading it out evenly.
- Spoon half of the creamy pickle mixture over the beef and bread layers.
- Sprinkle half of the shredded cheddar cheese. Cheese makes everything better, right?
- Repeat the layering: bread cubes, beef, pickle mixture, then cheese—this layering is key for a well-balanced cheeseburger baked casserole.
- Cover with foil and bake for about 25 minutes. Afterwards, remove the foil and bake another 10-15 minutes until the cheese is bubbly and golden.
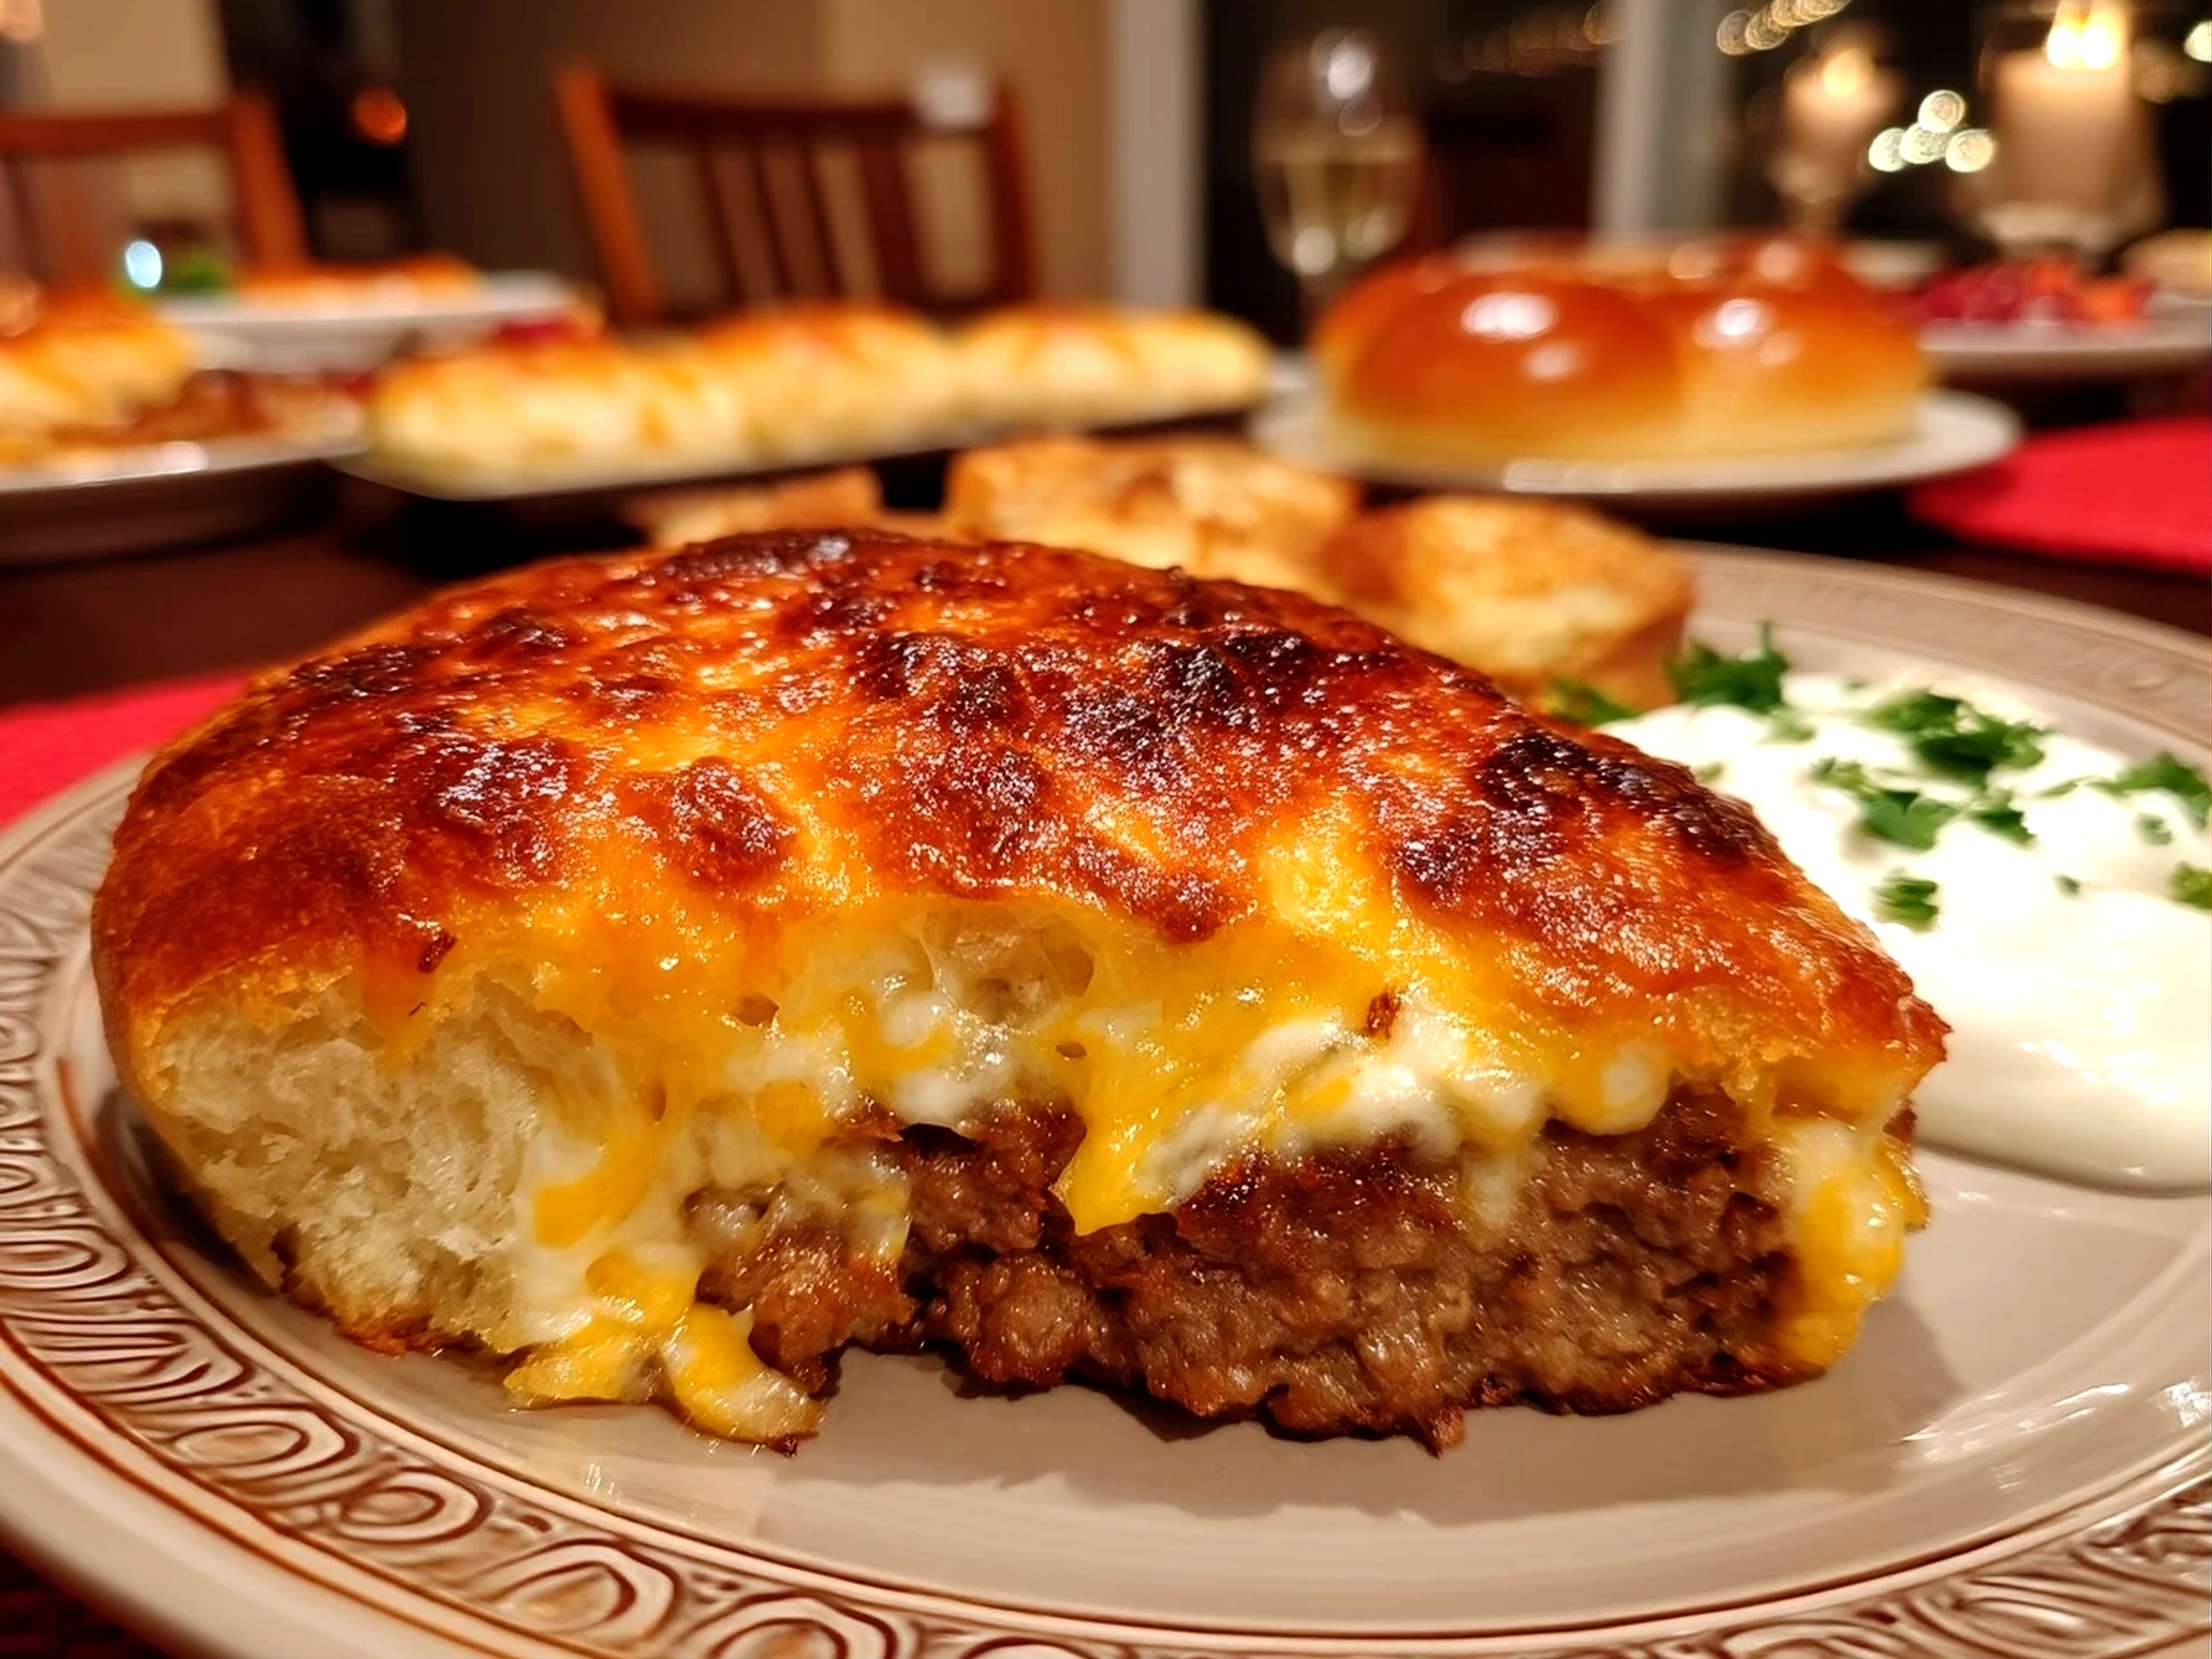
You’ll know your cheeseburger baked is ready when it smells like a cozy diner kitchen and the edges are delightfully crispy—just like my favorite baked cheeseburger sliders I saw over at Donuts2Crumpets. While it’s baking, I usually take the chance to set the table or catch up on a quick call with family. Just a heads up: if you want an extra crunch, broil it for 1-2 minutes at the end—watch carefully so it doesn’t burn!
If you run into any issues, like too much liquid making it soggy, my trick is to use thick bread and drain your meat well—this gives you that perfect texture in your cheeseburger baked. For more on assembling baked casserole dishes, you might find these time-saving tips handy from Seasoned Recipe’s baked chicken legs and rice—a different dish, but great advice on layering.
Serving:
There’s something so cute about how the kids’ eyes light up when I say we’re having this cheeseburger baked for dinner. The gooey cheese and familiar beef flavor get instant approval, and the fact that it can be eaten with a fork makes it less messy than actual burgers, which is a win when you’ve got little ones. We usually serve it with simple sides—my go-to is a fresh green salad or those crispy oven-roasted potatoes. The fresh salad cuts through the richness, balancing the meal nicely without taking long to prepare.
This cheeseburger baked is also one of my absolute favorites for casual get-togethers. The layered casserole style makes it easy to dish up for a crowd, and it keeps well for leftovers, which is a huge plus after a busy day. We’ve even tried seasonal variations—like tossing in diced tomatoes and sliced jalapeños in the summer for a little Southwestern flair, or swapping cheddar cheese for mozzarella in winter for a milder melt that pairs perfectly with a cozy blanket and a movie night.
If you want to wow guests, sprinkle some finely chopped fresh parsley on top before serving—it adds a pop of color and a subtle freshness. And leftovers? Oh, they’re a dream. I like to turn leftover cheeseburger baked into a sandwich filling or add a fried egg on top the next morning for a breakfast twist.
Speaking of cheesy slider inspiration, if you haven’t seen these baked cheeseburger sliders yet, they’re perfect mini versions that are great for parties or snacks. My friends often ask me for the recipe because they love how this cheeseburger baked style translates into handheld sliders. And if you want some more ideas for side dishes that pair well, check out Seasoned Recipe’s Mediterranean baked fish as a light option alongside the hearty casserole.
FAQs:
Q1: Can I use ground turkey instead of beef in this cheeseburger baked?
Absolutely! I’ve swapped in ground turkey when trying to lighten up the oven baked cheeseburger and it works well, just make sure to add a bit of extra seasoning or a splash of olive oil because turkey is leaner and can dry out. You know what I do when my cheeseburger baked needs a flavor boost? I add Worcestershire sauce to the meat while browning it—it really amps up the savoriness.
Q2: What’s the best type of bread to use in a baked cheeseburger casserole with bread?
I’ve found that slightly stale sandwich bread or even day-old buns work best because they soak up the juices without turning mushy. Crusts removed is my little trick for a uniform texture. A reader once tried whole wheat bread and loved the extra nuttiness it added—feel free to experiment!
Q3: How long can I store leftover cheeseburger baked?
Leftover cheeseburger baked keeps great in the fridge for up to 3-4 days. Just cover it tightly with foil or plastic wrap. I always warn friends against freezing it because the texture can get a bit off when reheated, but if you must, freeze in portions and thaw gently in the fridge overnight.
Q4: Can I prepare this oven baked cheeseburger ahead of time?
Yes! A family favorite trick is to assemble the entire casserole a few hours or even a day in advance. Just cover it tightly and pop it in the fridge. When you’re ready, bake it as directed, adding a few extra minutes to the bake time. This has saved me many busy weeknights.
Q5: What cheese works best for the cheeseburger baked?
Sharp cheddar is my go-to because it melts beautifully and has a nice bold flavor that stands up to all the savory goodness. But mixing cheddar with mozzarella or pepper jack adds a fun twist—the kids especially love the creamier melt of mozzarella.
Q6: How can I make baked cheeseburger sliders that taste like this casserole?
Great question! If you’re curious, I’ve found that mini slider buns brushed with melted butter and loaded with the same beef mixture and cheese really capture that casserole’s flavor. For detailed slider inspiration, these oven baked cheeseburger sliders recipes are fantastic and straightforward to follow.
Q7: What’s a common mistake to avoid when making cheeseburger baked?
The biggest misstep I see is skipping draining the cooked ground beef—too much grease can make your casserole soggy. Another is not layering evenly, which can cause uneven baking or drying out of certain parts. I learned the hard way with my first attempt, but now I take my time layering and it truly makes a difference.
My Final Thoughts:
This cheeseburger baked recipe truly holds a special place in my heart because it’s more than just food—it’s a dish that bridges busy schedules, picky eaters, and craving comfort all in one pan. It’s brought warmth and smiles to my family’s table more times than I can count.
My cheeseburger baked Pro Tips:
- Always drain your cooked ground beef well to prevent sogginess.
- Use a good quality sharp cheddar—trust me, the cheese makes a huge difference.
- Don’t skip layering evenly to ensure every bite is packed with flavor.
Over the years, I’ve tried several fun variations of this cheeseburger baked with my family: adding sliced mushrooms for an earthy depth, mixing in diced bell peppers for color and sweetness, and even swapping bread cubes for buttery crescent roll dough (a decadent take my husband absolutely adores). My kids are big fans of the classic version while my husband loves when I sneak in spicy jalapeños for an extra kick.
If you decide to give this cheeseburger baked a try, I encourage you to make it your own. Change up the cheese, add your favorite toppings, or sneak in some veggies to keep it fresh and exciting. I really hope this recipe brings as much joy and comfort to your family as it has to mine.
And hey, if you find yourself wanting to mix things up a bit, don’t forget to check out these related crowd-pleasers on Seasoned Recipe like baked chicken legs and rice or the irresistibly creamy baked Texas trash cheese dip. They’re great companions for your next comfort food night.
Here’s to many cozy meals and flavorful moments with your cheeseburger baked!
There you go, girlfriend—a cozy, cheesy, family-tested and friendly guide to the best cheeseburger baked out there. Enjoy every bite!
cheeseburger baked

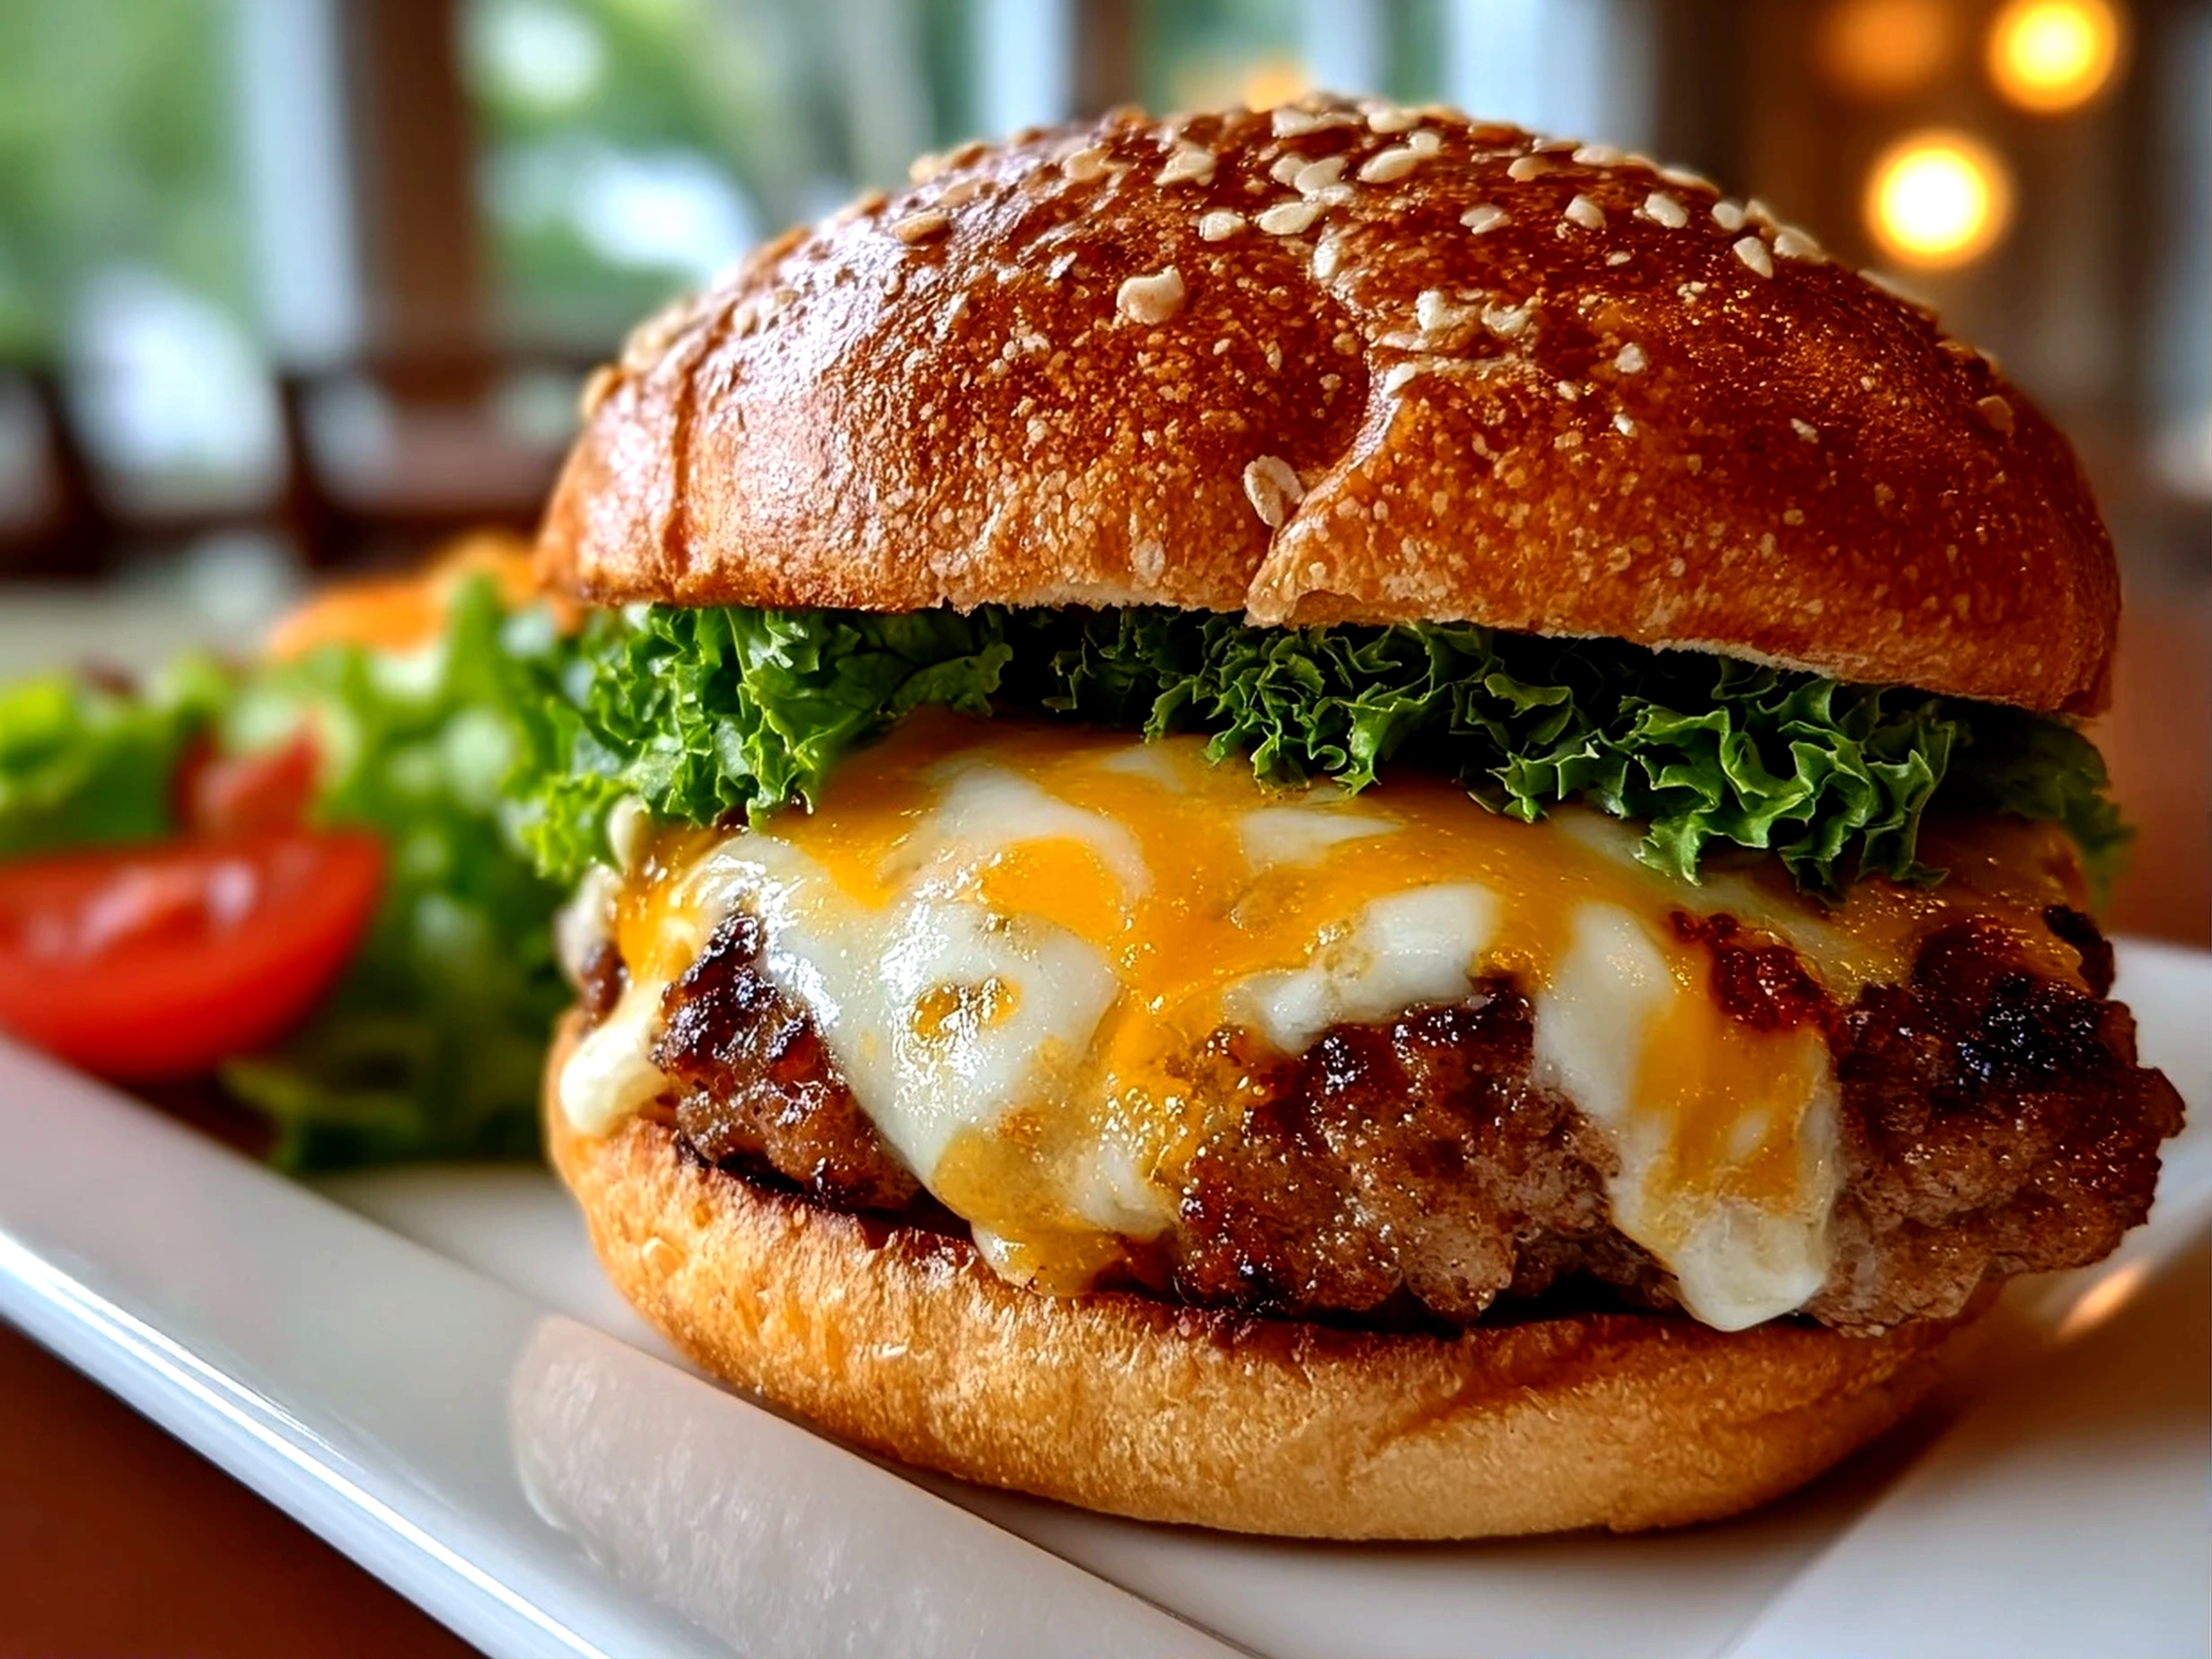
This baked cheeseburger combines juicy ground beef with melted cheese in a simple, oven-baked recipe perfect for an easy weeknight dinner. Enjoy a comforting twist on the classic cheeseburger with minimal fuss.
- Prep Time: 10 minutes
- Cook Time: 25 minutes
- Total Time: 35 minutes
- Yield: 4 servings
- Category: Dinner
- Method: Baked
- Cuisine: American
Ingredients
- 1 lb ground beef
- 1 cup shredded cheddar cheese
- 1 small onion, finely chopped
- 1/2 cup breadcrumbs
- 1/4 cup milk
- 1 large egg
- 1 tsp salt
- 1/2 tsp black pepper
- 1/2 tsp garlic powder
- 4 hamburger buns
- Lettuce, tomato slices, pickles (optional, for serving)
- Ketchup and mustard (optional, for serving)
Instructions
- Preheat your oven to 375°F (190°C).
- In a large bowl, combine ground beef, chopped onion, breadcrumbs, milk, egg, salt, pepper, and garlic powder. Mix gently until combined.
- Divide the mixture into 4 equal portions and shape each into a patty.
- Place the patties on a baking sheet lined with parchment paper.
- Bake in the preheated oven for 20 minutes.
- Remove the baking sheet and sprinkle shredded cheddar cheese evenly over each patty.
- Return to the oven and bake for an additional 5 minutes, or until the cheese is melted and bubbly.
- Toast the hamburger buns if desired.
- Assemble the burgers by placing each patty on a bun and topping with lettuce, tomato, pickles, ketchup, and mustard as preferred.
- Serve immediately and enjoy your baked cheeseburger.
Notes
For added flavor, try mixing in your favorite herbs or a splash of Worcestershire sauce into the ground beef mixture before baking.